A mehandi sticker lets you get a neat, even design in a few minutes, even if you have never used a cone. You stick a cut-out stencil on your skin, fill it with natural henna, peel it away and a clean design is left behind. This guide shows how to use mehandi stencils step by step, which designs work best, how stickers compare with freehand mehndi, and how to stay safe.
Stickers are perfect for beginners, busy mornings, kids and quick festival looks. For bridal work or very fine detail, freehand is still better. Browse our simple mehandi design, finger mehandi design and mandala mehandi design galleries for shapes you can try freehand later.
How a Mehandi Sticker Works, Step by Step
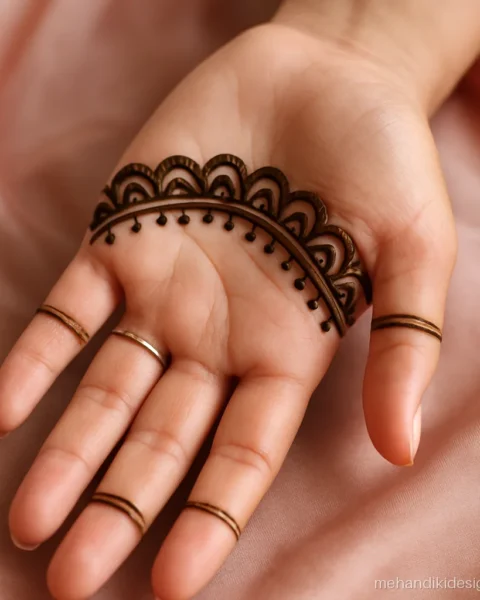
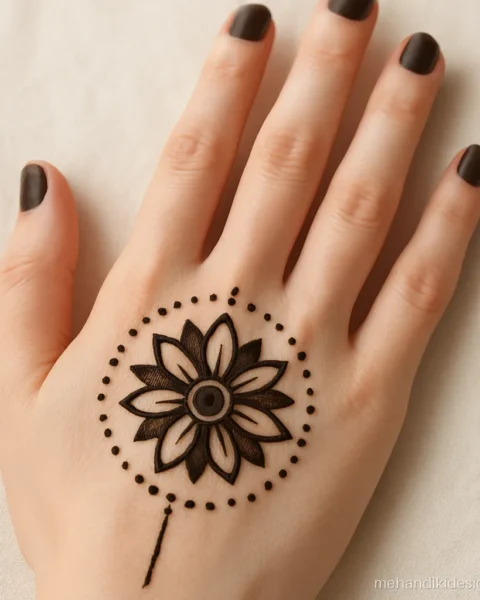
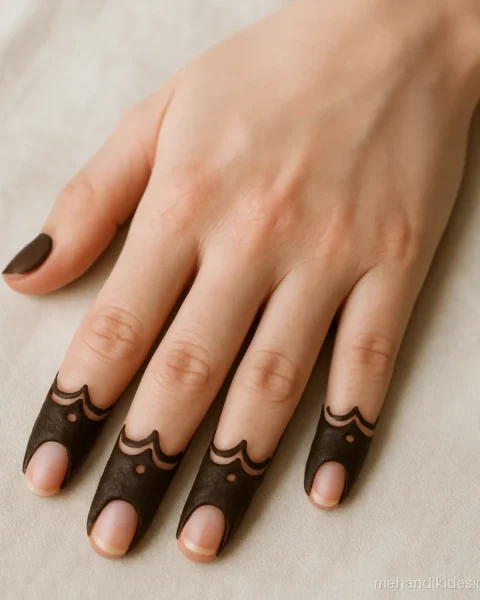
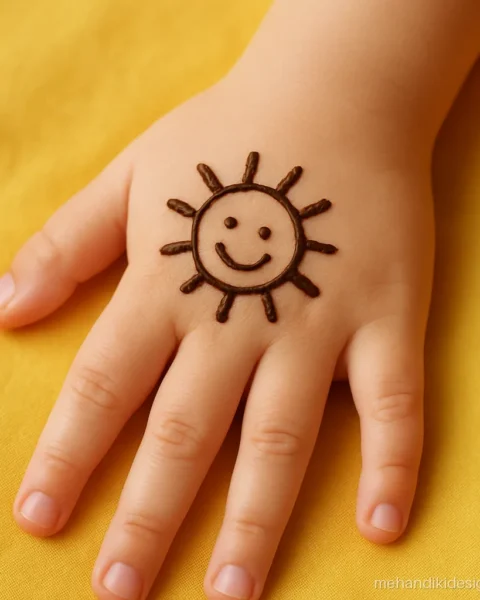
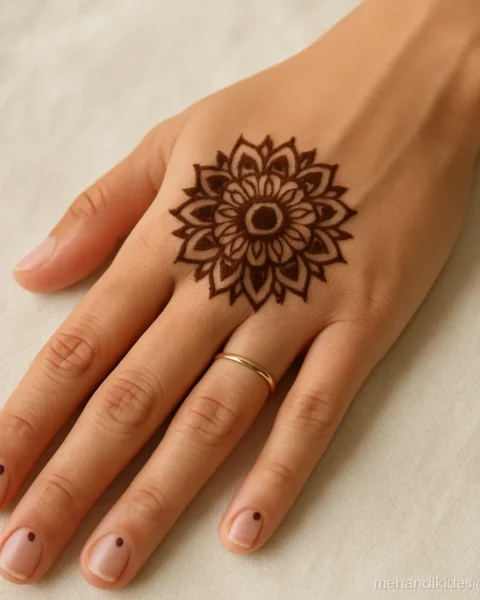
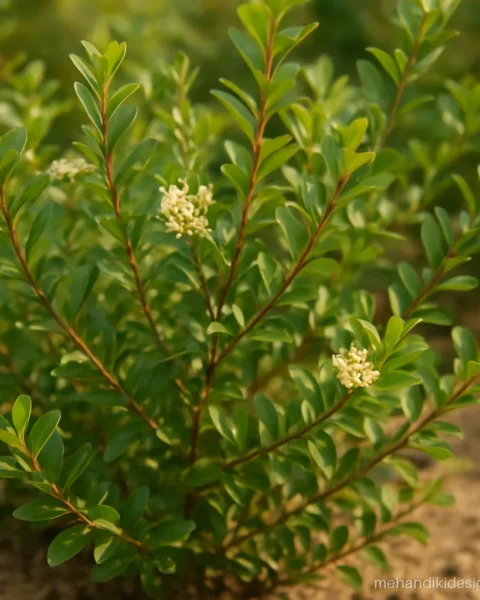
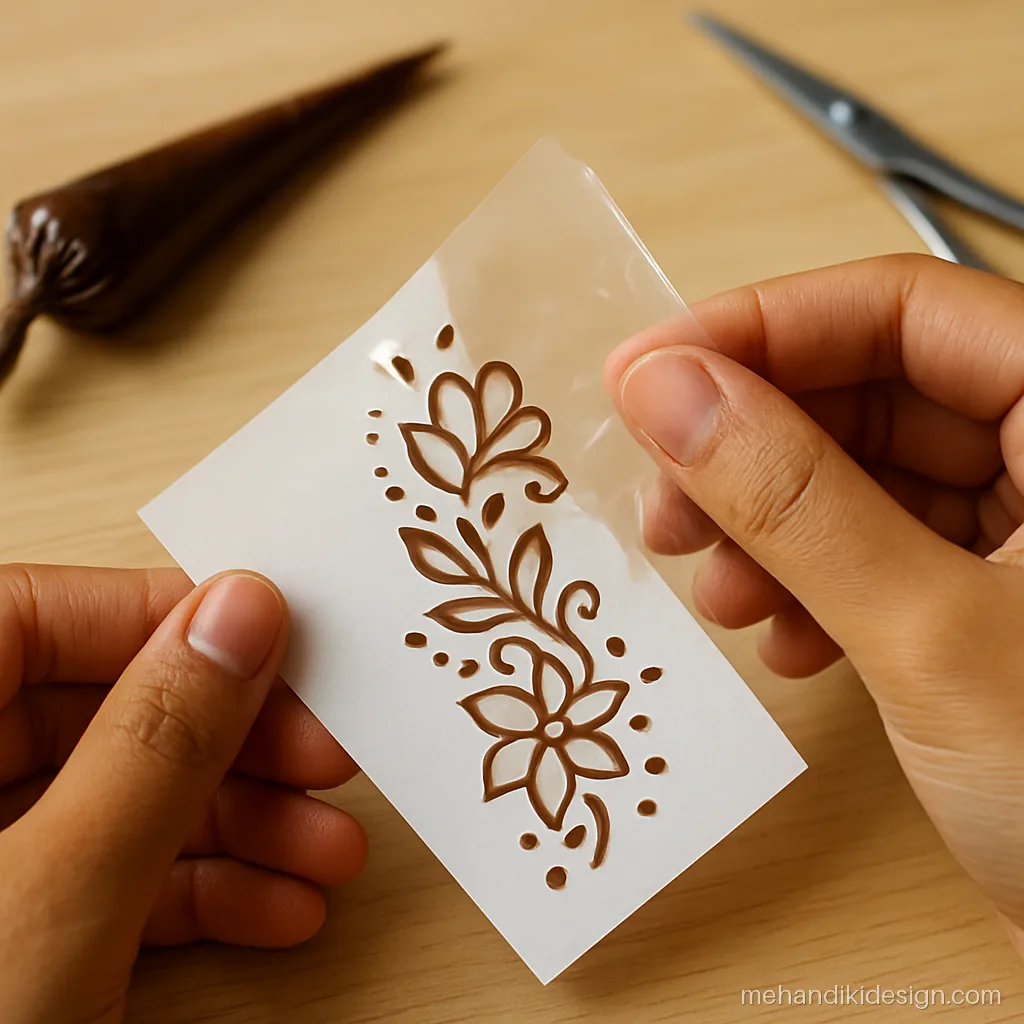
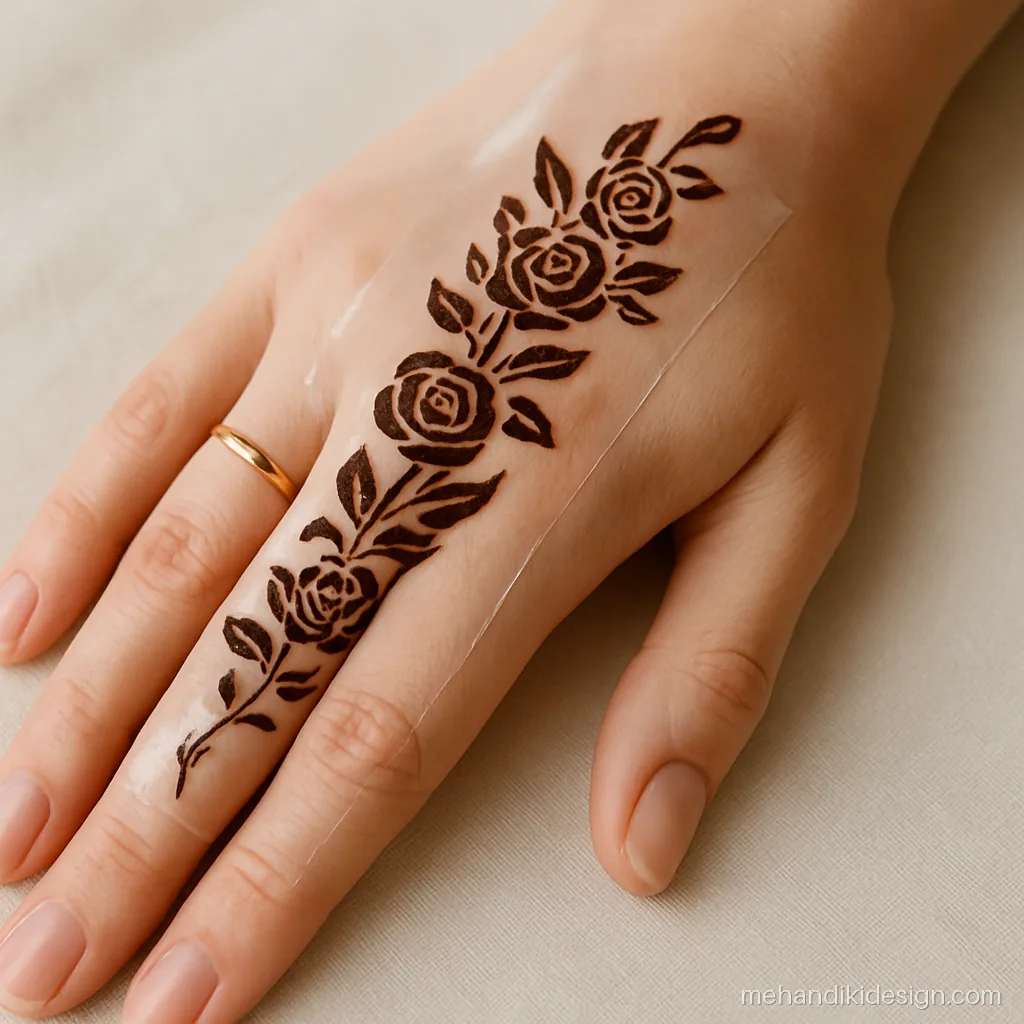
These four photos follow one mehandi stencil from the sheet to the finished stain. The whole process takes about 15 minutes, plus drying time.
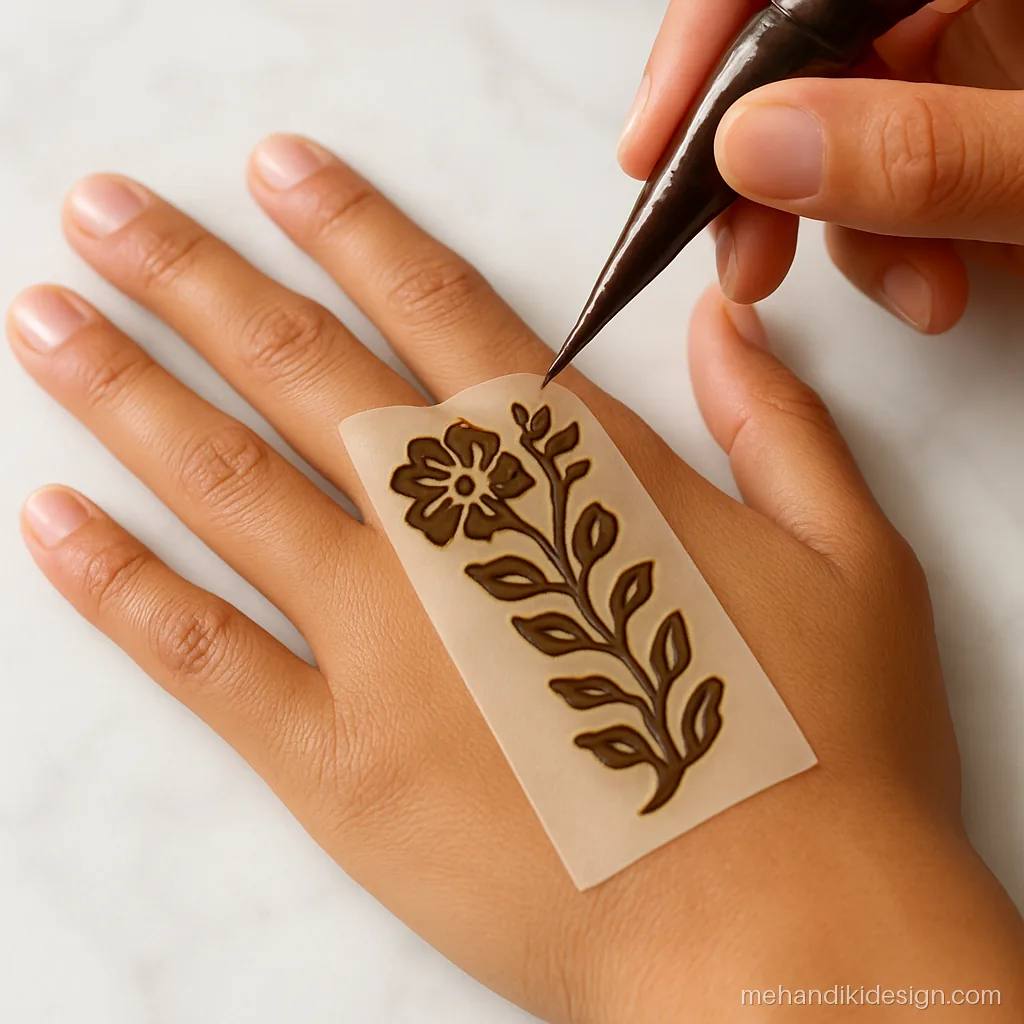
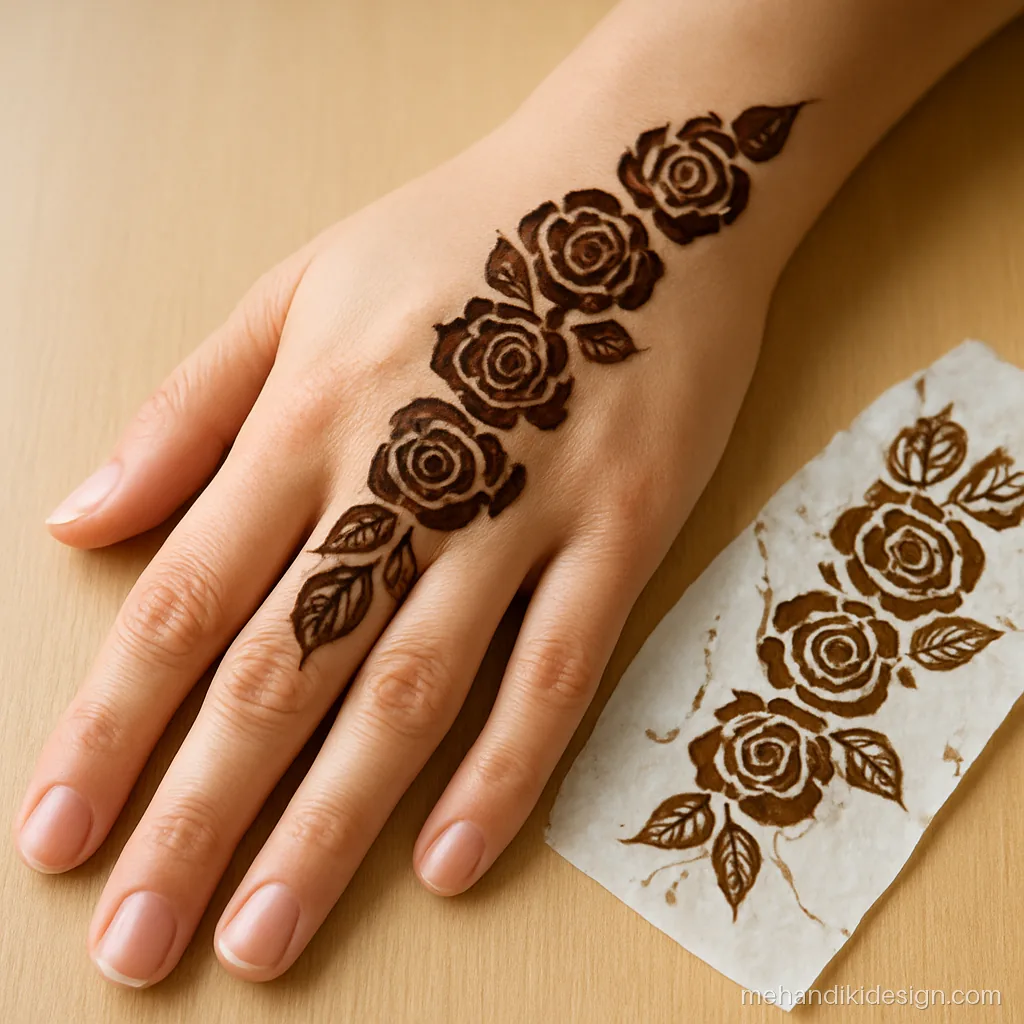
Best Mehandi Stencils Designs for Quick Results
Some designs suit stencils mehandi work better than others. Bold, open shapes and short trails come out cleanest.
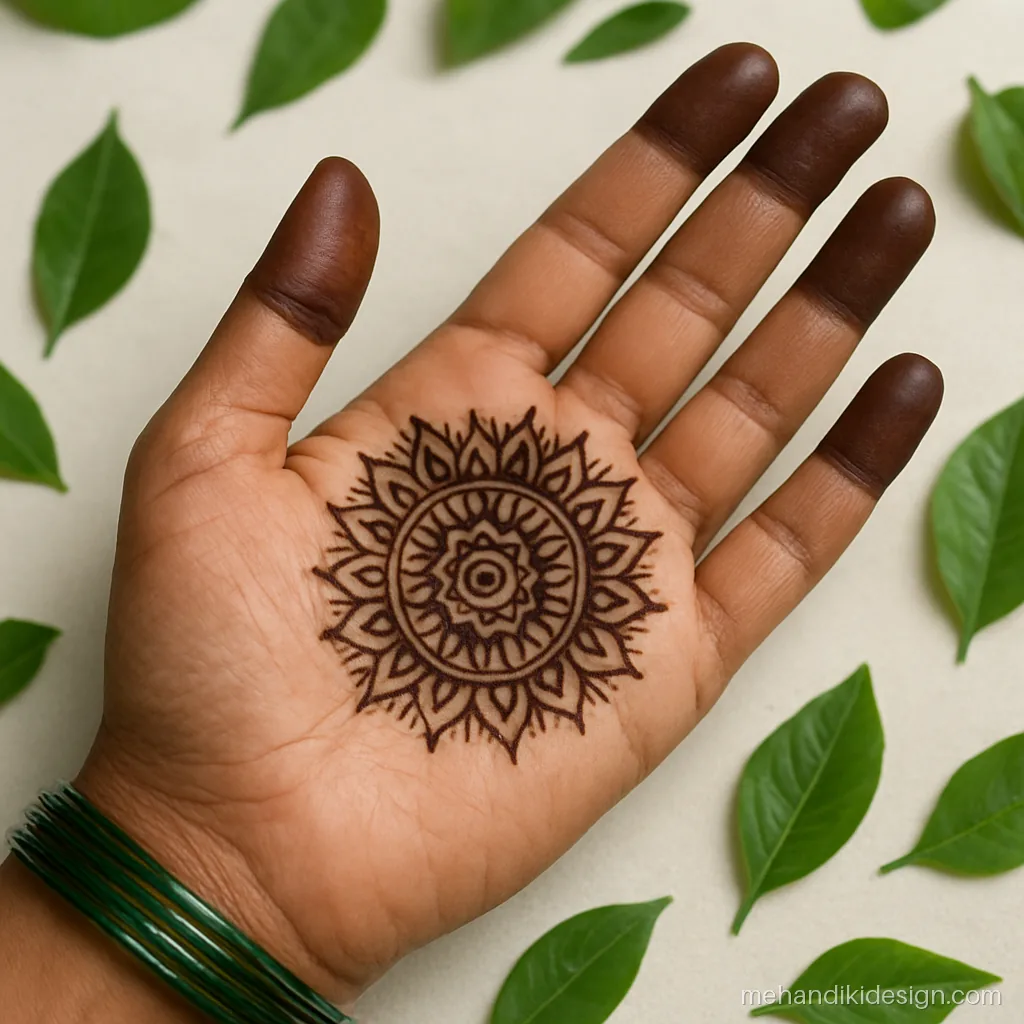
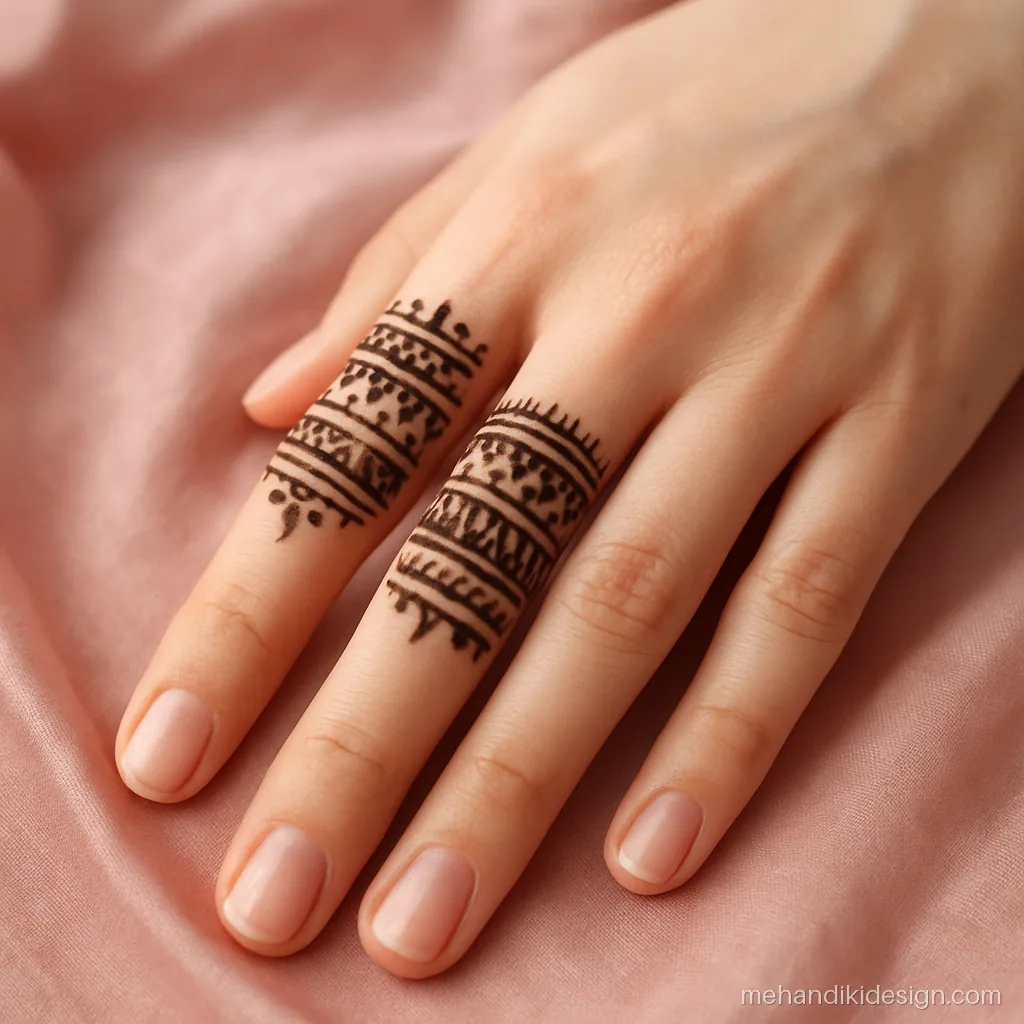
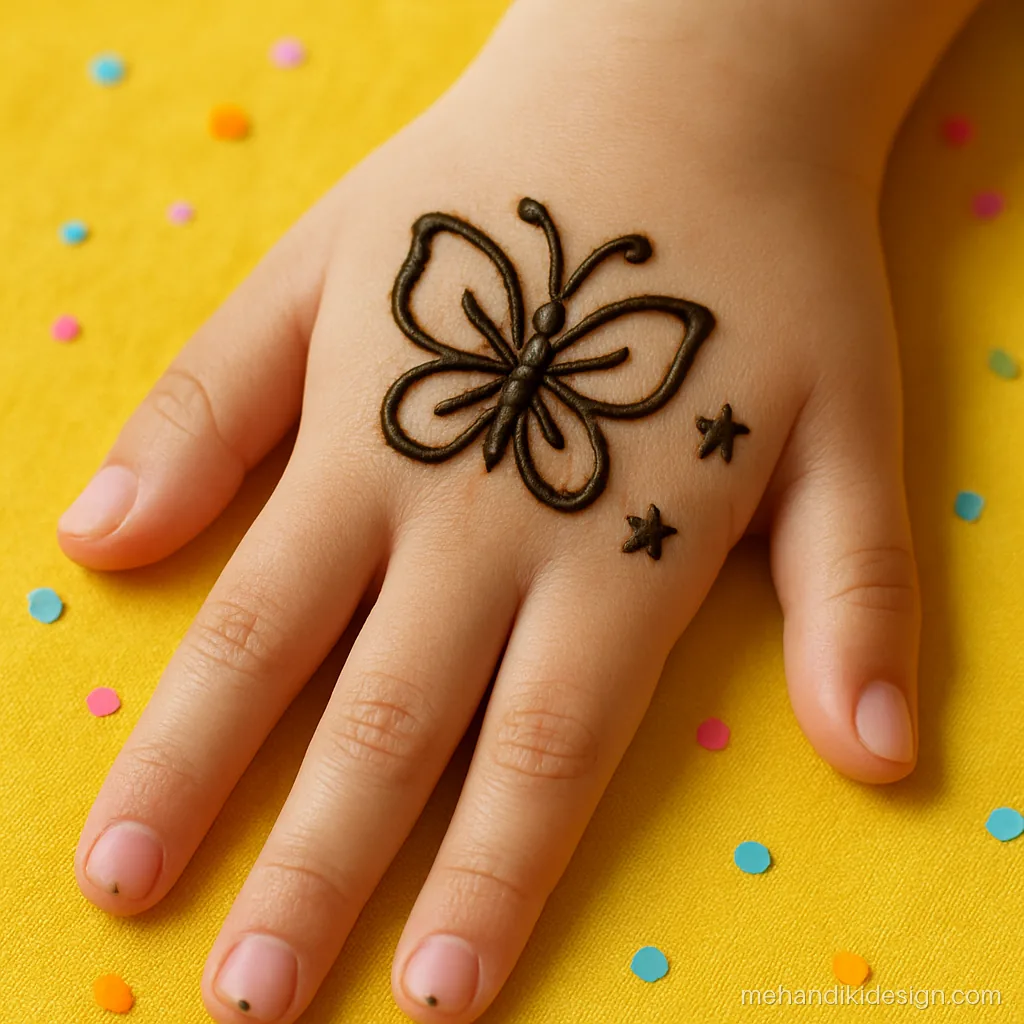
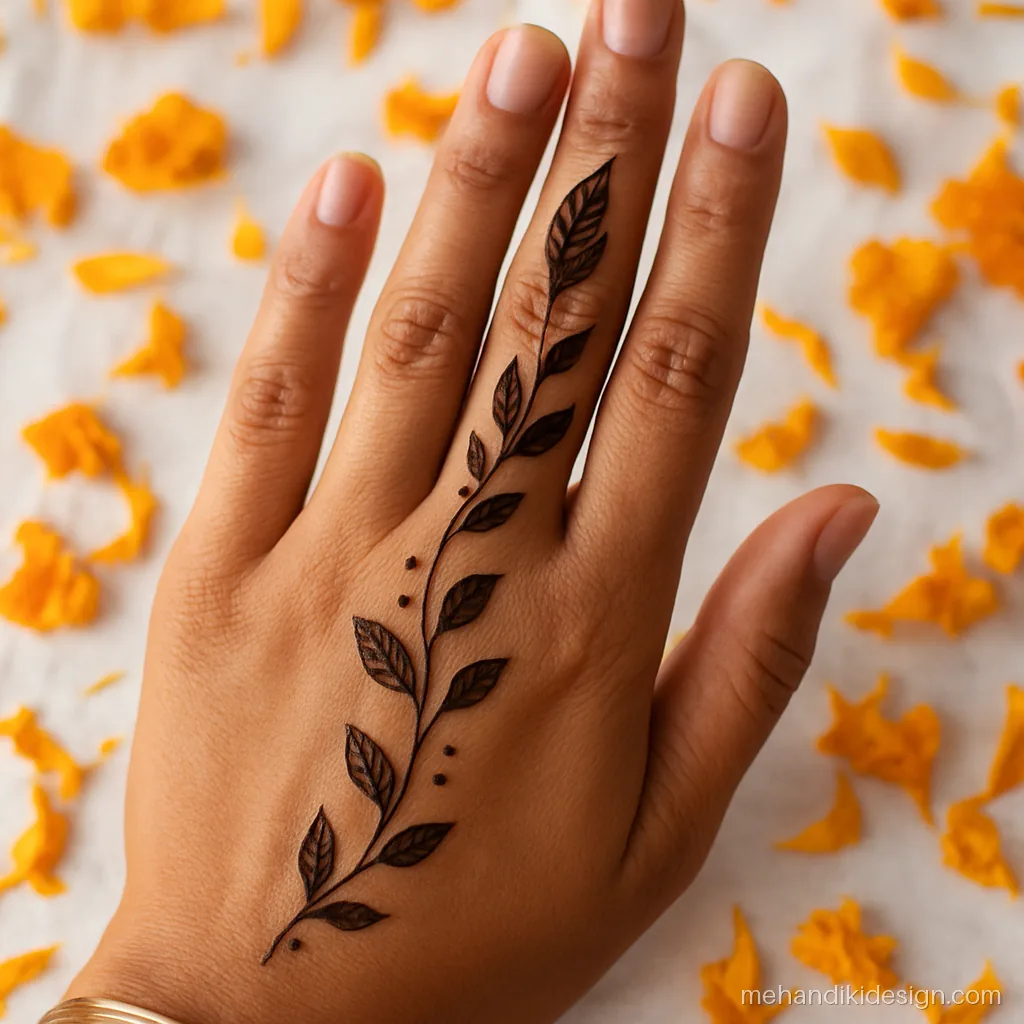
What Is a Mehandi Sticker or Mehandi Stencil?
A mehandi sticker is a thin adhesive sheet with a design cut out of it. You stick it on your skin, fill the open parts with henna paste, then peel it off. What stays behind is a clean design, even if you have never held a cone before. People also call them mehandi stencils or stencils mehandi.
There are two kinds of products sold under this name, and it is important to know the difference:
- Stencil stickers: a cut-out template. You add your own henna paste. This is what this guide is about.
- Ready-print henna stickers or transfers: the design is already printed in colour. They are temporary tattoos, not real mehandi, and they wash off in a day or two.
A stencil gives you the real stain of natural henna. A printed transfer only gives the look.
How to Use Mehandi Stencils at Home
- Prepare your skin. Wash your hands with soap and dry them fully. Skip lotion or oil, because the sticker will not stick.
- Choose and trim. Pick the stencil and trim extra sheet around it so it sits flat on curves.
- Peel and place. Remove the backing and place the stencil. Press it down from the middle to the edges, especially around fingers and knuckles.
- Fill with paste. Use a cone or a small spatula to fill each opening with an even layer of natural henna.
- Peel while damp. Wait 5 to 10 minutes, until the paste is slightly set but not dry, then lift the sticker slowly from one corner.
- Let it dry and seal. Leave the paste on for 4 to 6 hours. Dab lemon-sugar mix once it is dry.
- Scrape, do not wash. Scrape off the dry paste, apply a little mustard oil or balm and keep water away for 12 to 24 hours.
For a deep stain, the paste matters more than the stencil. Our mehandi ka rang guide explains how to mix it.
Mehandi Sticker vs Freehand Mehandi
| Mehandi sticker | Freehand with a cone | |
|---|---|---|
| Skill needed | Almost none | Practice needed |
| Time | 5 to 15 minutes | 15 minutes to several hours |
| Look | Very neat and even, but can look the same as everyone else’s | Personal, with fine details and shading |
| Fits on curves | Can wrinkle on fingers and wrist | Follows every curve |
| Best for | Beginners, kids, quick festival looks | Bridal, detailed and full-hand work |
Stencils are a great way to learn. Many beginners start with stickers, then trace the same shapes freehand once they feel confident. If you want to practise with a cone, start with our easy mehandi design gallery.
How to Choose the Right Mehandi Stencils
Not every pretty sticker gives a pretty result. Before you buy, look at the sheet closely and think about where it will go.
- Open shapes win. Big petals, round mandalas, leaves and simple paisleys fill easily and peel cleanly. Very thin lines and tiny dots often tear or smudge.
- Match the size to the spot. A long trail suits the back of the hand or the side of the palm. Small motifs suit fingers, wrists and kids’ hands. For feet, pick a stencil made for the ankle and the top of the foot, since the curves are different.
- Check the bridges. The thin uncut strips that hold the pattern together should be at least as wide as a cone line. If they are hair-thin, the sticker will lift while you fill it.
- Think about the occasion. A crescent moon and stars suits Karva Chauth or Eid, a lotus suits Diwali, and a simple bel works for office days or college.
- Mix stencil and freehand. Use the sticker for the main shape, then add dots, a wrist band or filled fingertips with your cone. It looks more personal and nobody can tell it began as a stencil.
Keep unused stickers flat, in their packet, away from heat and sunlight. Bent or dusty stickers lose their grip and give messy edges.
Reusable vs Single-Use Mehandi Stickers
- Single-use vinyl stickers: thin and very sticky, so edges stay crisp. They tear when you peel them, so each one works once.
- Reusable stencils: thicker plastic or silicone sheets. Wash them gently with water, dry them flat and store them on their backing. They are less sticky after a few uses, so press harder each time.
Single-use stickers give the cleanest finish for a wedding or festival. Reusable ones save money if you do mehandi for family often.
Safety Tips for Mehandi Stickers
- Use only natural henna paste. Some stencil kits come with a dark “instant” paste. If it stains black in minutes, it may contain PPD, a chemical that can cause blisters and serious allergy.
- Patch test the adhesive. A few people react to sticker glue. Stick a small corner of the sheet on your inner arm for an hour first.
- Be extra careful with kids. Use natural henna only and remove the sticker gently. See our kids mehandi design page for small designs.
- Skip broken skin. Do not use stickers on cuts, rashes or sunburn.
Common questions
How do I use a mehandi sticker?
Stick the stencil on clean, dry skin and press it down well. Fill the cut-outs with natural henna paste, then peel the sticker off while the paste is still damp. Let the paste dry and keep it on for a few hours for a good stain.
Are mehandi stickers safe?
The stencil itself is safe for most people, but the paste you use matters. Use natural henna only, never black henna that may contain PPD, and test the adhesive on a small area first if you have sensitive skin.
Can I reuse a mehandi stencil?
Thin vinyl stickers usually work only once. Thicker plastic or silicone stencils can be washed with plain water and reused a few times, though they slowly lose stickiness.
Why does my stencil design look smudged?
Usually the sticker was not pressed down well, or the paste was too runny, or it was peeled after drying fully. Press firmly, use thick paste and peel while the paste is damp.
Do mehandi stencils work on fingers?
Yes, small finger stencils work well. Large stickers can wrinkle over knuckles, so cut them into smaller pieces or choose designs made for fingers.
Is a mehandi sticker good for kids?
Yes. It is quick, so children do not get bored, and the shapes are simple and cute. Always use natural henna and keep the paste away from their mouth and eyes.