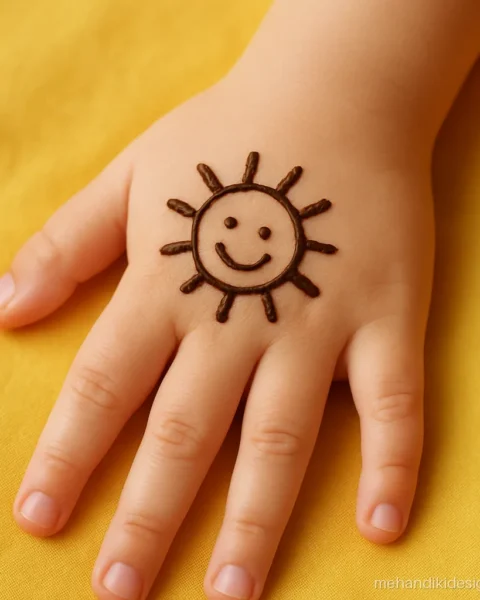
Mehandi art is a skill anyone can learn with a cone, a few sheets of paper and 15 minutes of practice a day. If you have ever wondered mehandi kaise lagate hain so neatly at weddings, the secret is not talent. It is control of the cone and a small set of basic strokes repeated again and again.
This guide teaches you exactly what we teach new learners. First the tools, then how to roll a cone, then the six basic strokes, then practice patterns on paper, and finally your first complete design on the hand. Every step has a photo of a practice sheet or a step so you can copy it.
Once you are confident, pick your next design from easy mehandi design, simple mehandi design or mehandi cone design.
Tools and Cone Making for Mehandi Art
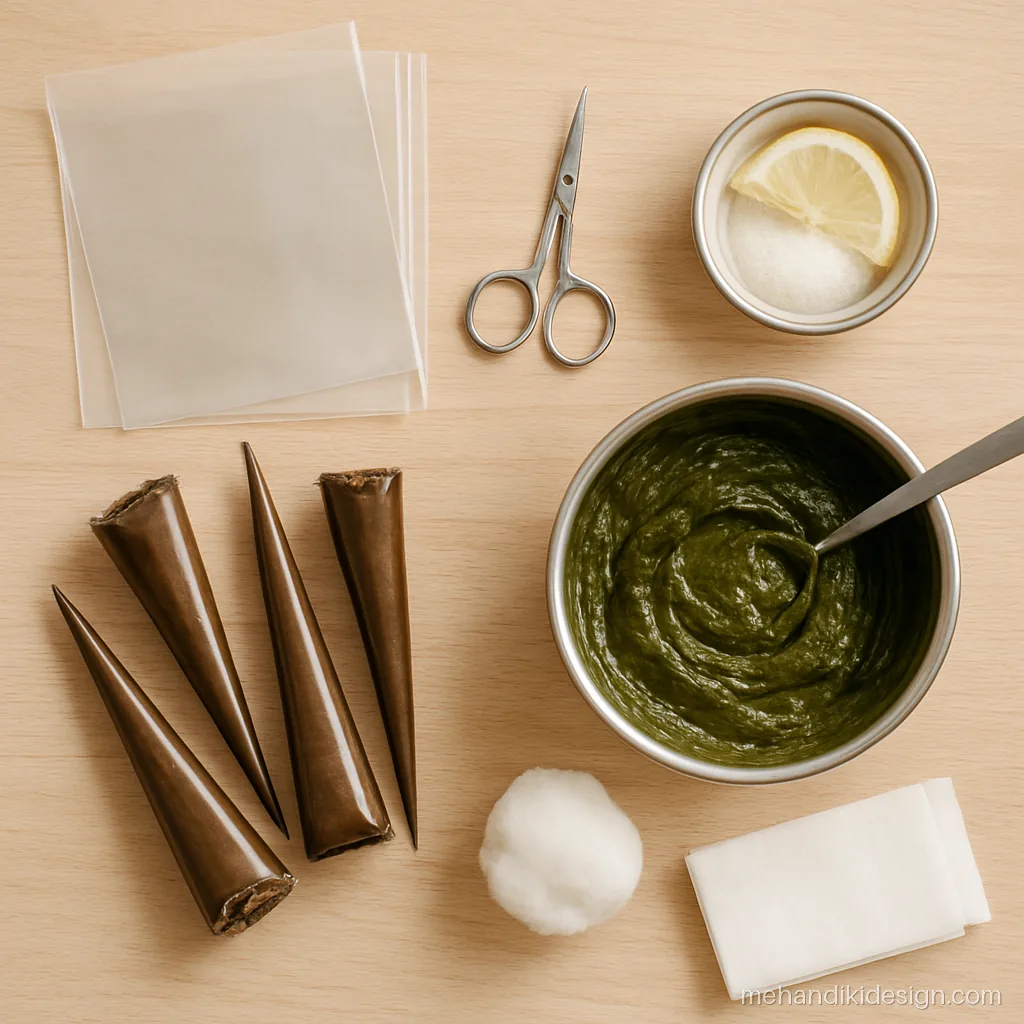
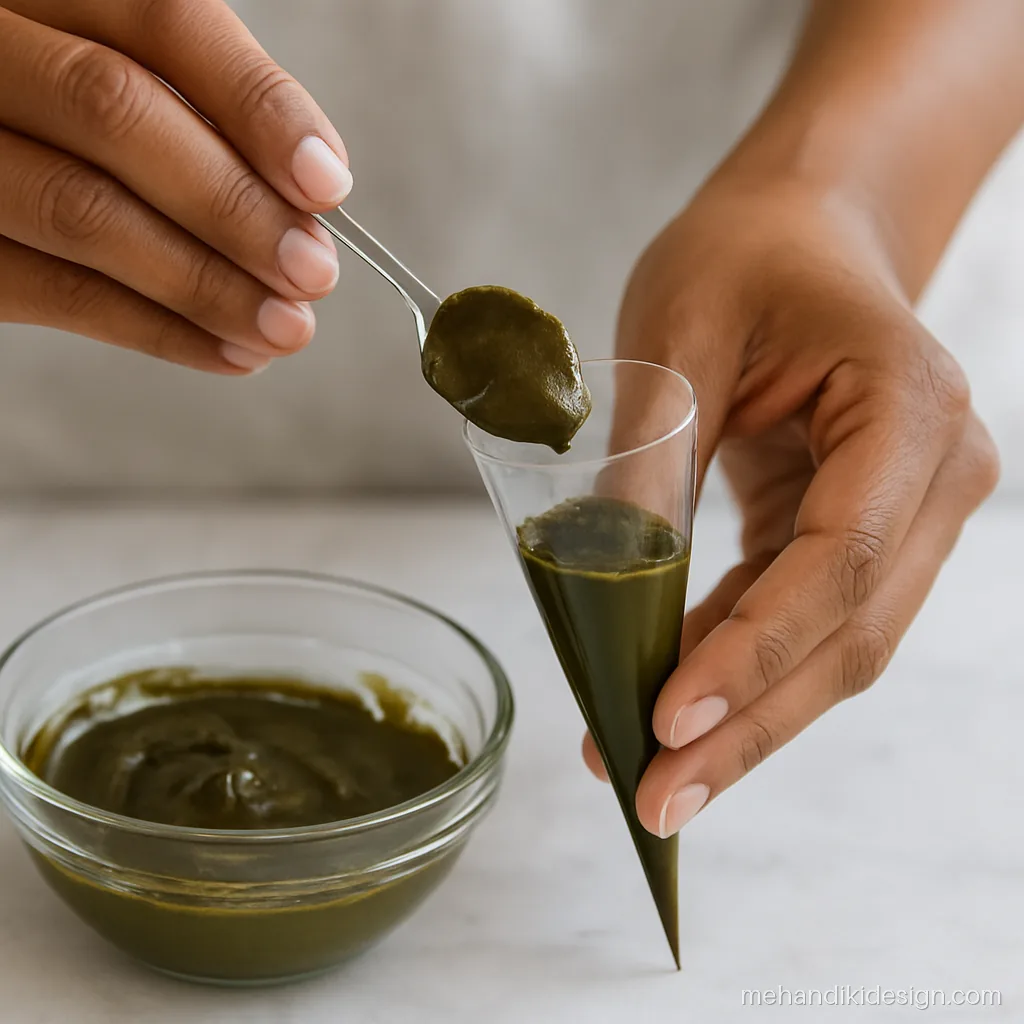
Get your tools ready before you start mehandi lagana. A well-made cone is half the work.
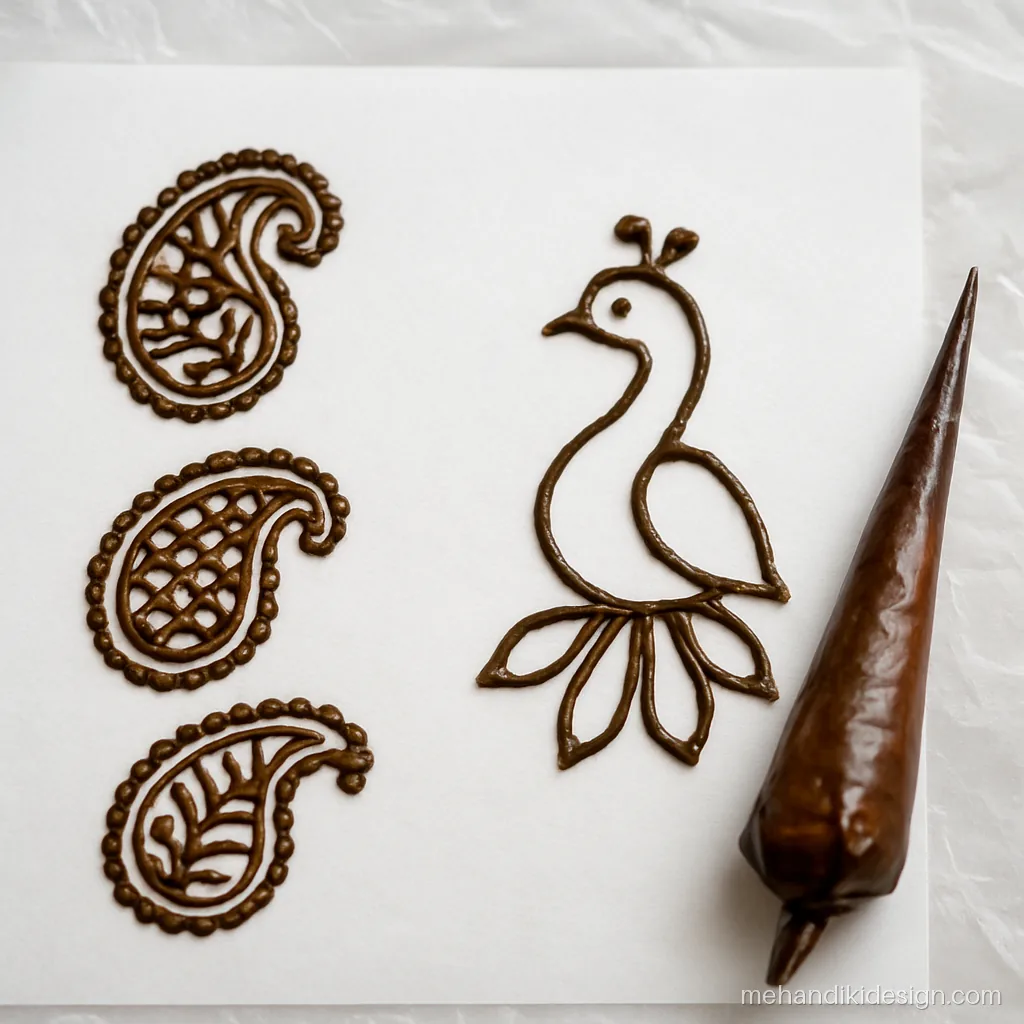
Basic Strokes: Simple Mehandi Art Practice Sheets
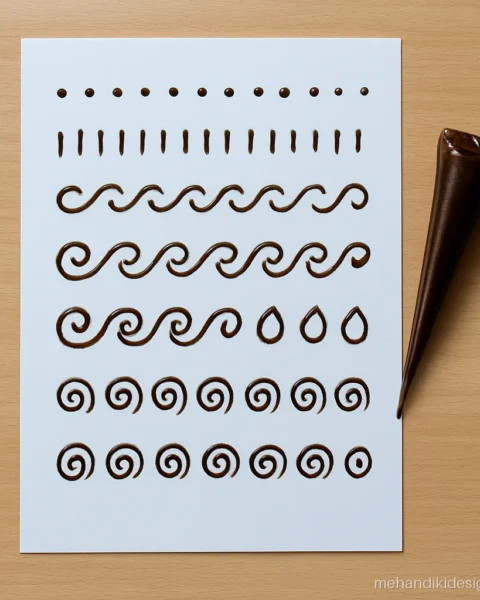
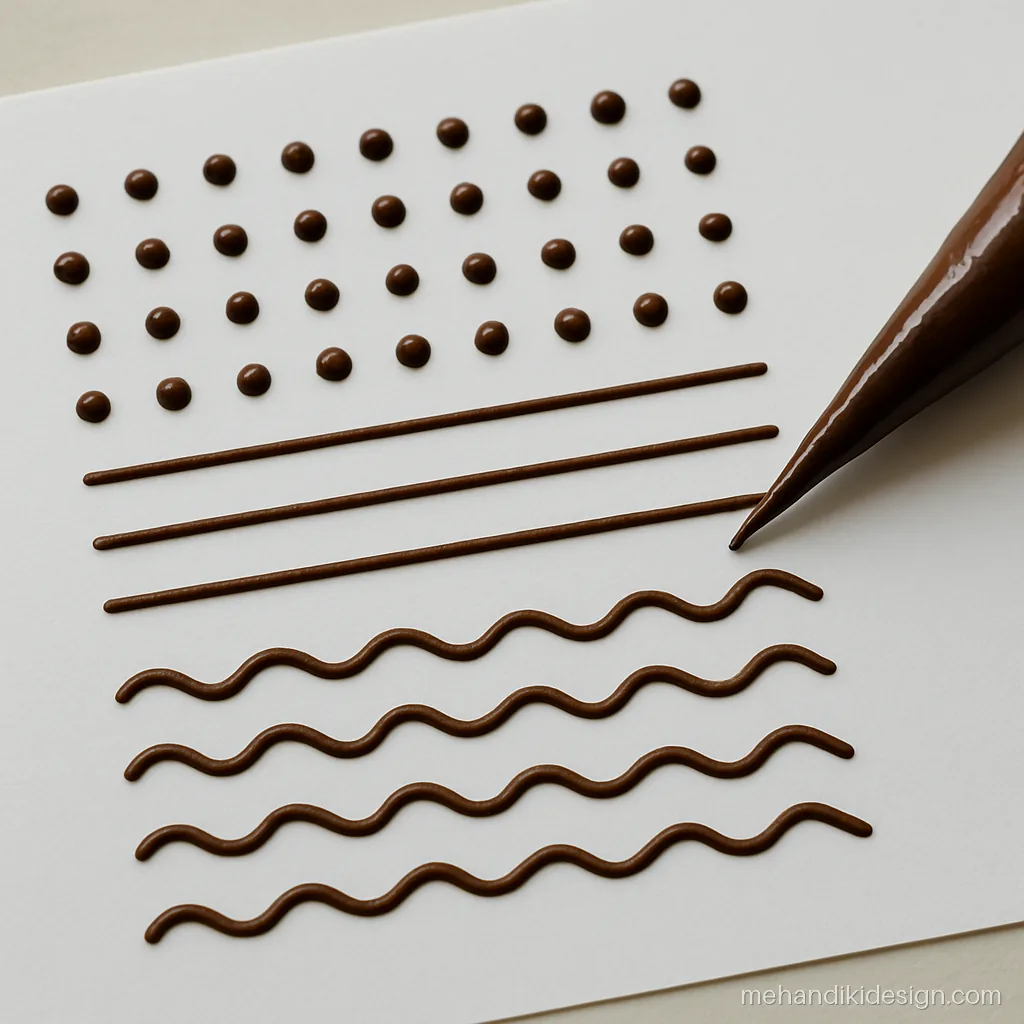
Fill one sheet per stroke. These are the building blocks of every mehandi pattern.
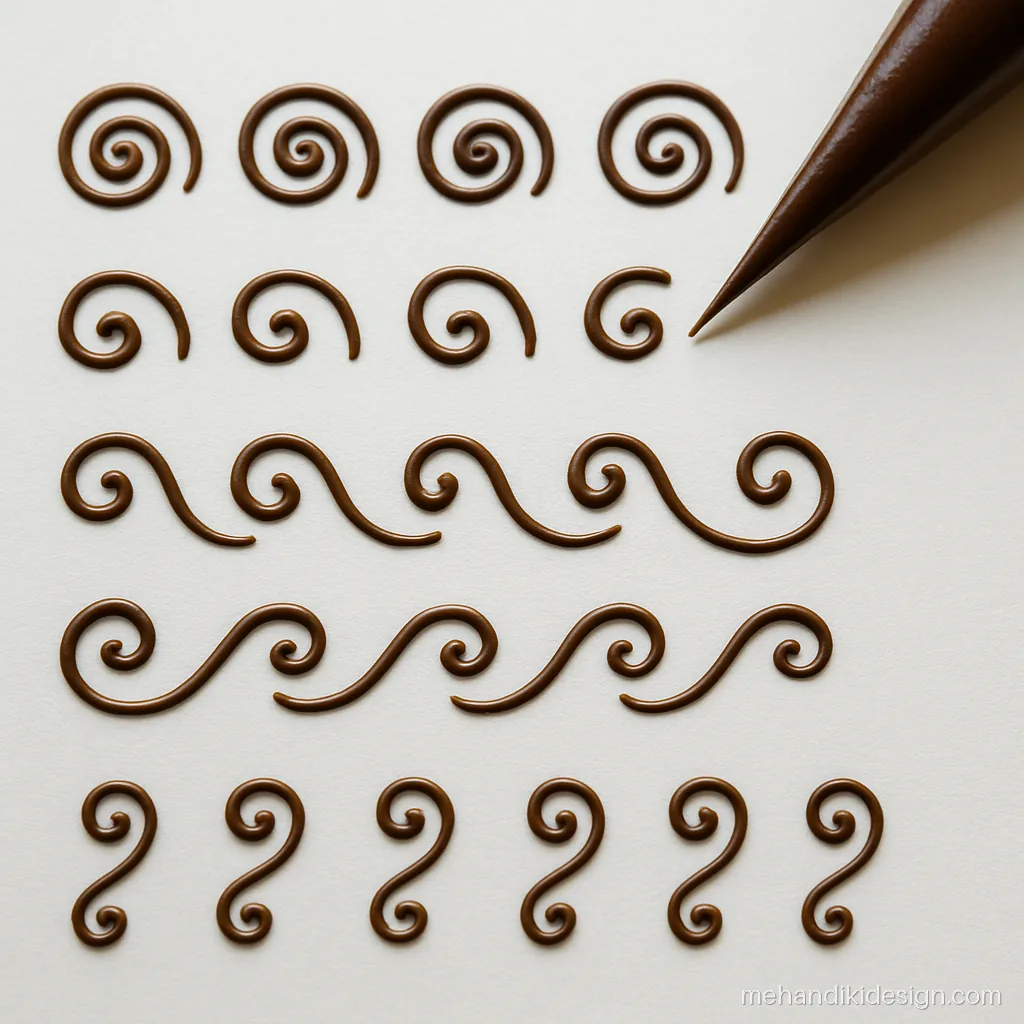
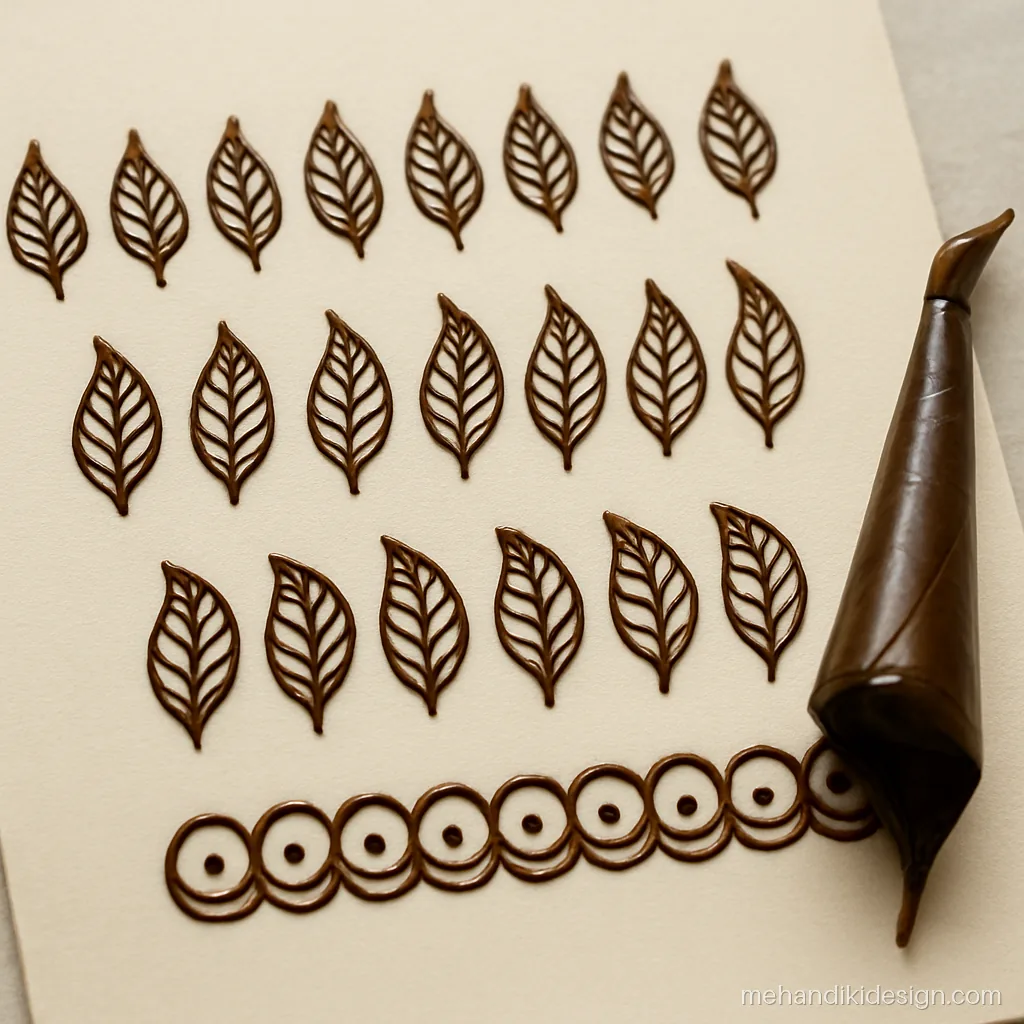
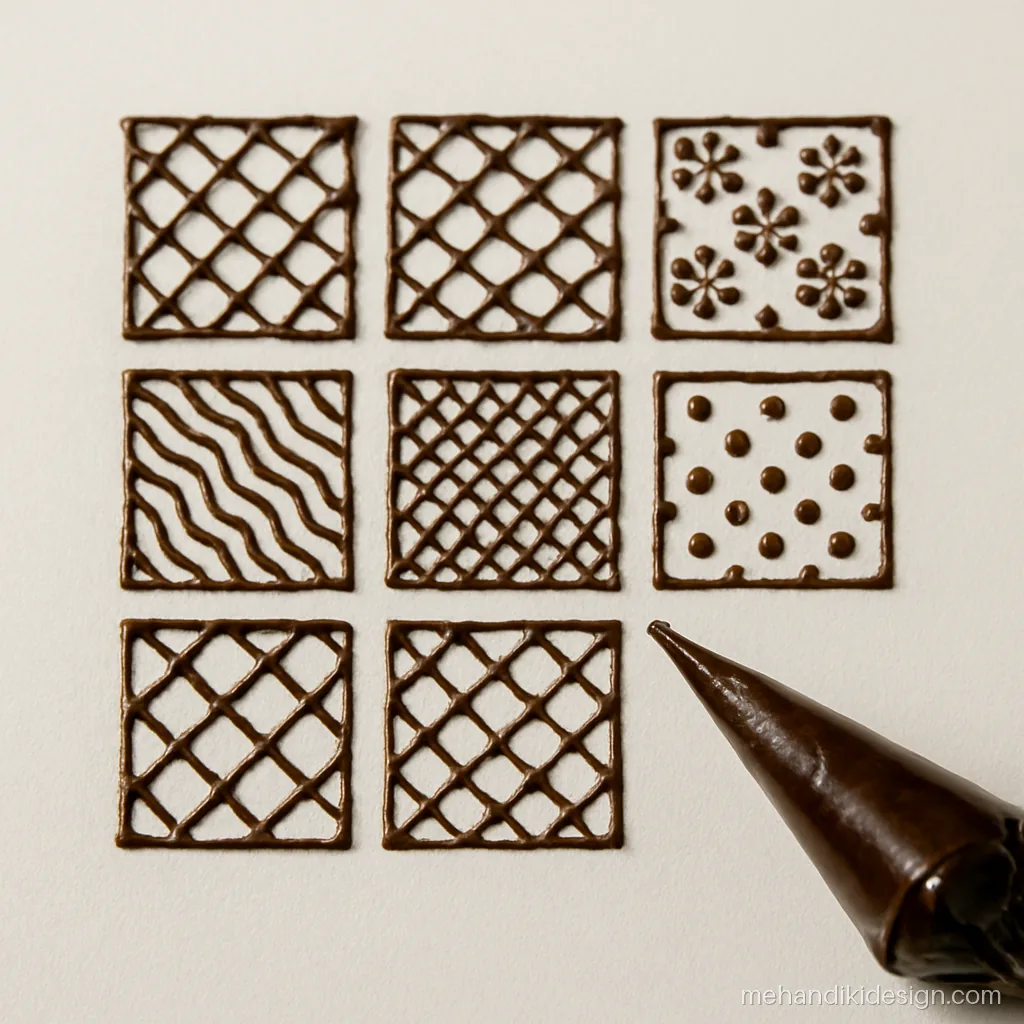
Practice Patterns for Mehandi Designing
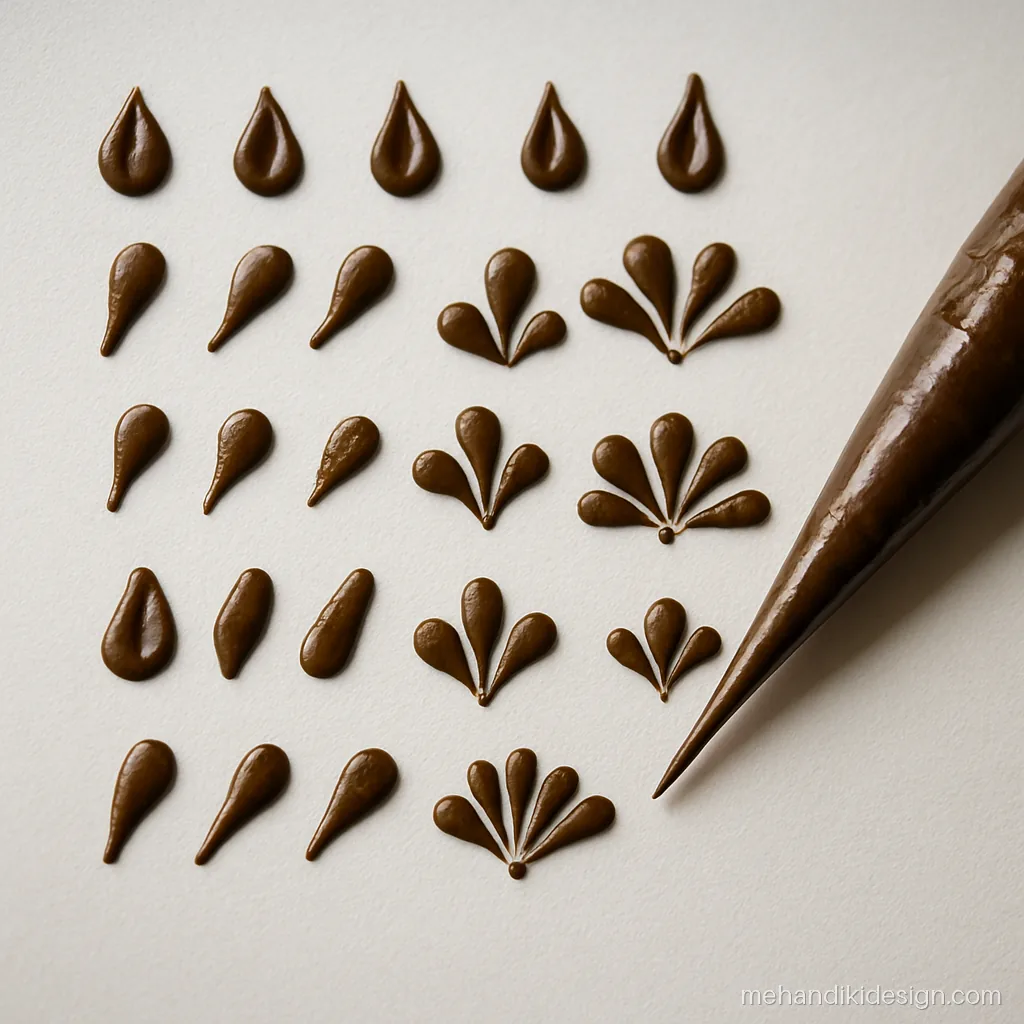
Combine the basic strokes into small patterns. Practise each one five times on paper before trying it on skin.
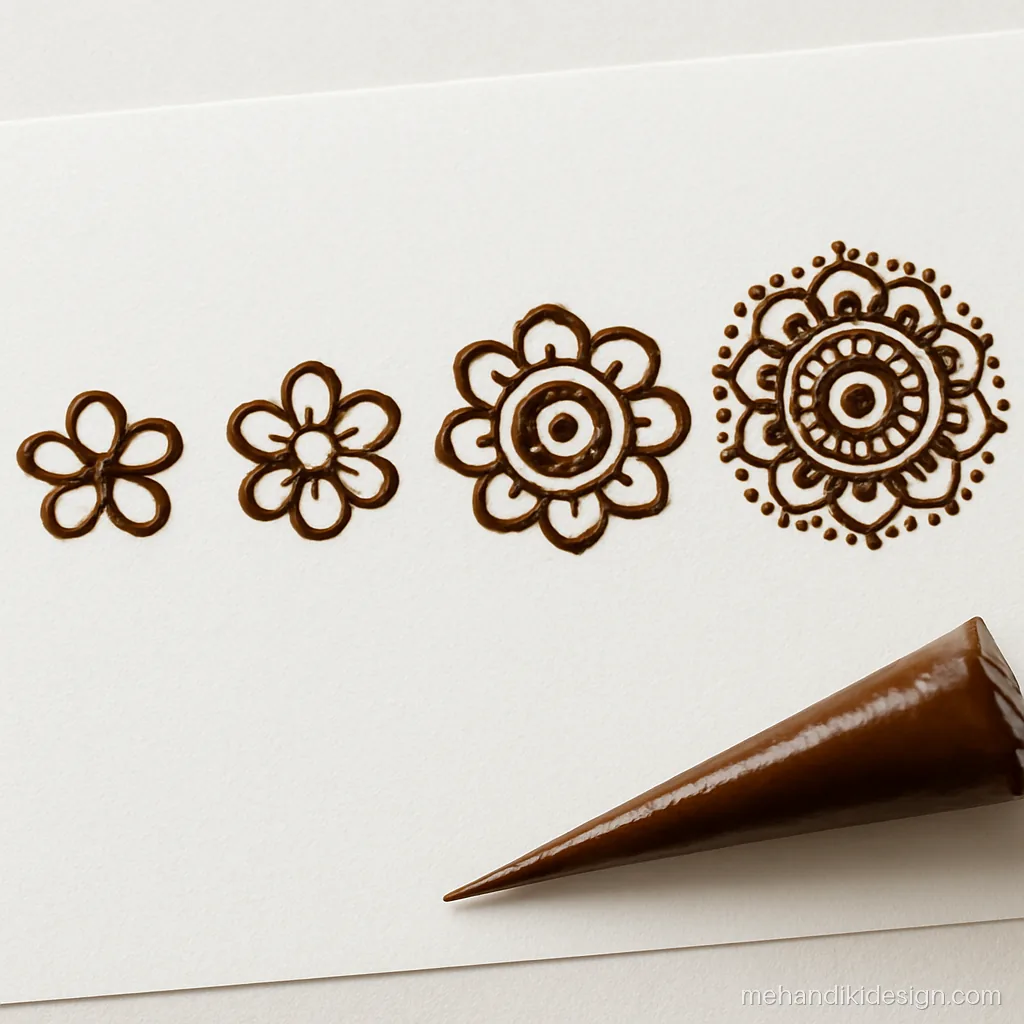
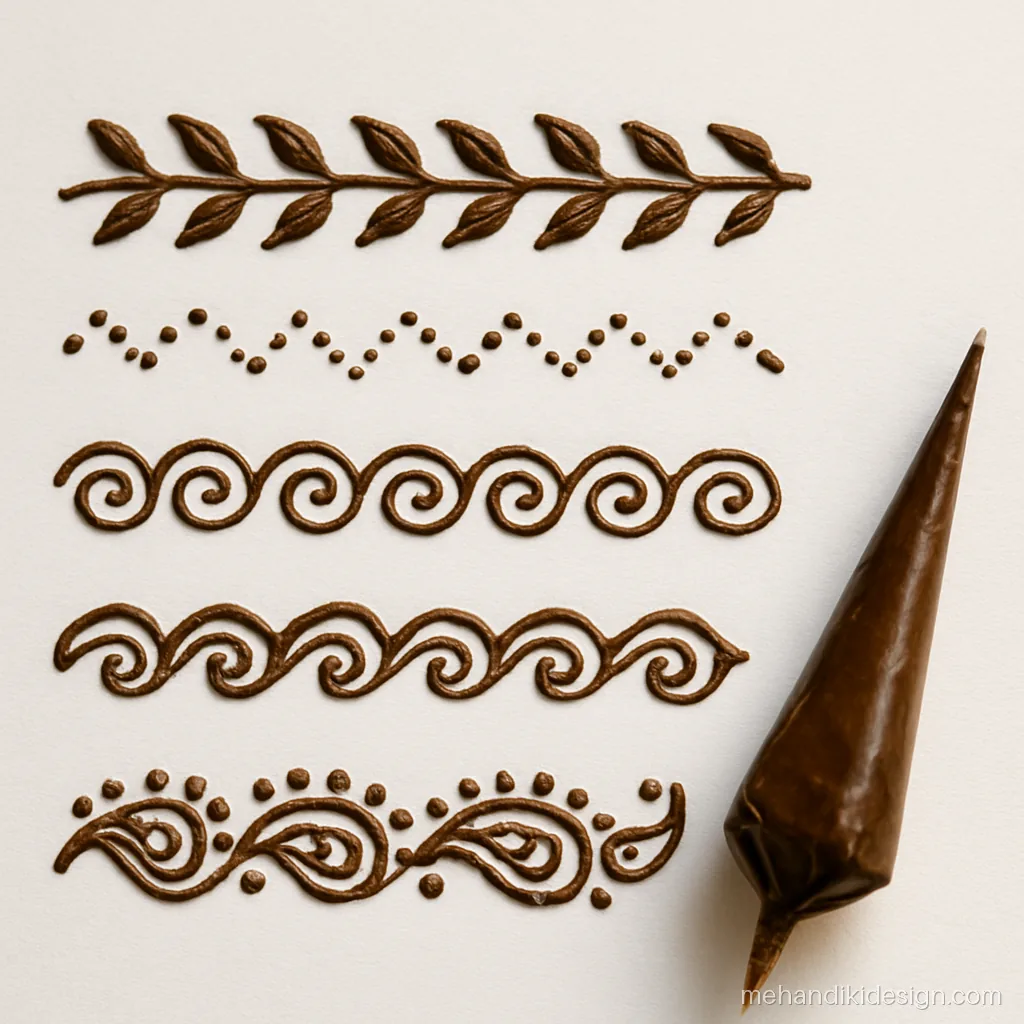
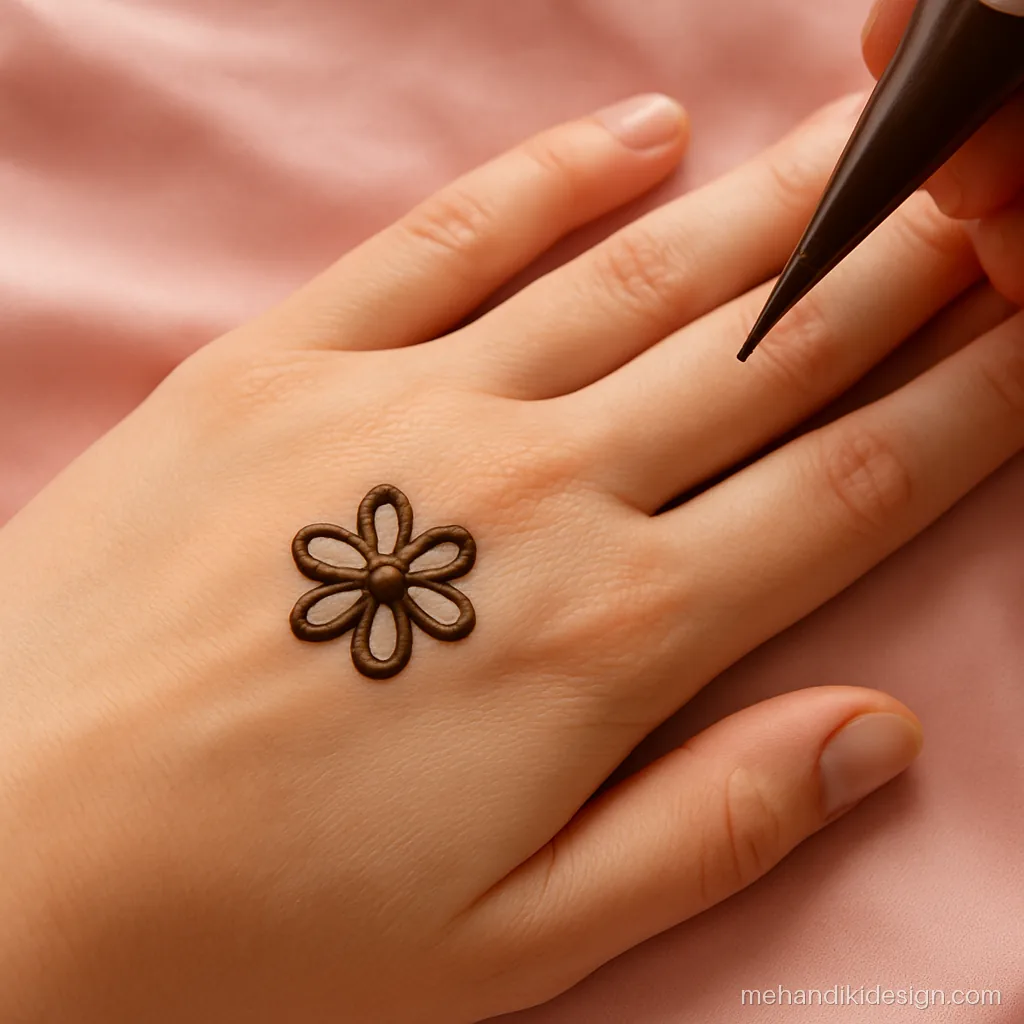
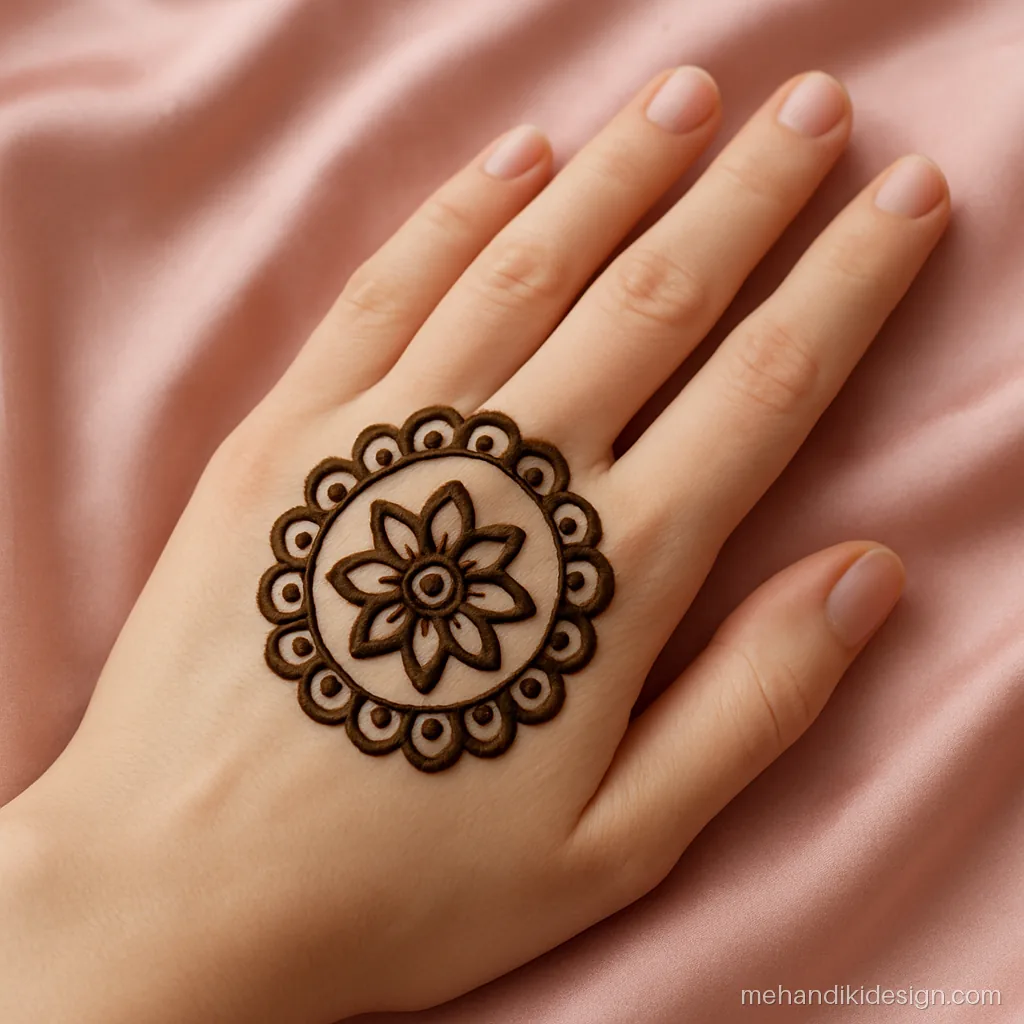
Step-by-Step First Mehandi Design on the Hand
Follow these four photos to draw your first complete design. It takes about 15 minutes. More ideas sit in our simple mehandi design gallery.
What You Need Before You Start Mehandi Lagana
- Henna paste or cones. Use natural henna. A ready cone is fine to start, but check it lists only henna, water, sugar and essential oil. Avoid black or instant-colour cones because they may contain PPD.
- Cone sheets. Thin plastic or cellophane sheets about 15 by 20 cm. You can also cut a clear plastic file cover.
- Tape and scissors. Small scissors to cut the cone tip and clear tape to seal the cone.
- Practice paper. Plain white A4 sheets or an old notebook. A clear plastic folder over printed designs also works for tracing.
- Tissues and earbuds. To wipe tips and fix mistakes right away.
- Lemon and sugar mix. 1 tablespoon sugar dissolved in 2 tablespoons lemon juice, for sealing the design later.
- A cushion. For resting the hand you are decorating. A steady hand gives steady lines.
If you want to mix your own paste for a darker stain, follow the recipe in our mehandi ka rang guide.
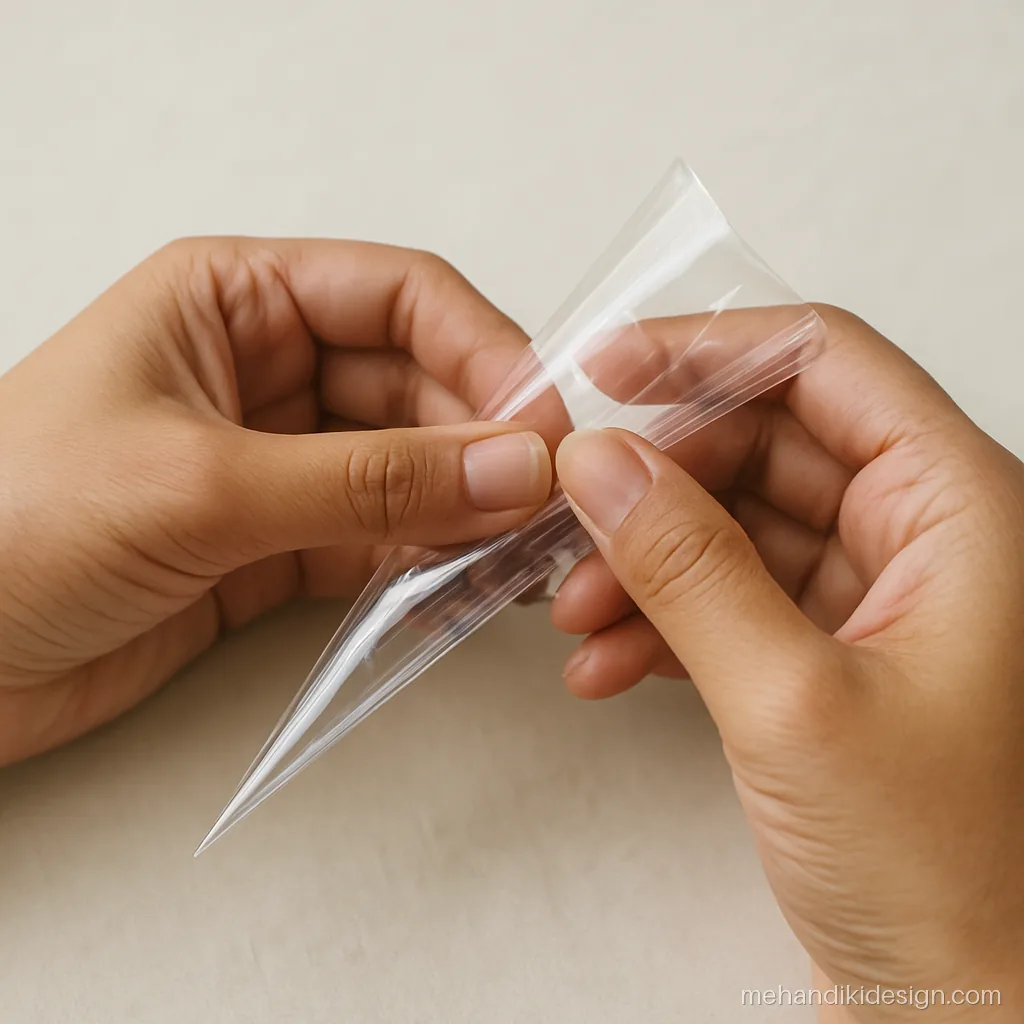
How to Roll and Fill a Mehandi Cone
- Cut a sheet into a triangle or a rectangle about 15 by 20 cm.
- Hold one corner and roll the sheet into a tight cone. The point must be sharp and closed, with no hole yet.
- Tape the outer edge from top to bottom so it does not open.
- Fill the cone halfway with paste using a spoon or a piping bag. Do not overfill, as a half-filled cone is easier to control.
- Fold the top over twice like a toothpaste tube and tape it shut.
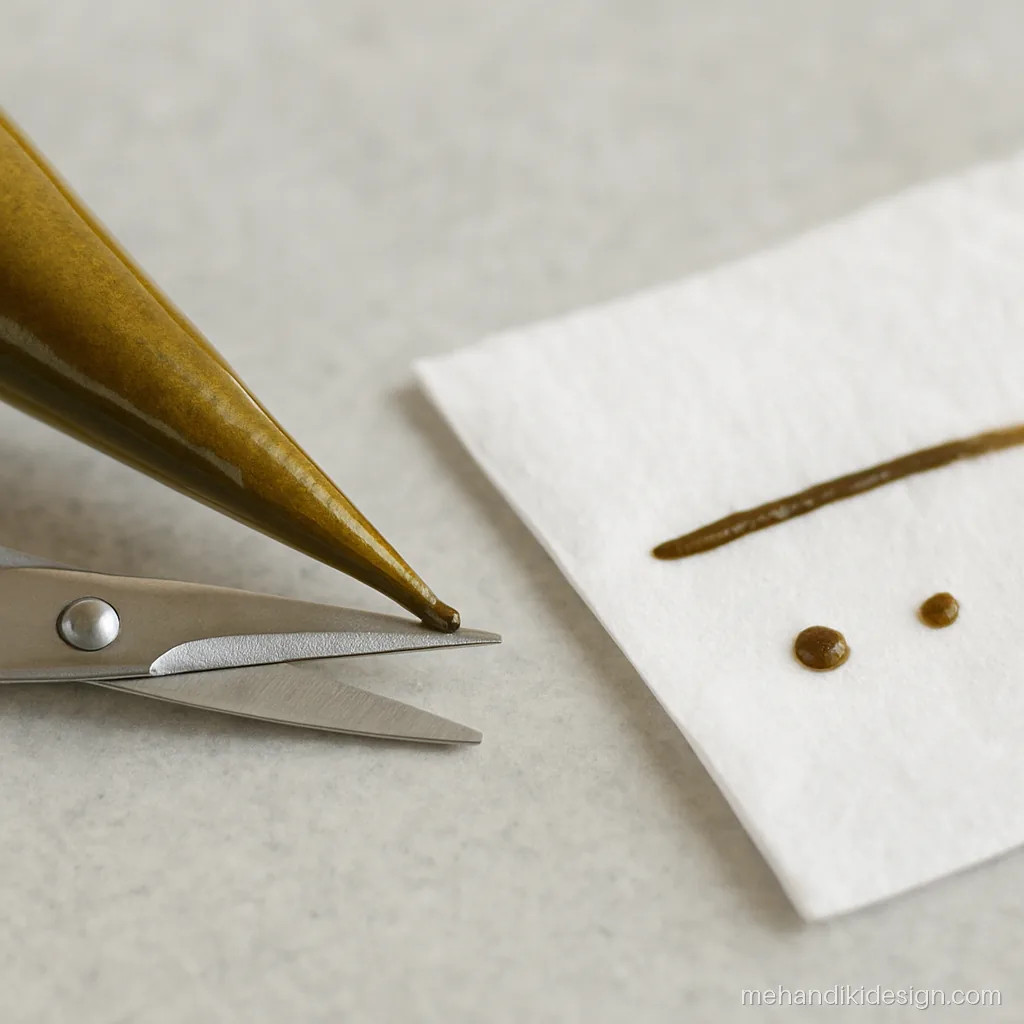
- Cut a very small tip at the point. Start tiny: you can always cut more, but a big hole cannot be fixed.
- Squeeze a little paste onto a tissue to test. It should come out in a smooth thread, not in blobs.
The Six Basic Strokes of Mehandi Drawing
Every mehandi pattern, from a bel to a bridal design, is made from these six strokes. Hold the cone like a pen, at about 45 degrees, and squeeze from the top with your thumb.
| Stroke | How to make it | Used in |
|---|---|---|
| Dot | Touch, squeeze lightly, lift straight up | Borders, fillers, flower centres |
| Line | Touch, then lift the tip slightly and let the paste fall as you move | Bands, nets, stems |
| Petal (teardrop) | Press for a round end, then pull and ease off to a point | Flowers, Arabic designs |
| Swirl | Start at the centre and spiral outward in one smooth move | Fillers, vines, modern designs |
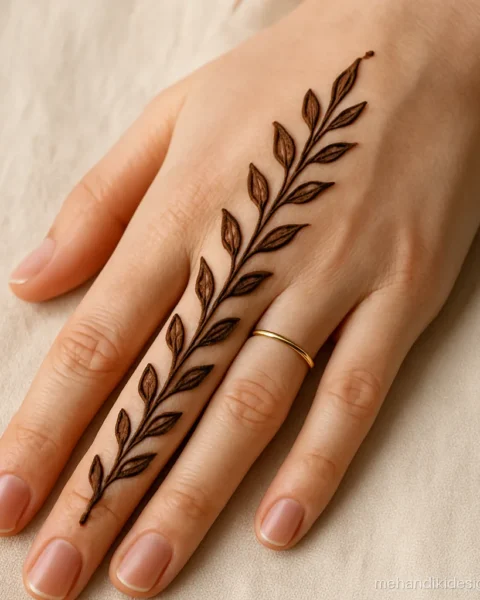
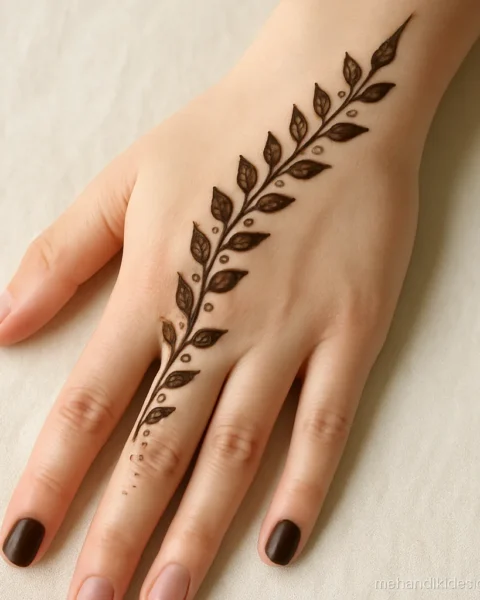
| Leaf | Two curved lines meeting at both ends, then a vein | Bel, borders, mango leaf |
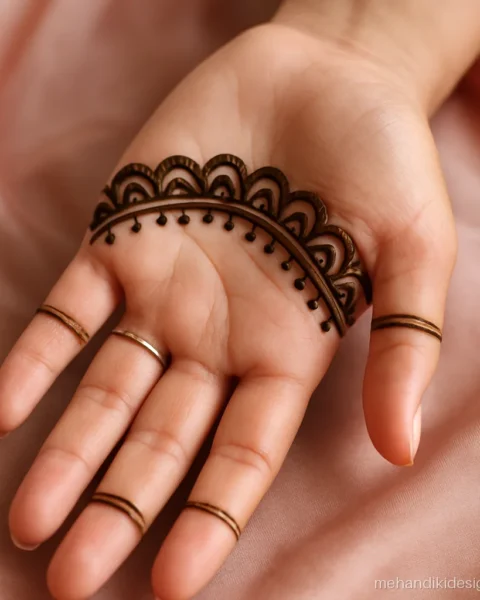
| Half-moon (U shape) | A smooth curve, repeated in a row for scallops | Finger bands, mandala rings |
Practice routine: fill one A4 sheet with each stroke, one row at a time. Aim for every dot the same size and every line the same thickness. After a week of this, simple mehandi art on the hand becomes easy.
Your First Mehandi Design Step by Step
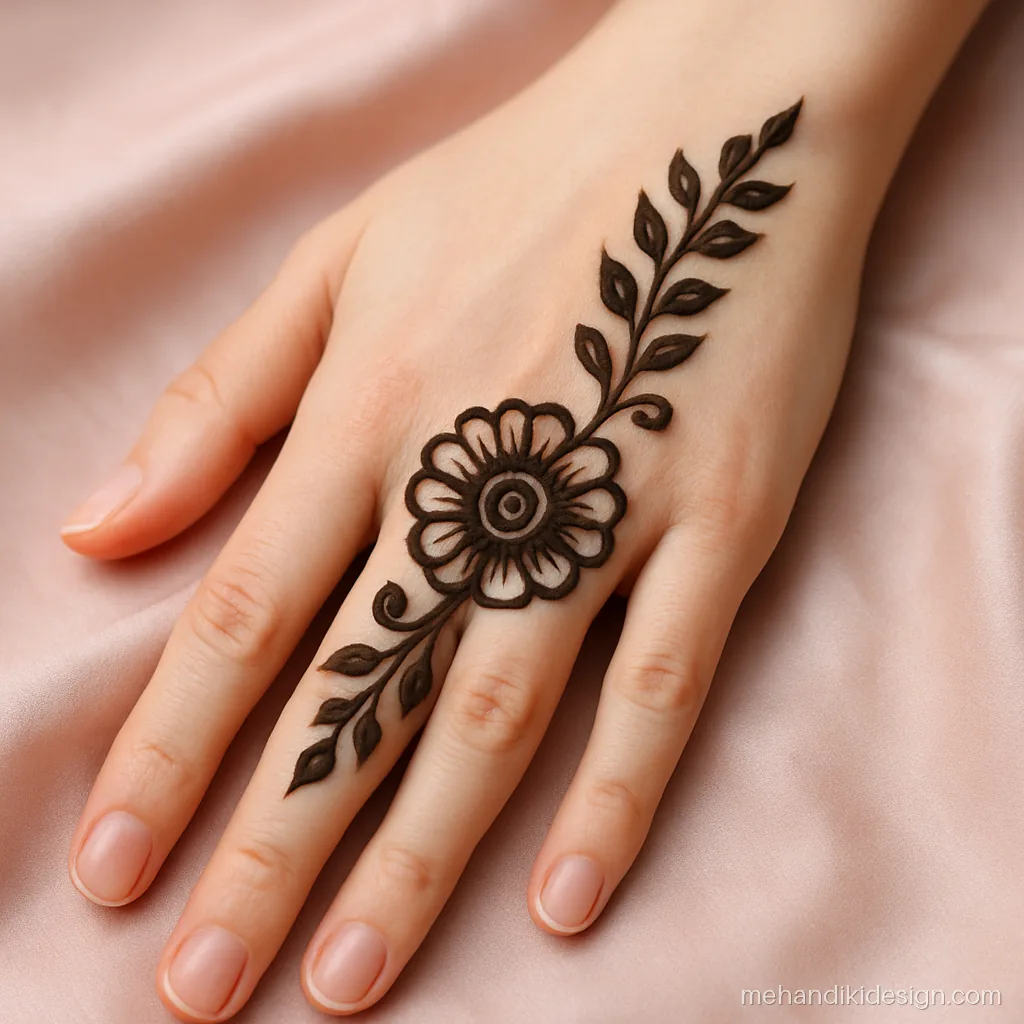
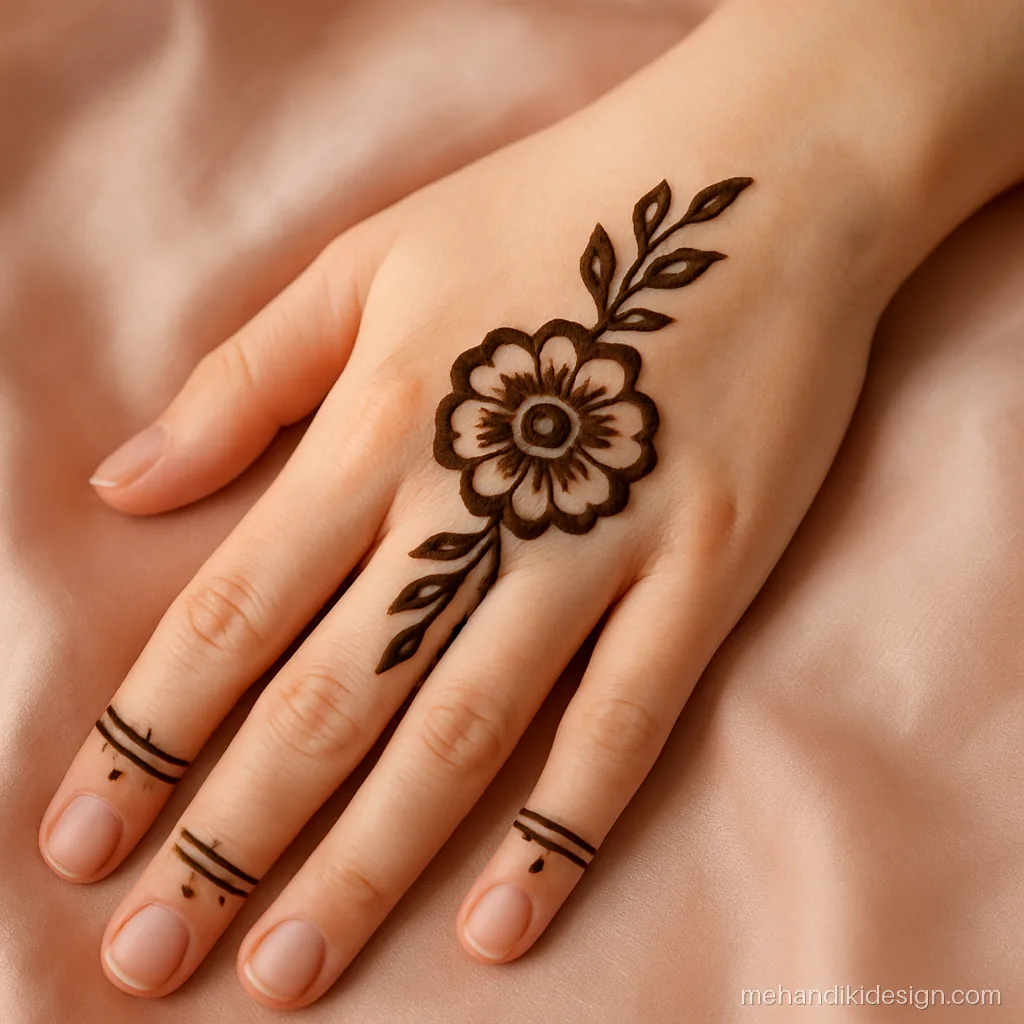
This is a simple back hand design that uses all six strokes. It takes about 15 minutes.
- Clean the hand. Wash with soap and dry fully. No cream or oil.
- Draw the centre flower. Put a dot in the middle of the back of the hand. Draw a small circle around it, then six petals around the circle.
- Add a second ring. Draw a row of half-moons around the petals, and a dot in each half-moon.
- Draw the bel. From the flower, draw a curved stem towards the index finger. Add leaves on alternate sides.
- Finish the fingers. Fill each fingertip solid. Add two thin lines below each cap and a row of dots between them.
- Add the wrist band. Draw two thin lines across the wrist with small swirls between them.
- Fix and dry. Wipe any smudges with an earbud. Let the paste dry for 15 to 20 minutes, then dab on lemon and sugar.
Common Mistakes in Mehandi Designing and How to Fix Them
- Blobs at the start of lines. You are squeezing before you move. Start moving and squeezing at the same time.
- Shaky lines. You are dragging the tip on the skin. Lift it a little and let the paste fall like thread. Rest your little finger on the hand for support.
- Uneven petals. Press harder at the start and release as you pull. Practise 50 petals in a row on paper.
- Paste stops coming. The tip is blocked. Wipe it on a tissue or pierce it gently with a pin.
- Design looks crowded. Leave small gaps. Bare skin is part of a good mehandi pattern.
- Smudging your own work. Right-handed artists should work from left to right and top to bottom. Left-handed artists do the opposite.
Aftercare So Your First Design Shows Its Best Colour
Keep the paste on for at least 4 to 6 hours, or overnight for bridal. Seal it 2 or 3 times with lemon and sugar so it does not crack. Scrape it off with a blunt knife instead of washing. Warm the hands over clove smoke, apply a little mustard oil, and avoid water for 12 to 24 hours. The stain starts orange and turns reddish brown over 24 to 48 hours. Then try a bigger design from our back hand mehandi design gallery.
Common questions
Mehandi kaise lagate hain for the first time?
Start on paper, not the hand. Practise dots, lines, petals, swirls, leaves and half-moons until they look even. Then try a small flower with a bel and finger caps on your own non-writing hand or a friend’s hand.
How long does it take to learn mehandi art?
With 15 to 20 minutes of daily practice, most beginners can draw neat simple designs in 2 to 3 weeks. Full hand and bridal work usually takes several months of regular practice.
Which mehandi designs for beginners are best to practise?
Leaf bels, round flowers, mandala rings and finger caps. They use only basic strokes and are forgiving if a line is slightly off. Our easy mehandi design page has 40 to try.
Can I practise mehandi drawing without wasting henna?
Yes. Fill a cone with toothpaste, cake icing or a mix of flour and water and practise on paper or a plastic sheet. The pressure and flow feel similar to henna paste.
How do I put mehandi on my own right hand?
Use your left hand with a simpler design, such as a bel and finger caps. Rest your elbow on a table and turn the paper or hand often. Bold, simple shapes are easier with the non-writing hand.
Should I use a ready cone or make paste at home?
Ready natural cones are fine for practice. For weddings and festivals, homemade paste with fresh powder usually gives a darker colour. Avoid any cone that promises black colour in minutes.