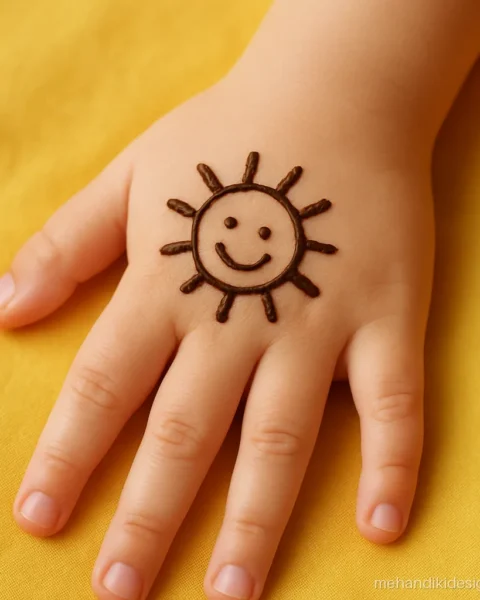
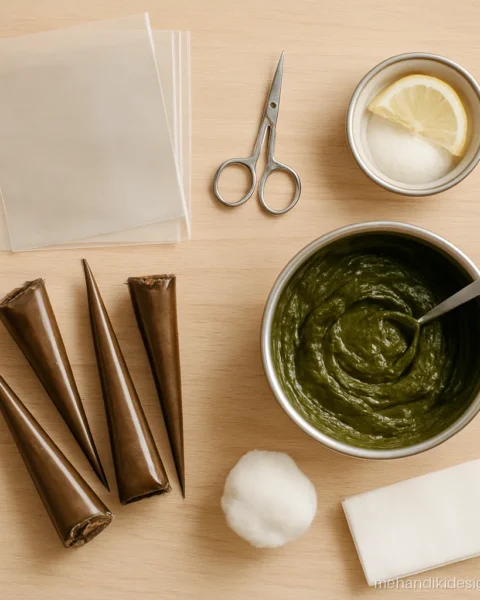
An easy mehandi design is one you can finish in 10 to 20 minutes with a steady hand, even if you have never held a cone before. Every design on this page uses a few basic shapes: dots, lines, petals, swirls and small leaves. Put them together in the right order and they look neat and festive.
We have grouped these mehandi designs easy to hard inside each section, so start at the top and move down as your lines get smoother. You will find easy back hand ideas, front hand ideas, full hand patterns, cone tricks and flowers. If you were searching for mehandi ke easy design for a function this week, every card tells you the level, the time it takes and the occasion it suits.
If you want even lighter patterns, see our simple mehandi design page. For tiny one-minute ideas, try small mehandi design, and for kids, our bacchon ki mehandi gallery has cute shapes.
Beginner Easy Mehandi Design
These are the first designs we teach new learners. Each one uses two or three basic shapes and needs no freehand planning.
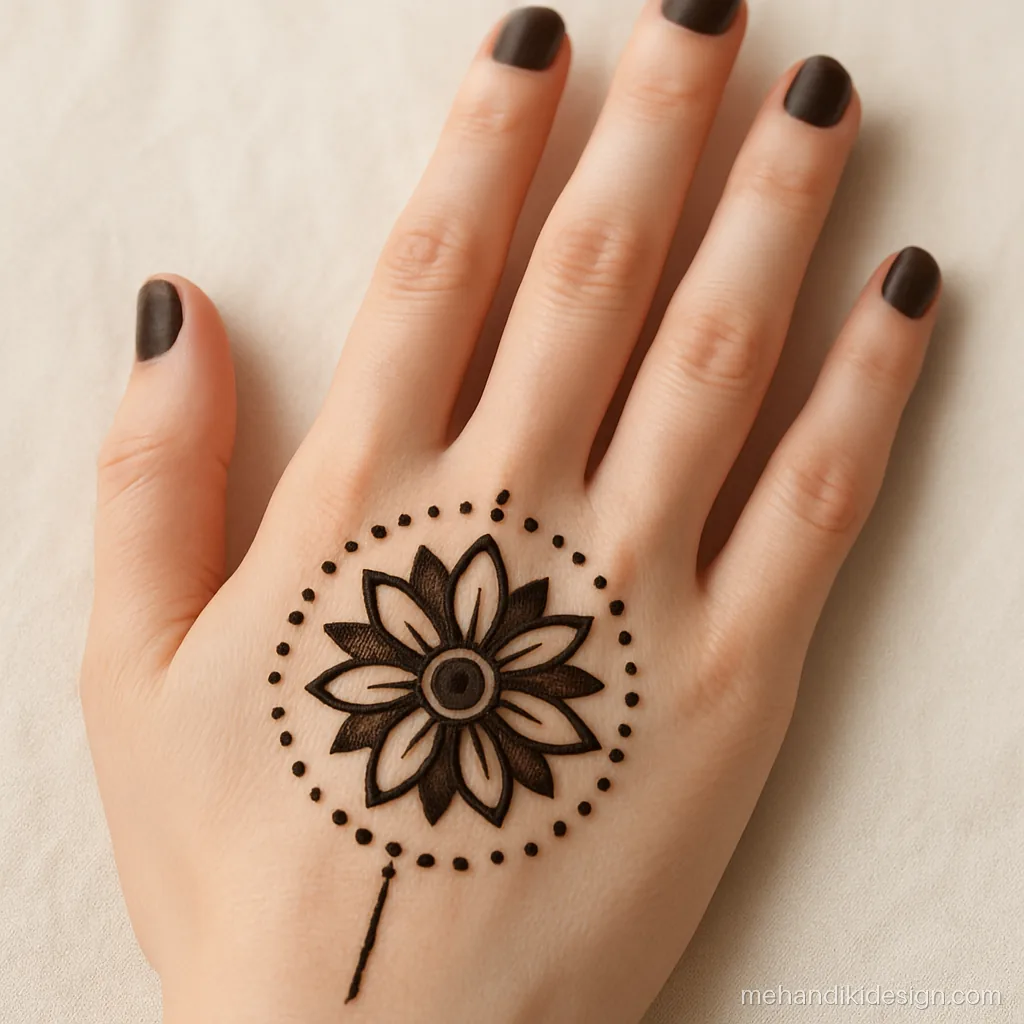
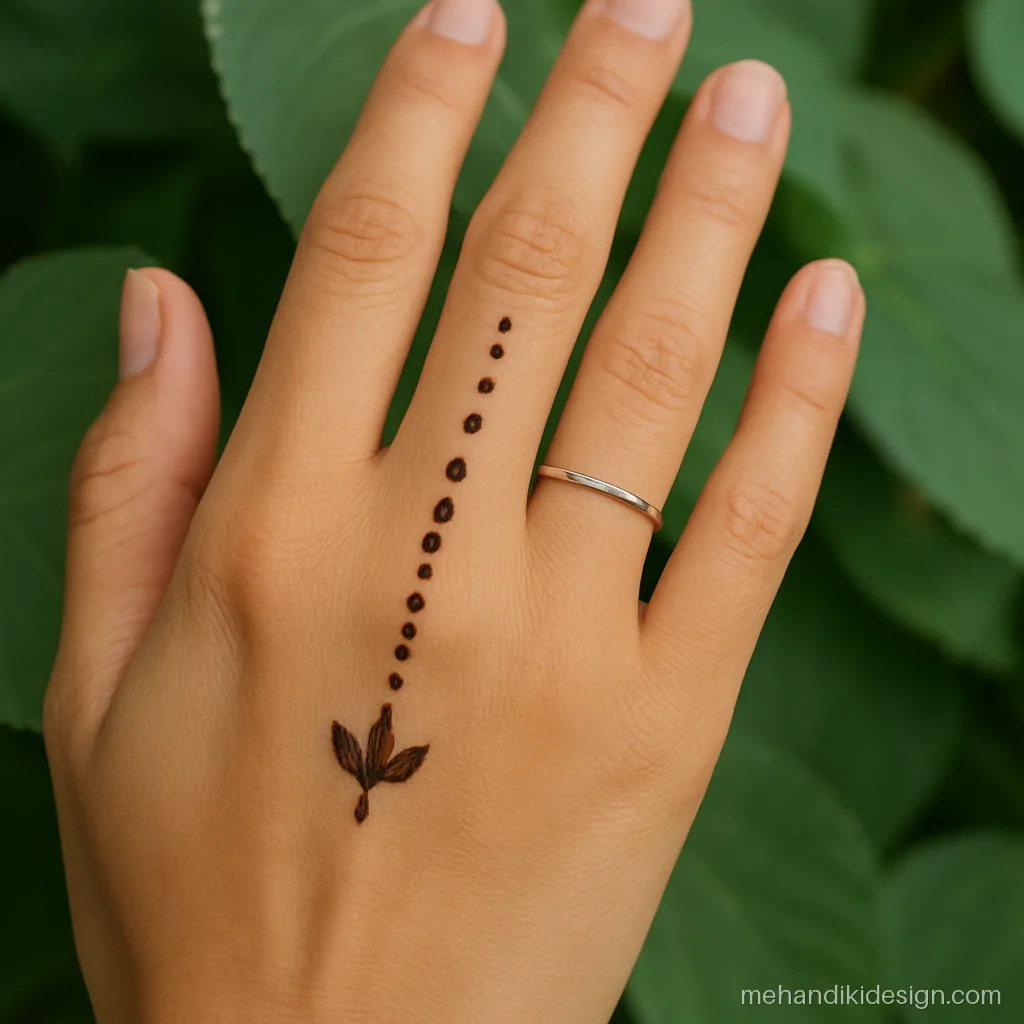
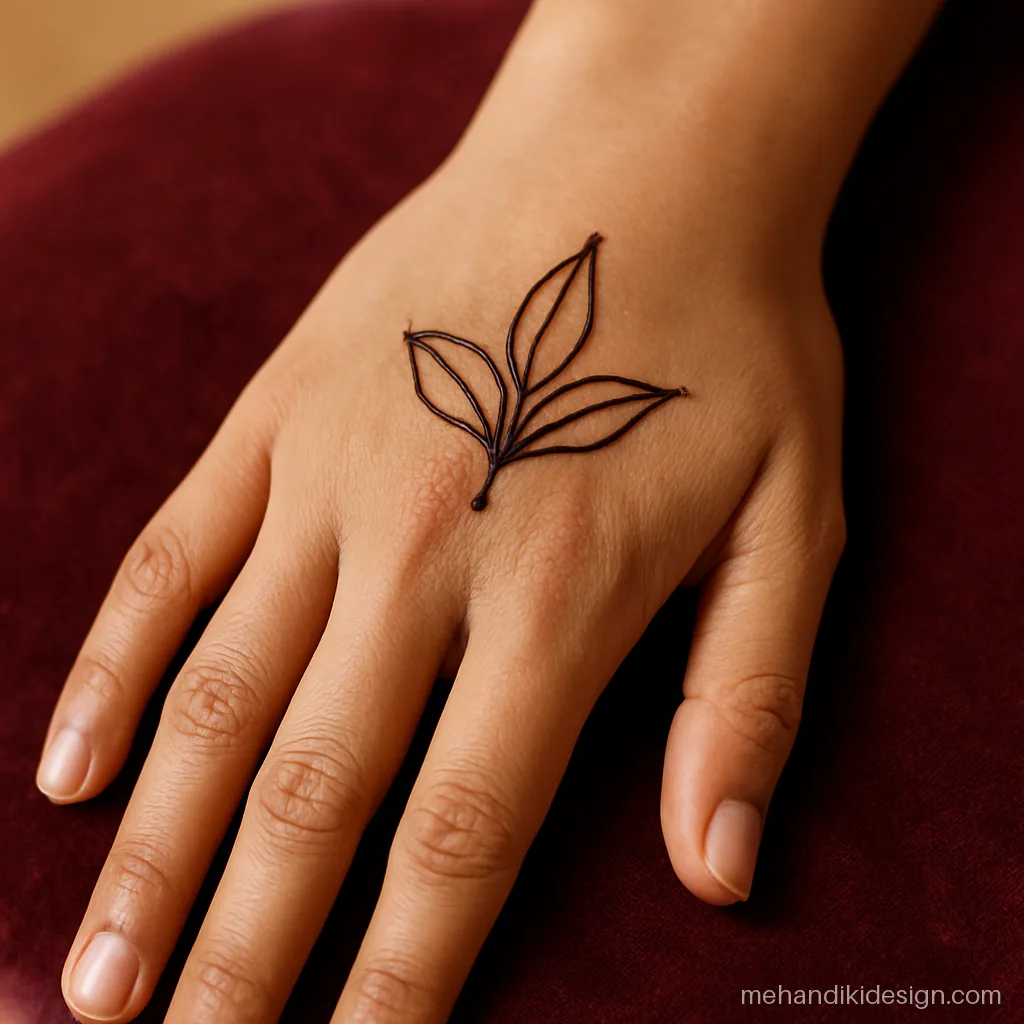
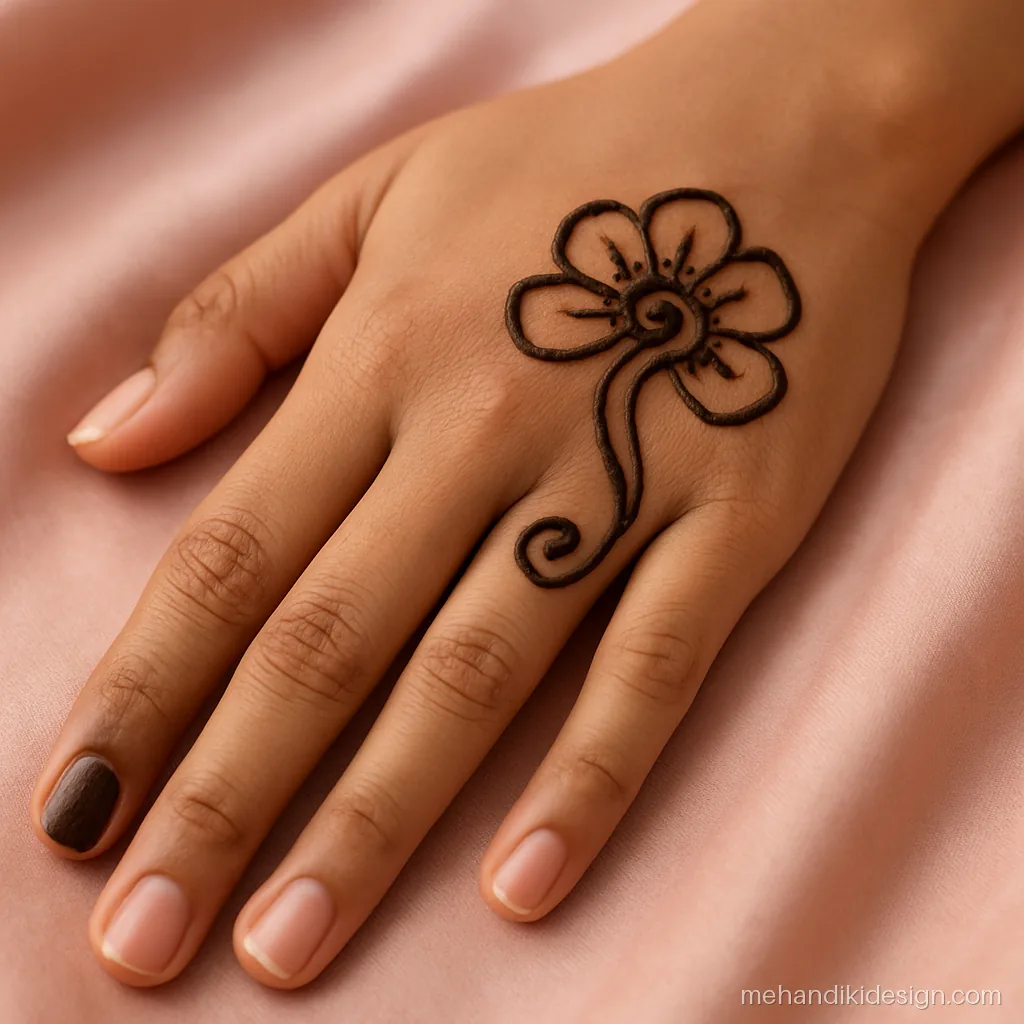
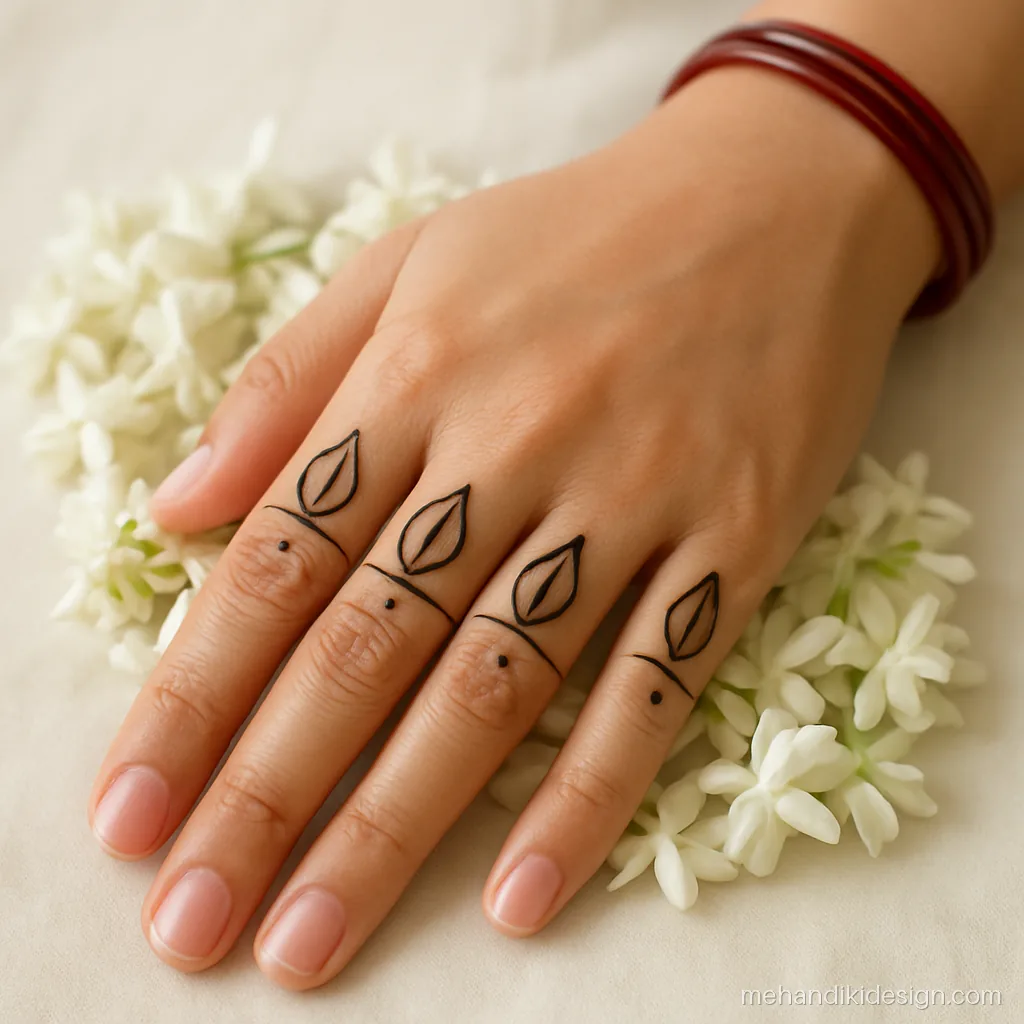
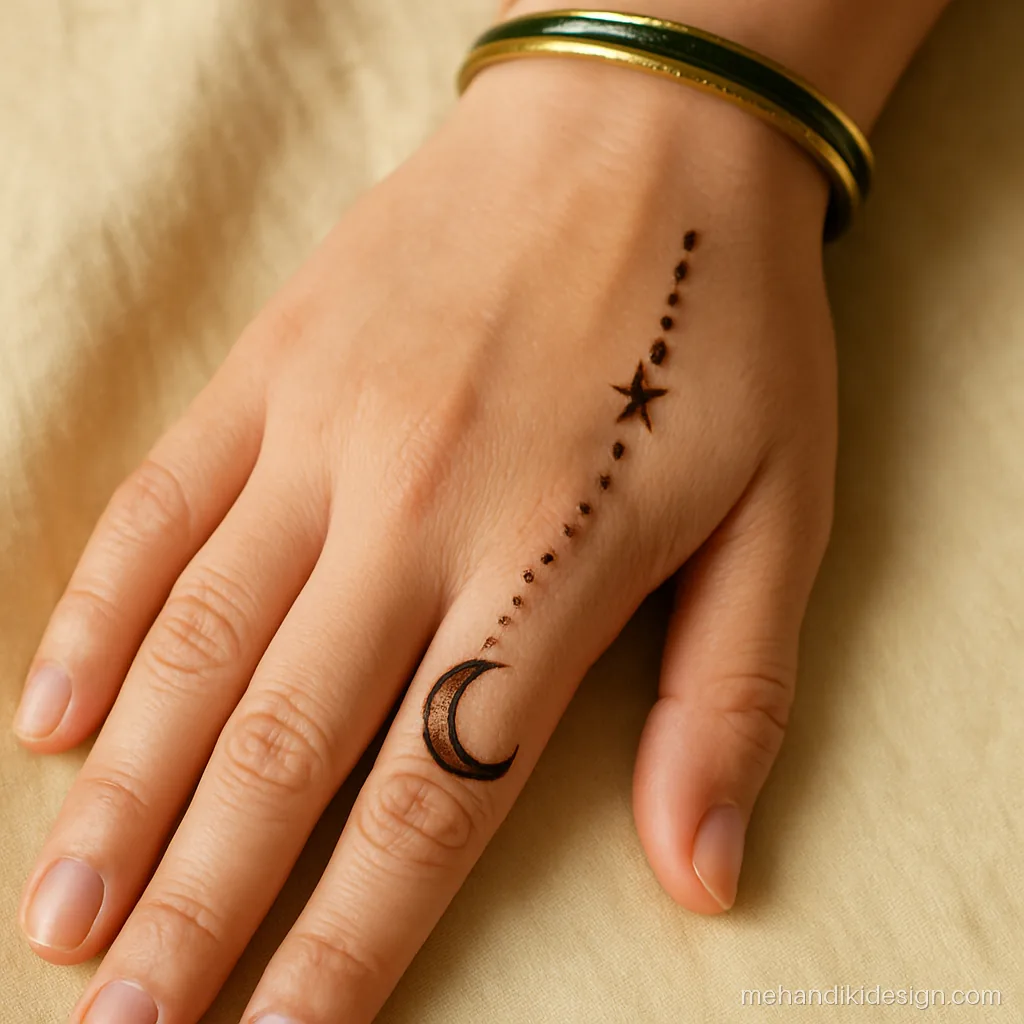
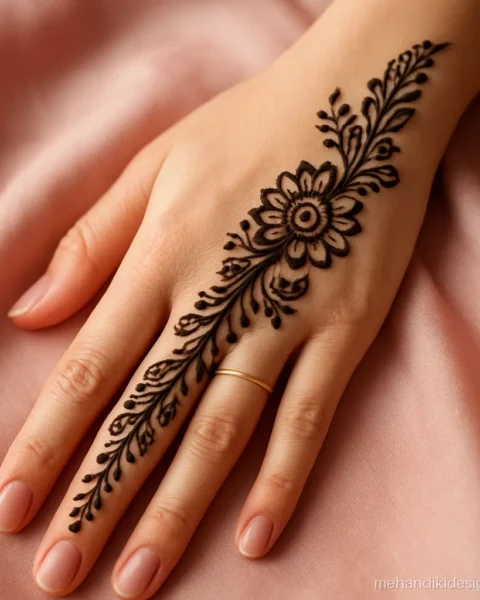
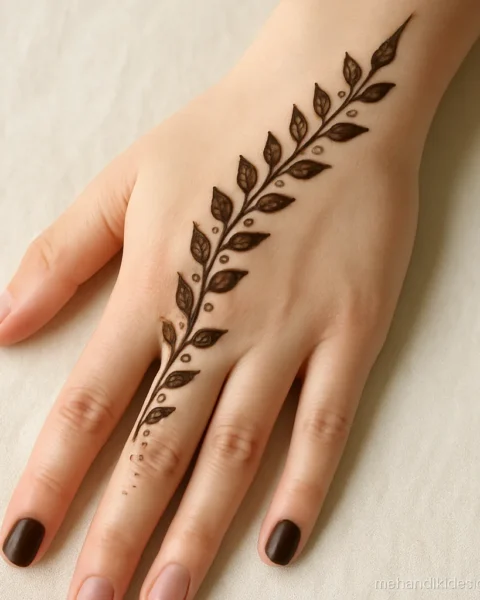
Easy Back Hand Mehandi Design
The back hand is the easiest place to start because the skin is flat and the design shows in every photo. More ideas are in our back hand mehandi design gallery.
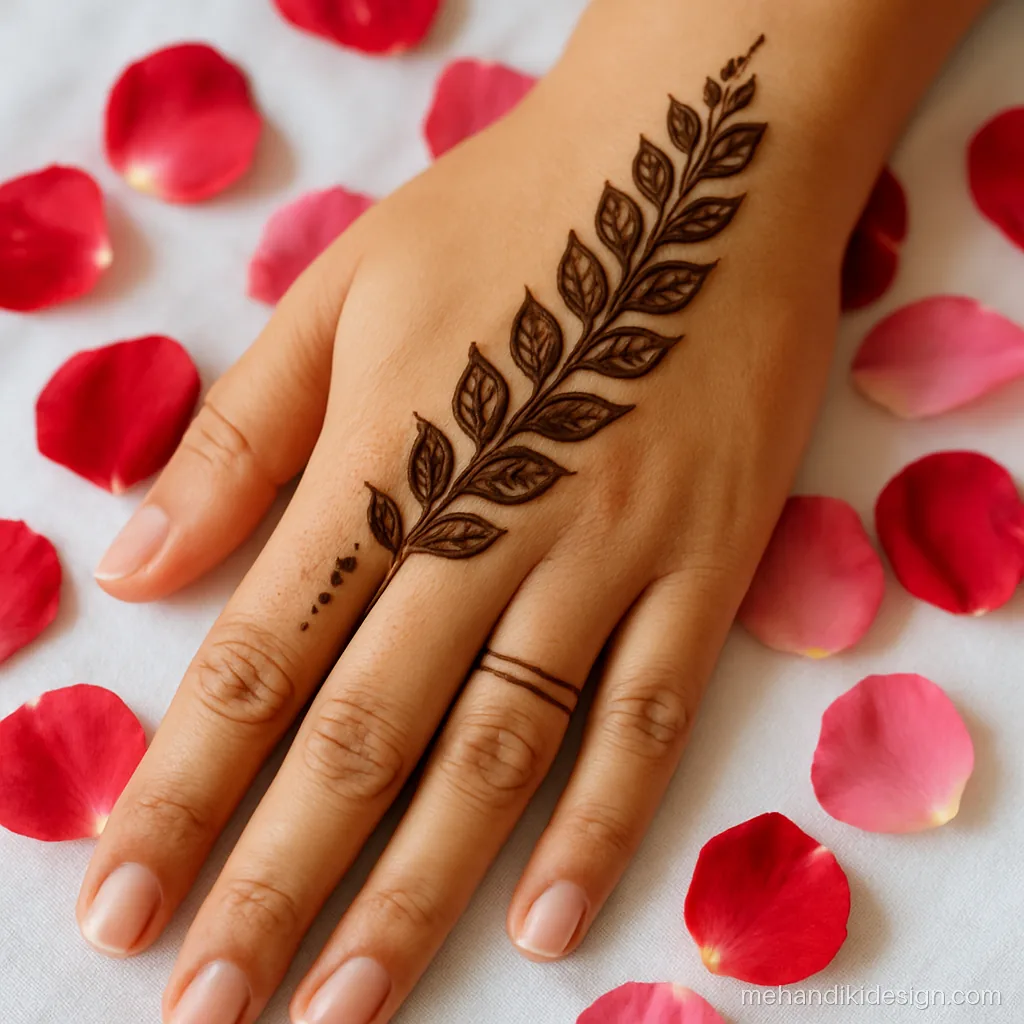
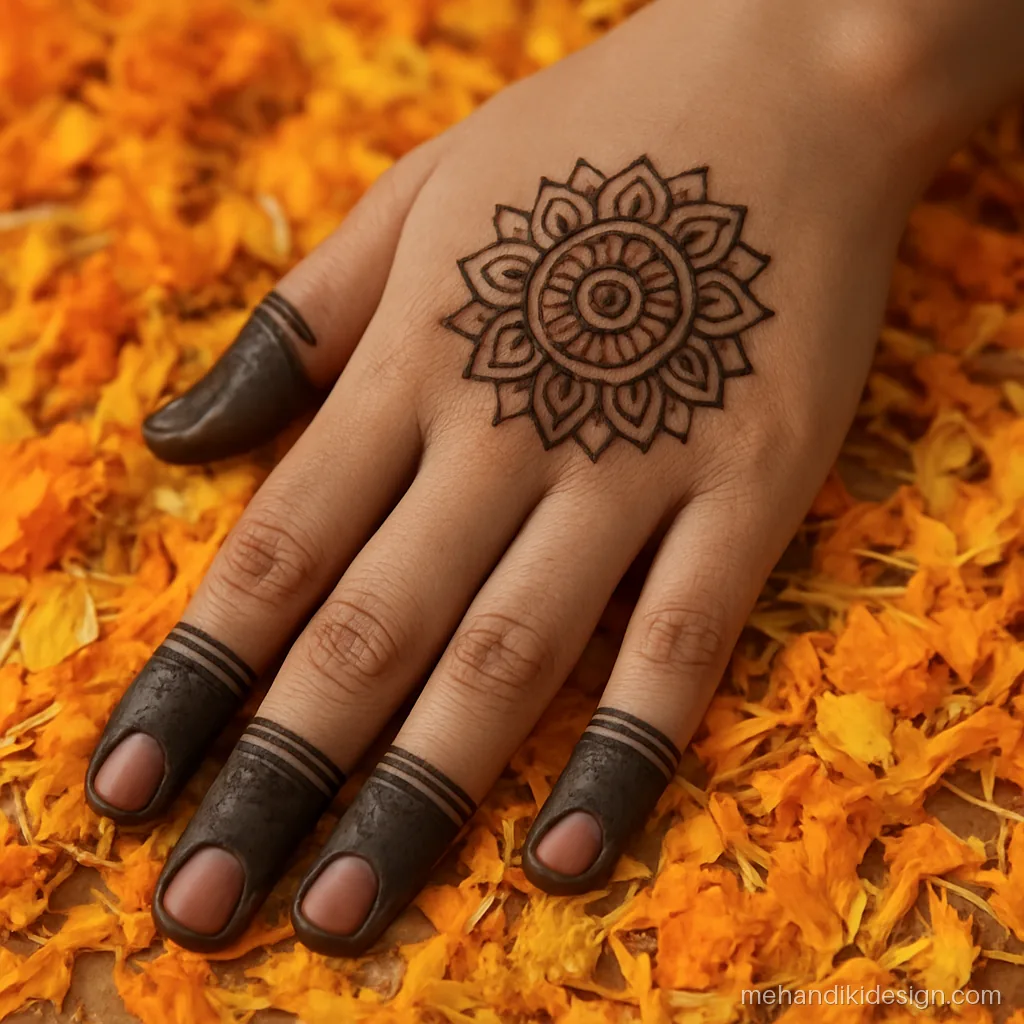
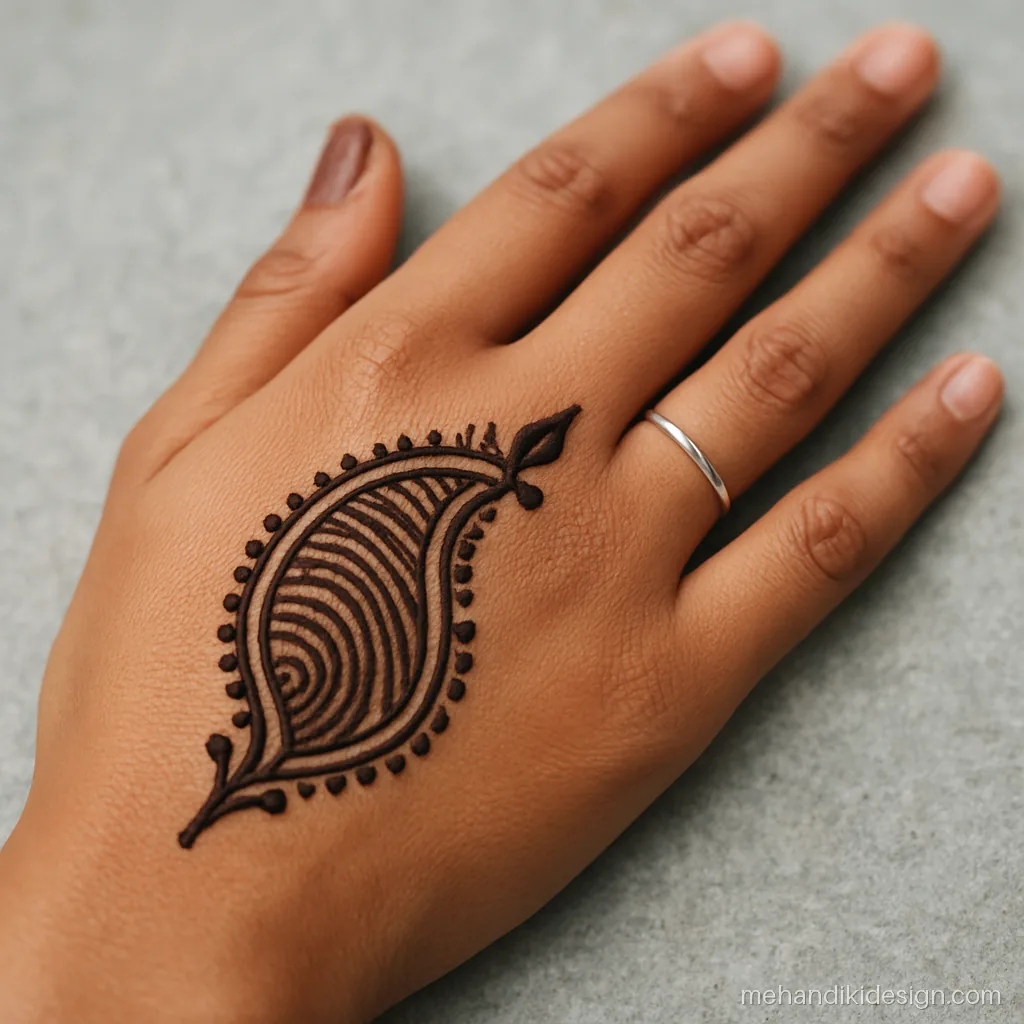
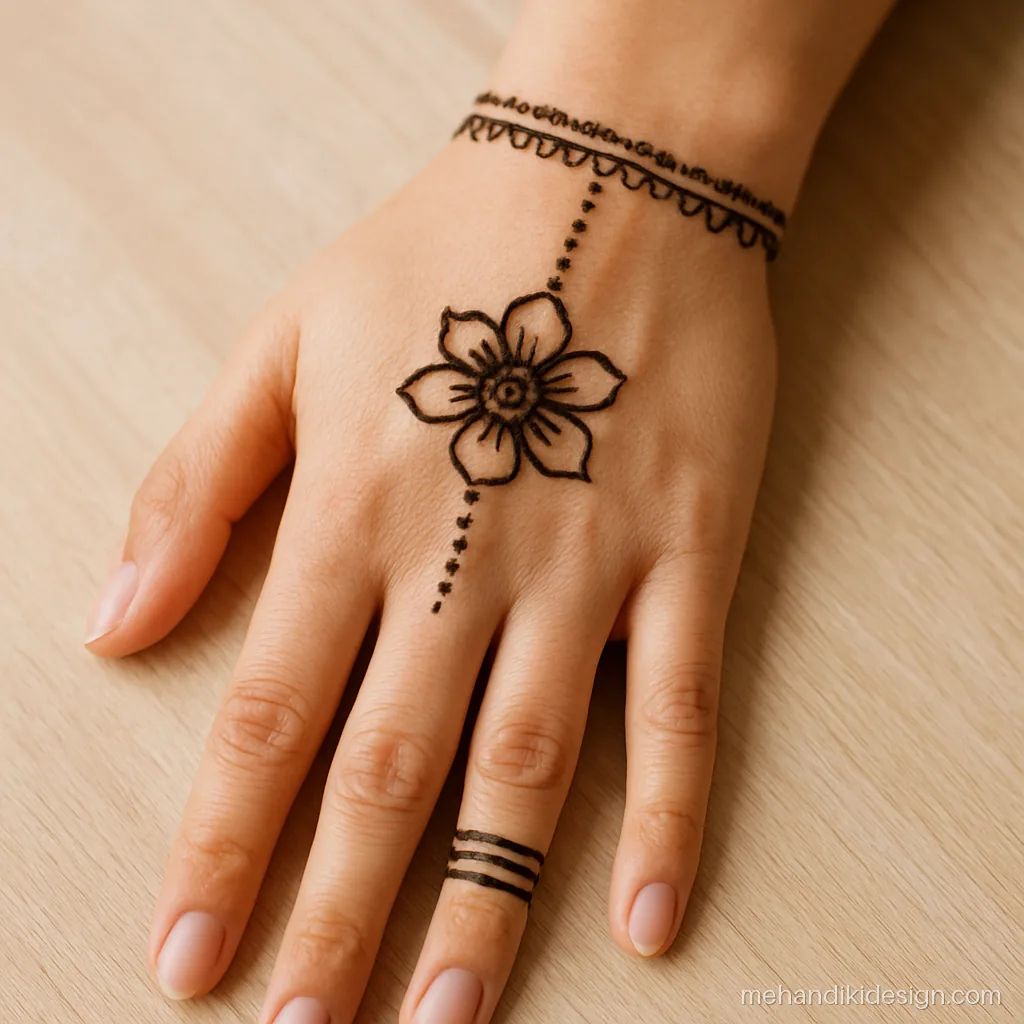
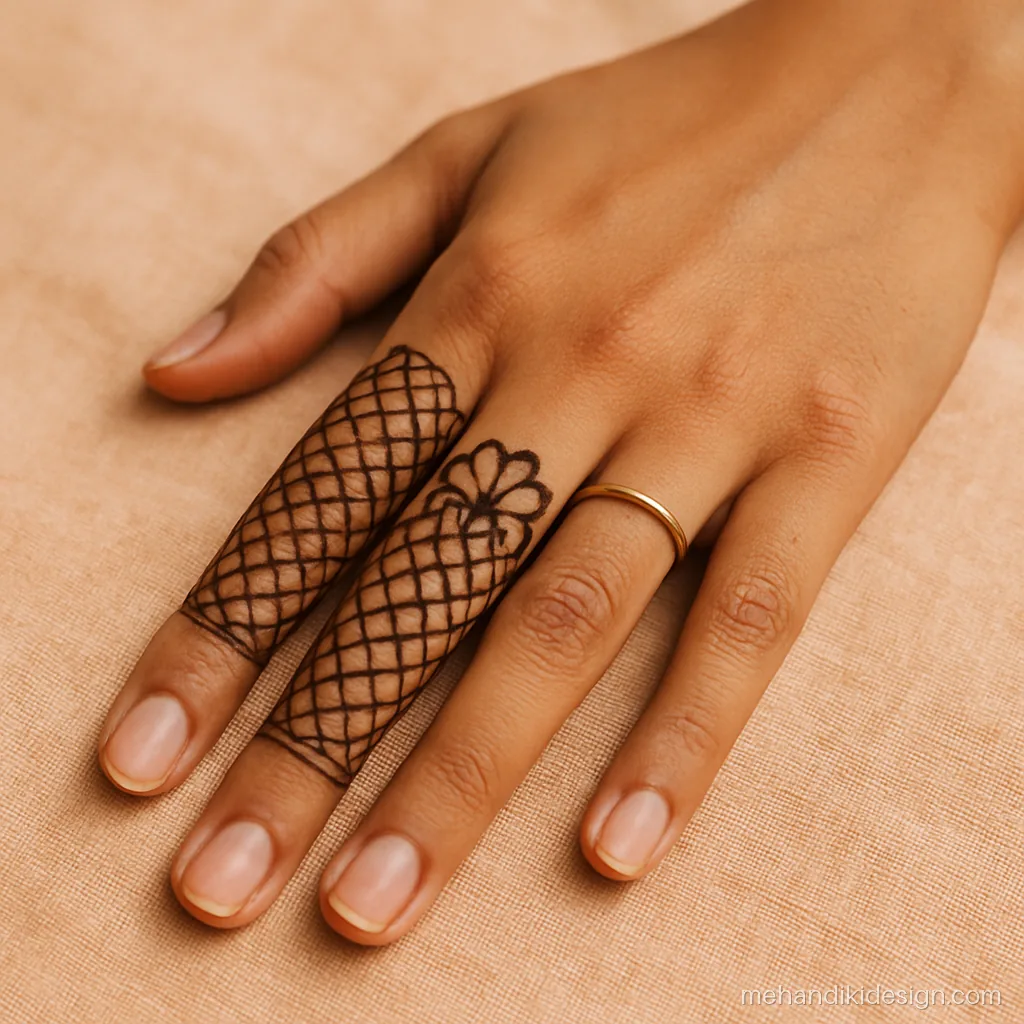
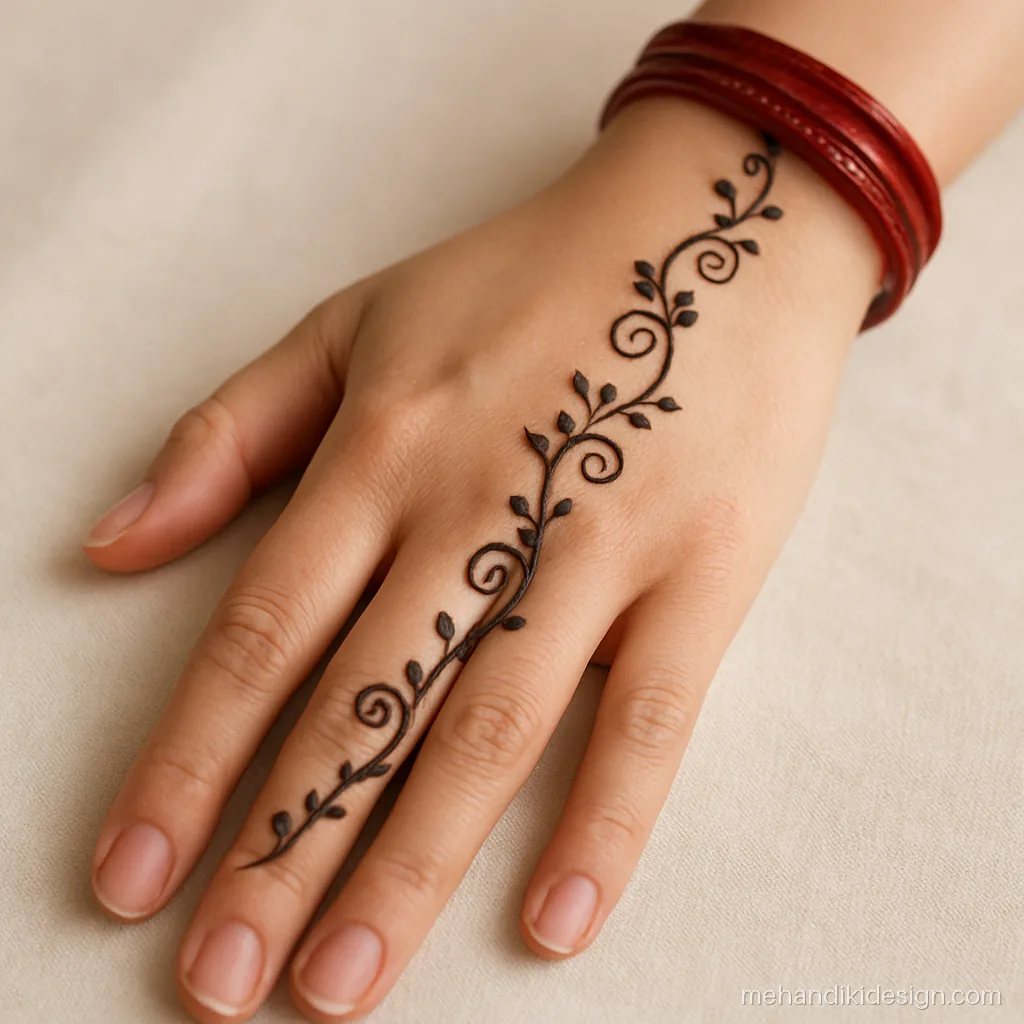
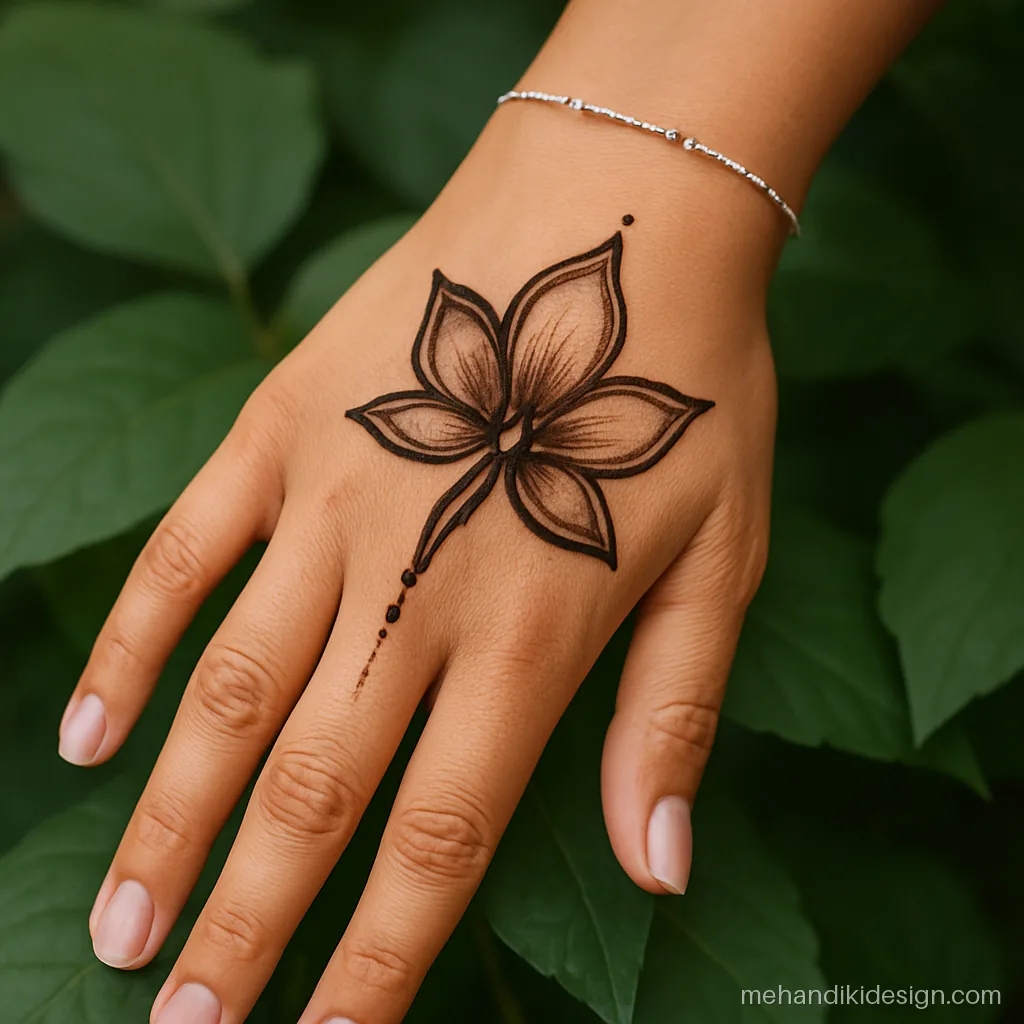
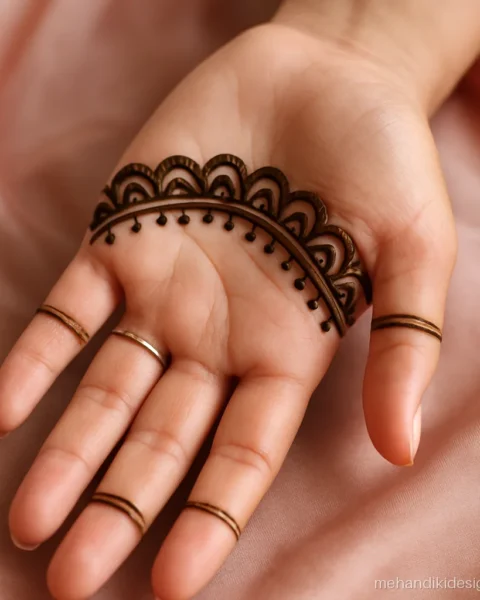
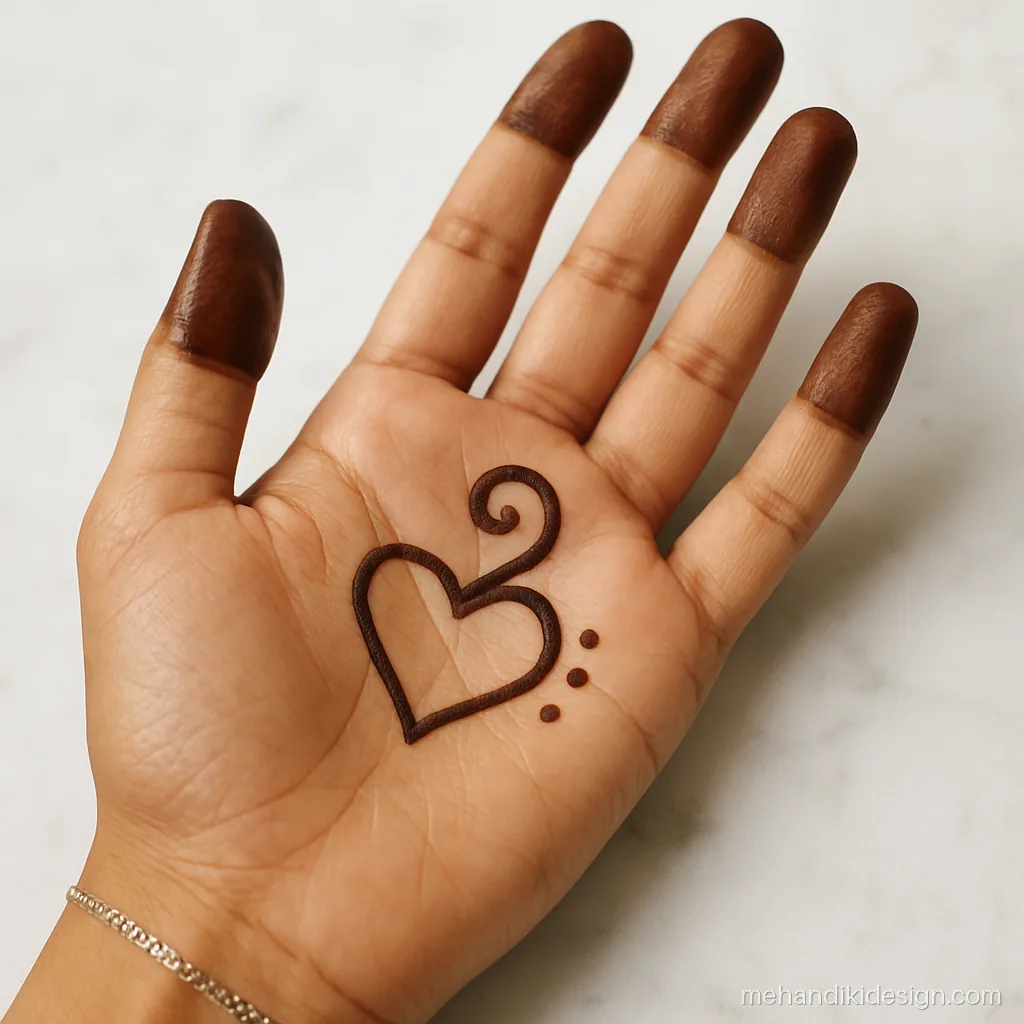
Easy Front Hand Mehandi Design
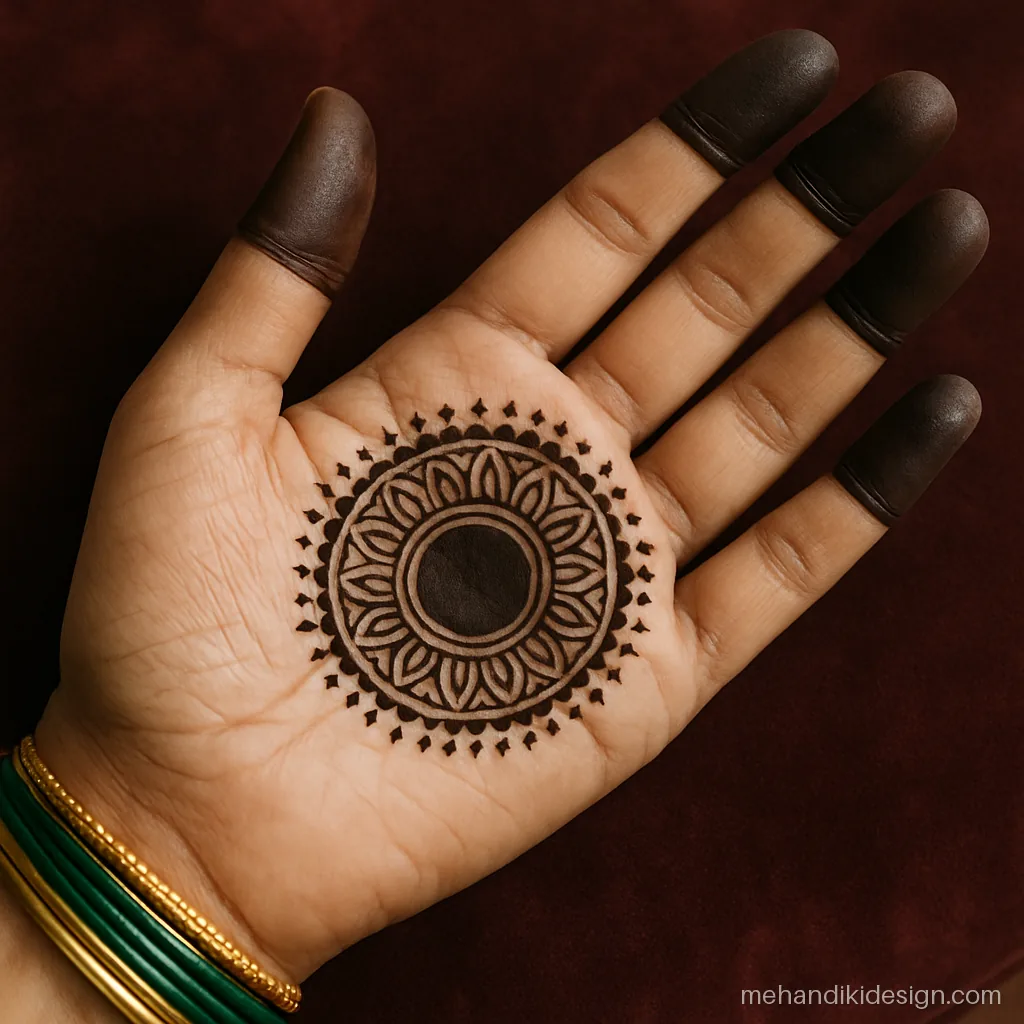
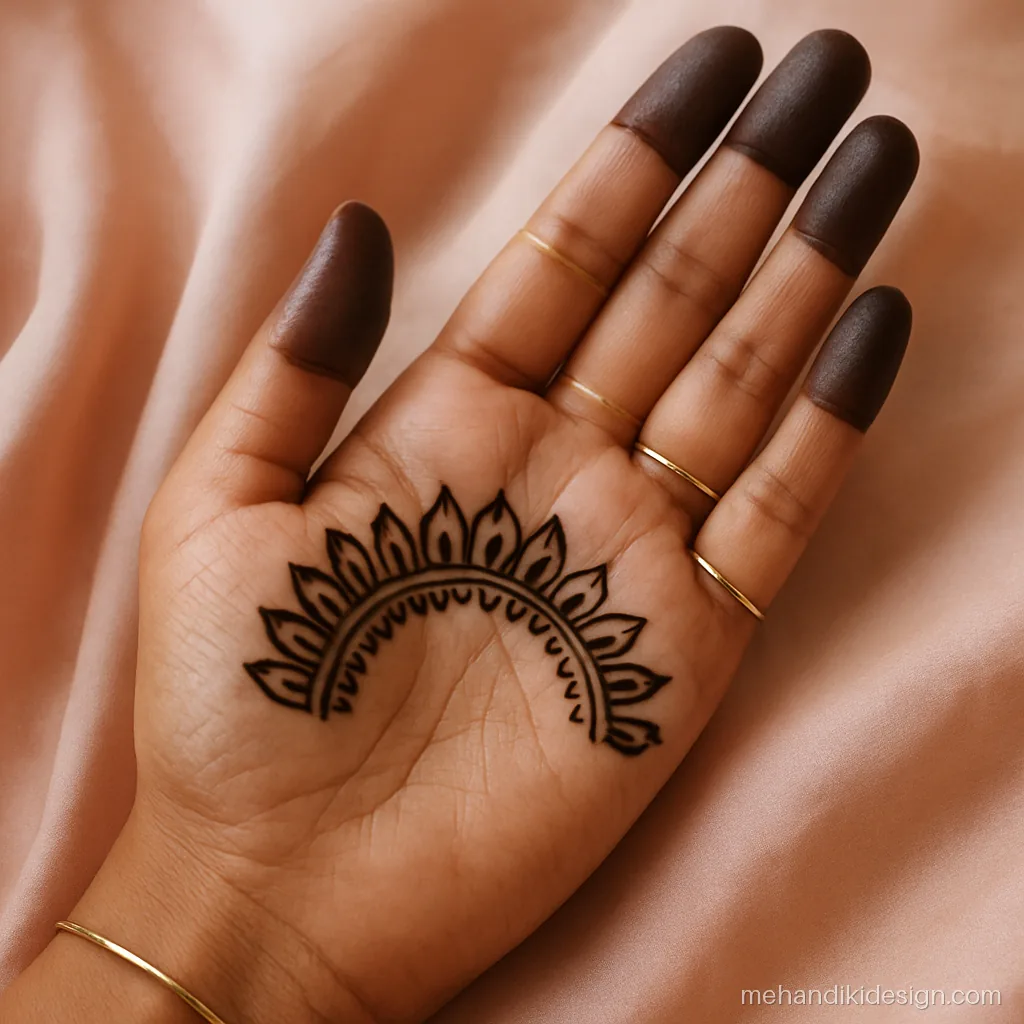
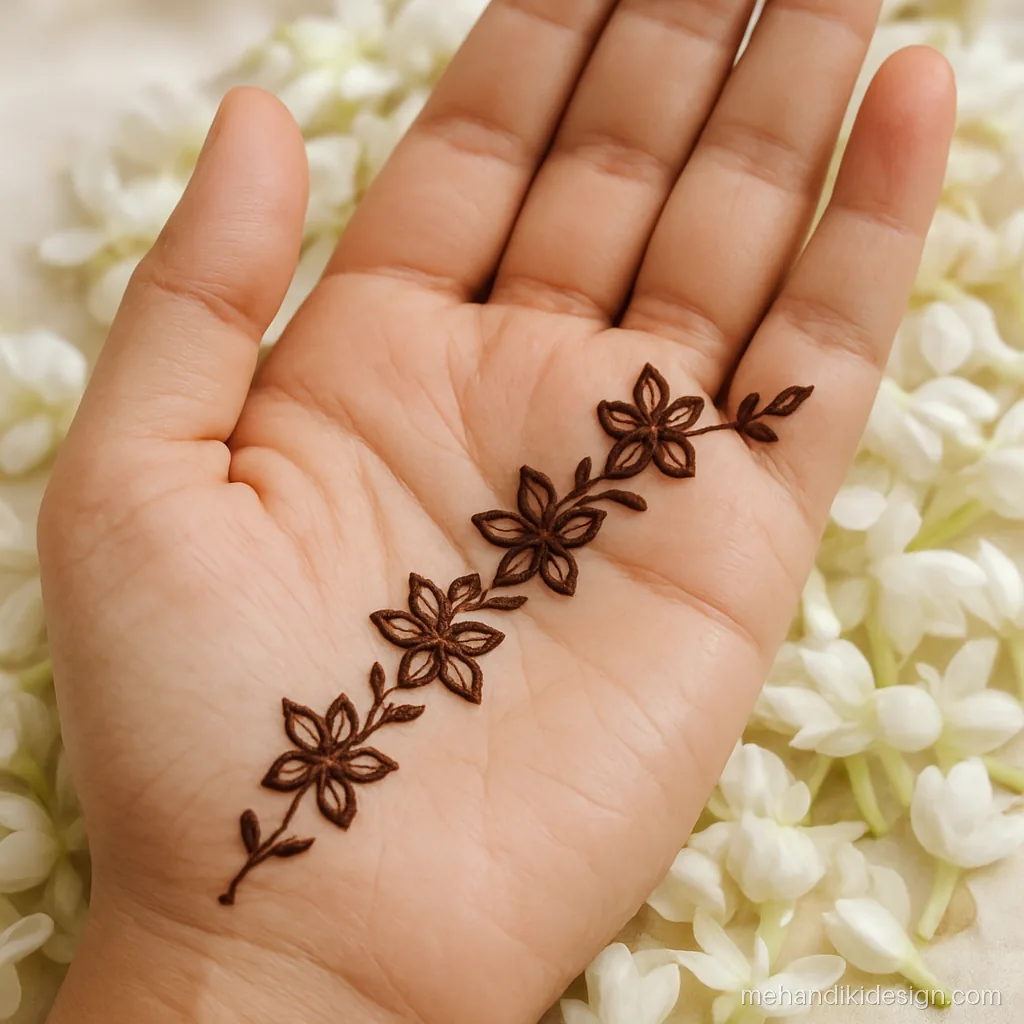
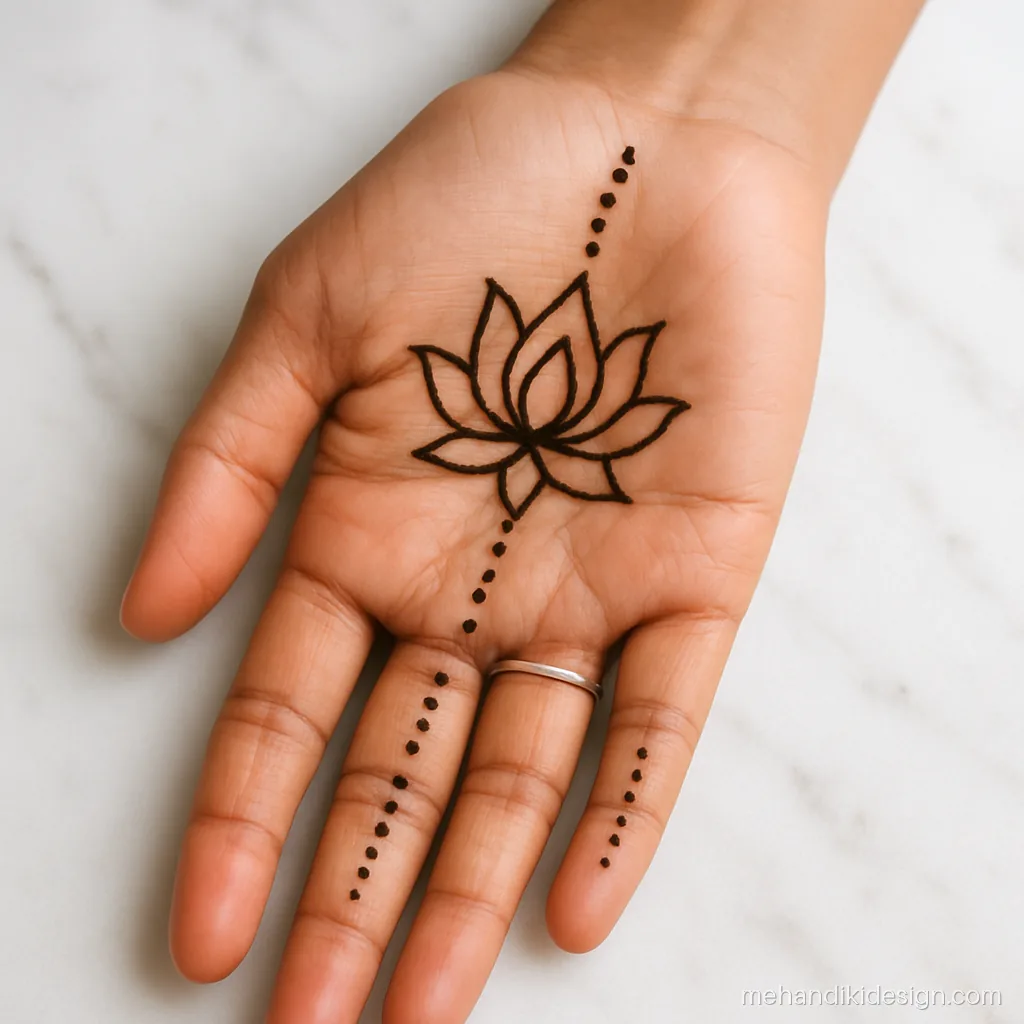
These mehandi easy designs are for the palm. The palm takes the darkest colour, so even a thin easy design shows up well. For bigger palm patterns, see front hand mehandi design.
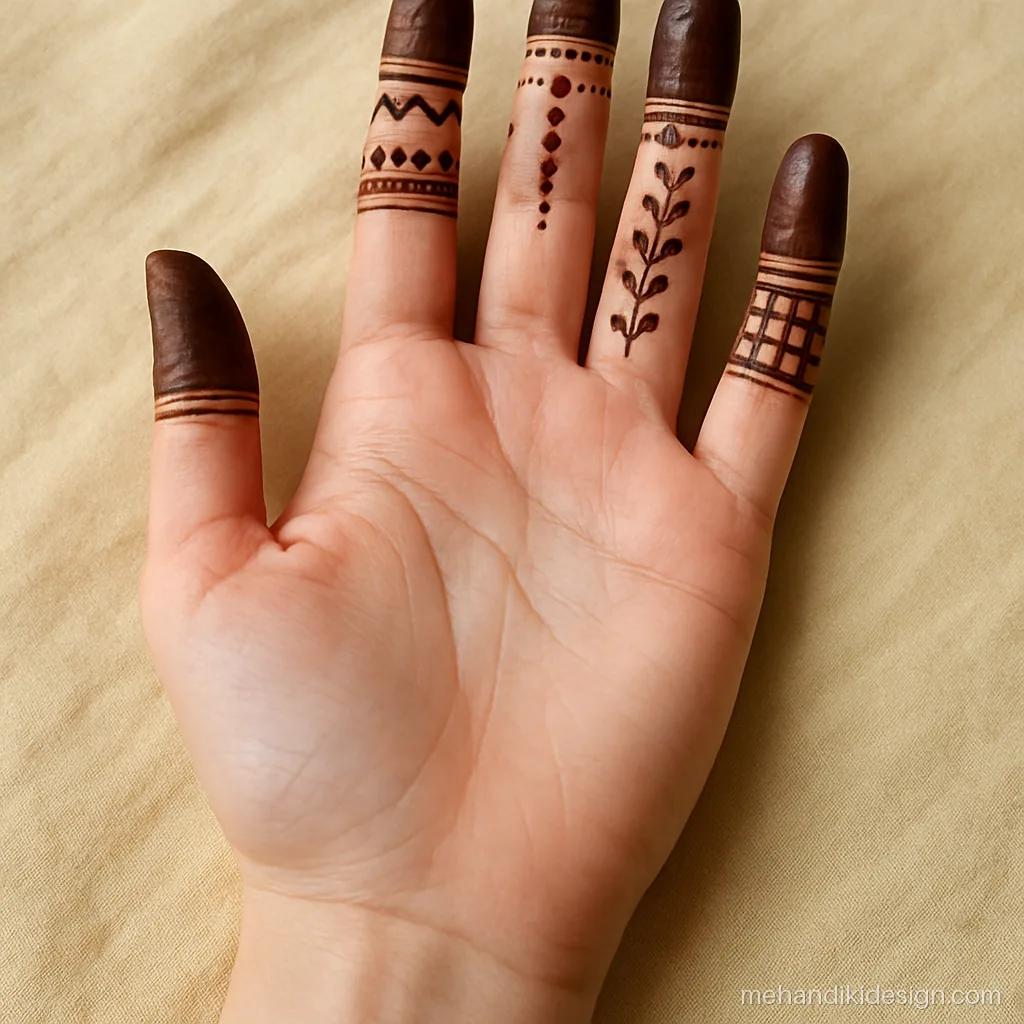
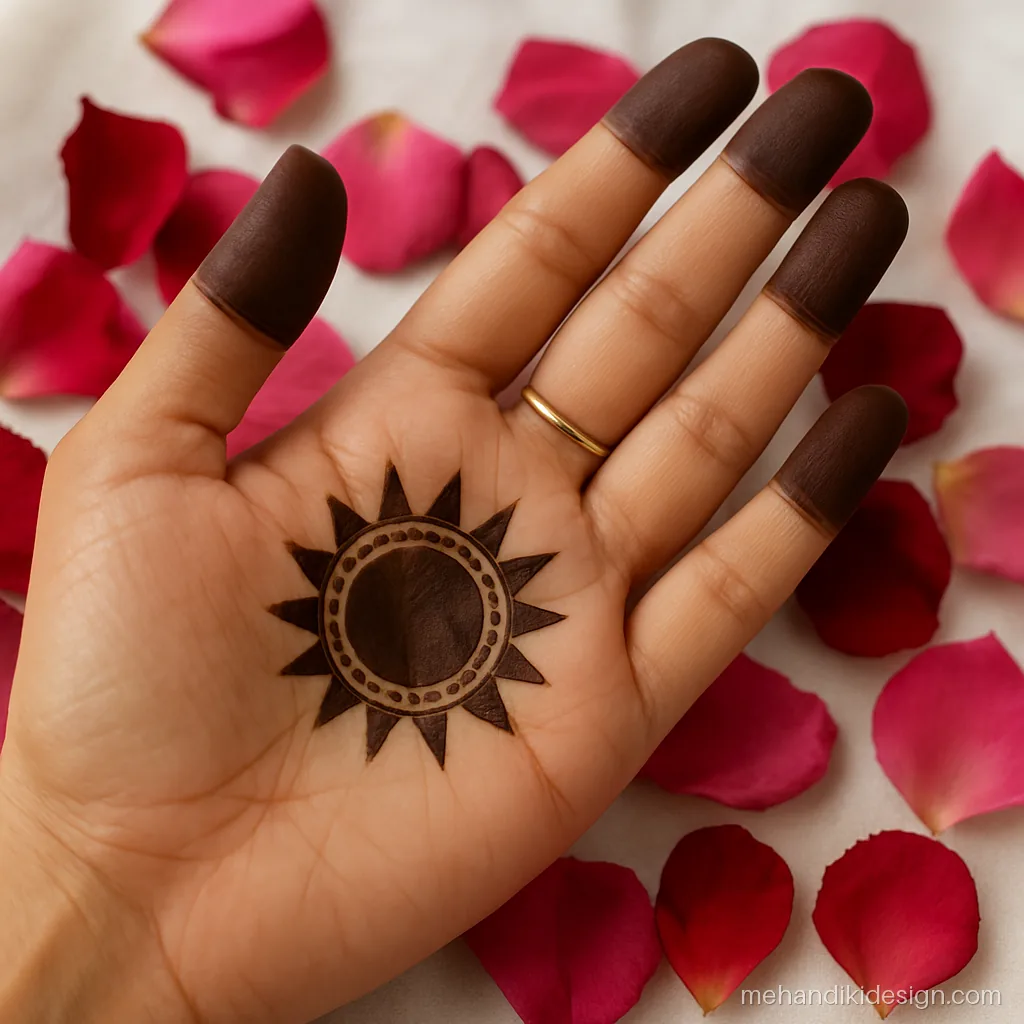
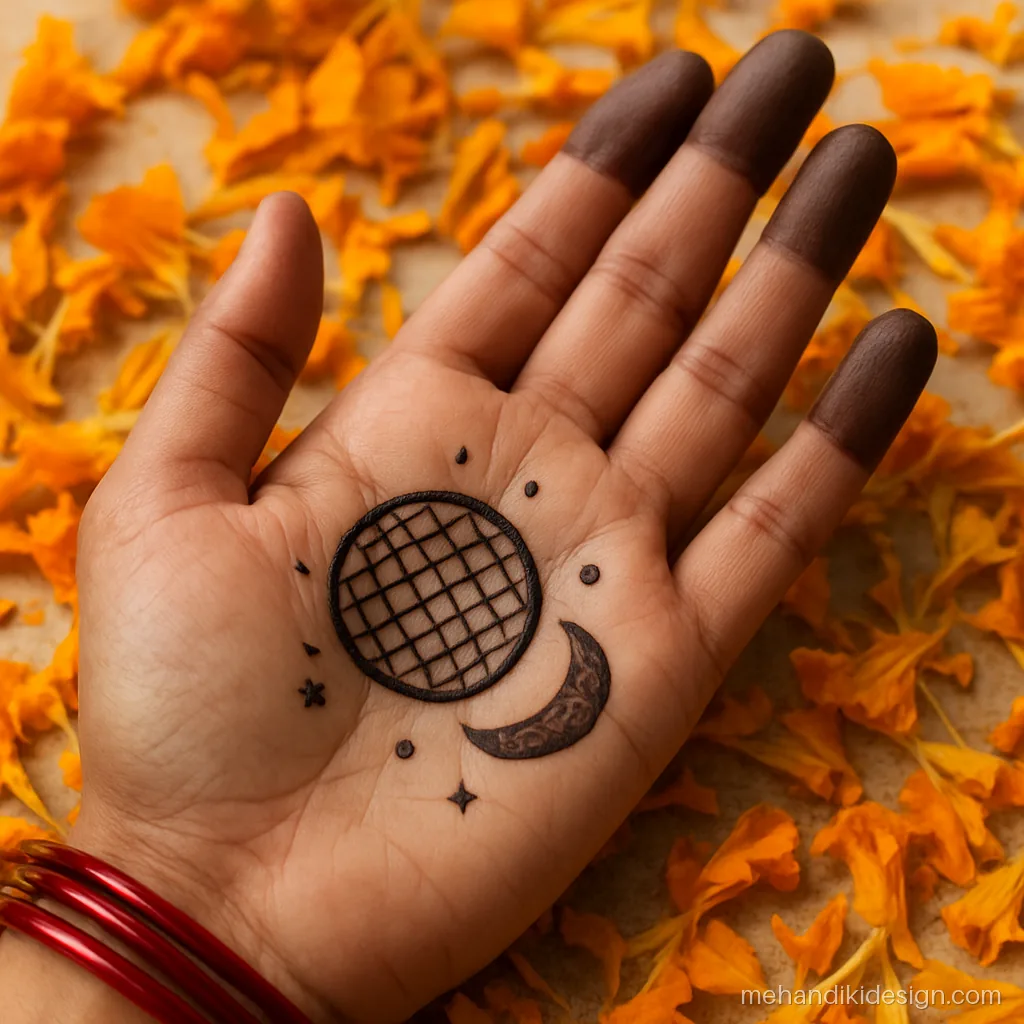
Easy Full Hand Mehandi Design
A full hand mehandi design simple and easy enough for beginners does not have to be hard. These use repeat patterns, so you draw one unit and copy it. Compare them with the heavier ideas in full hand mehandi design.
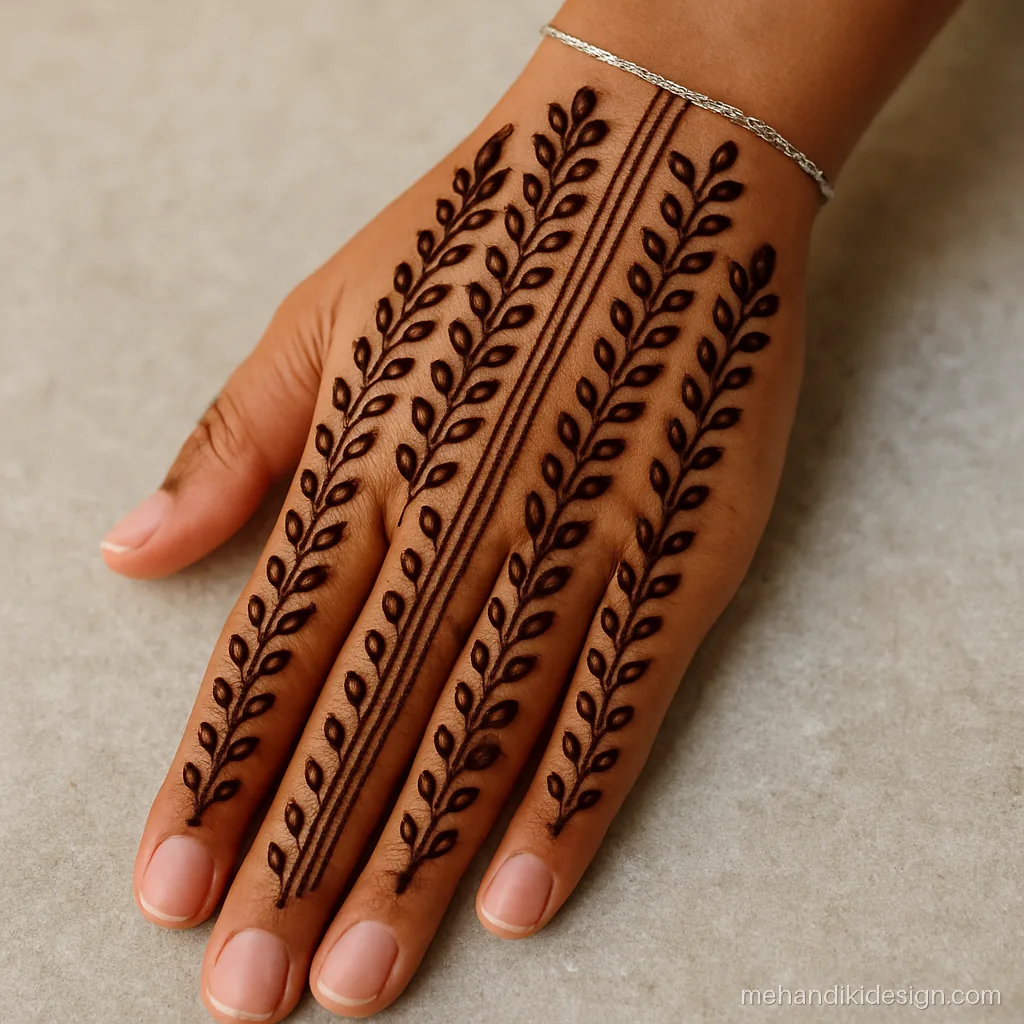
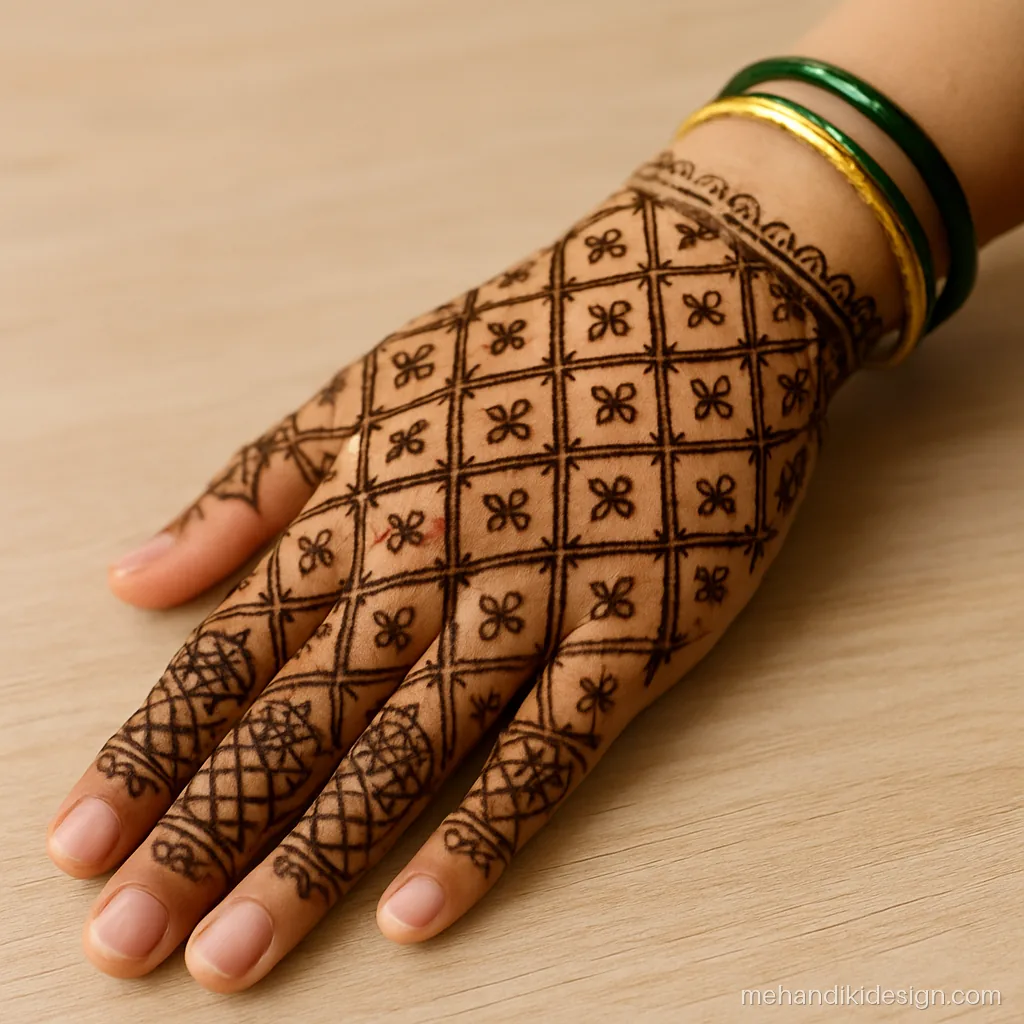
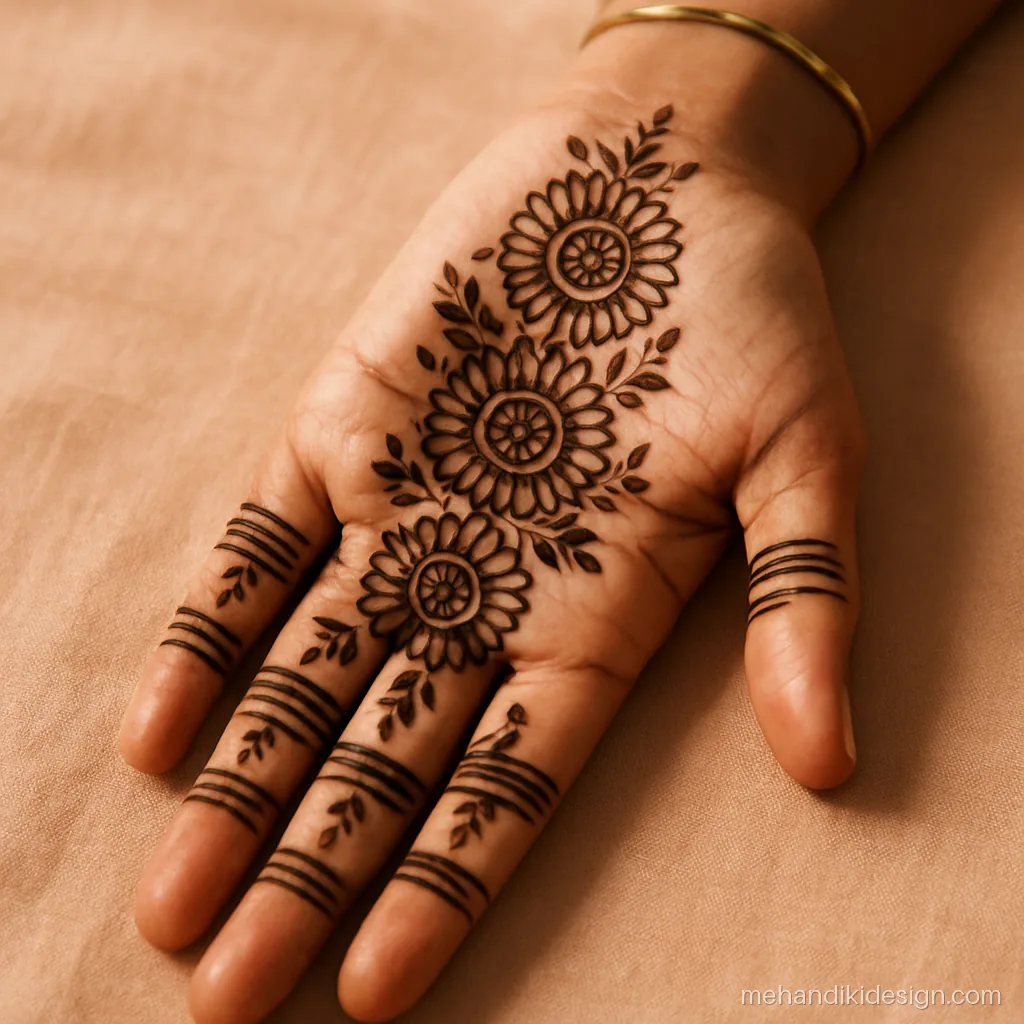
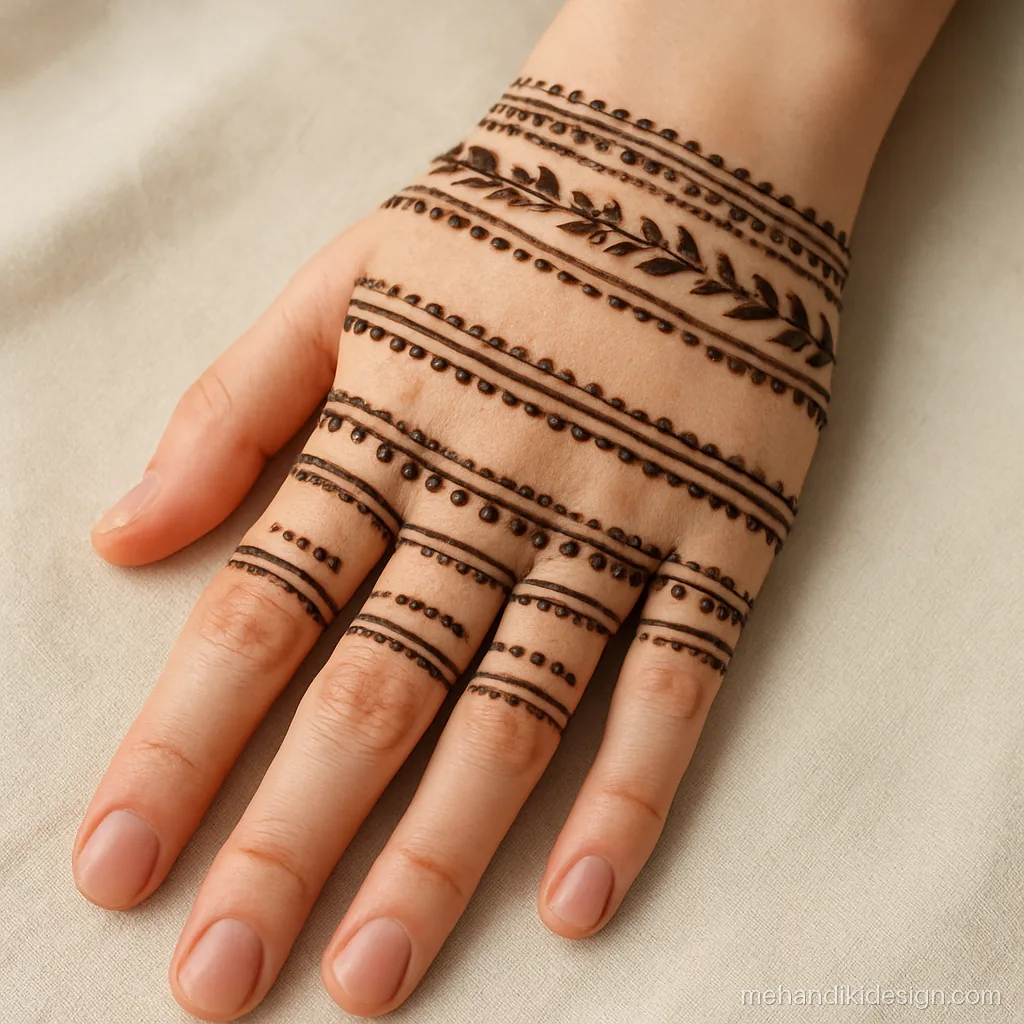
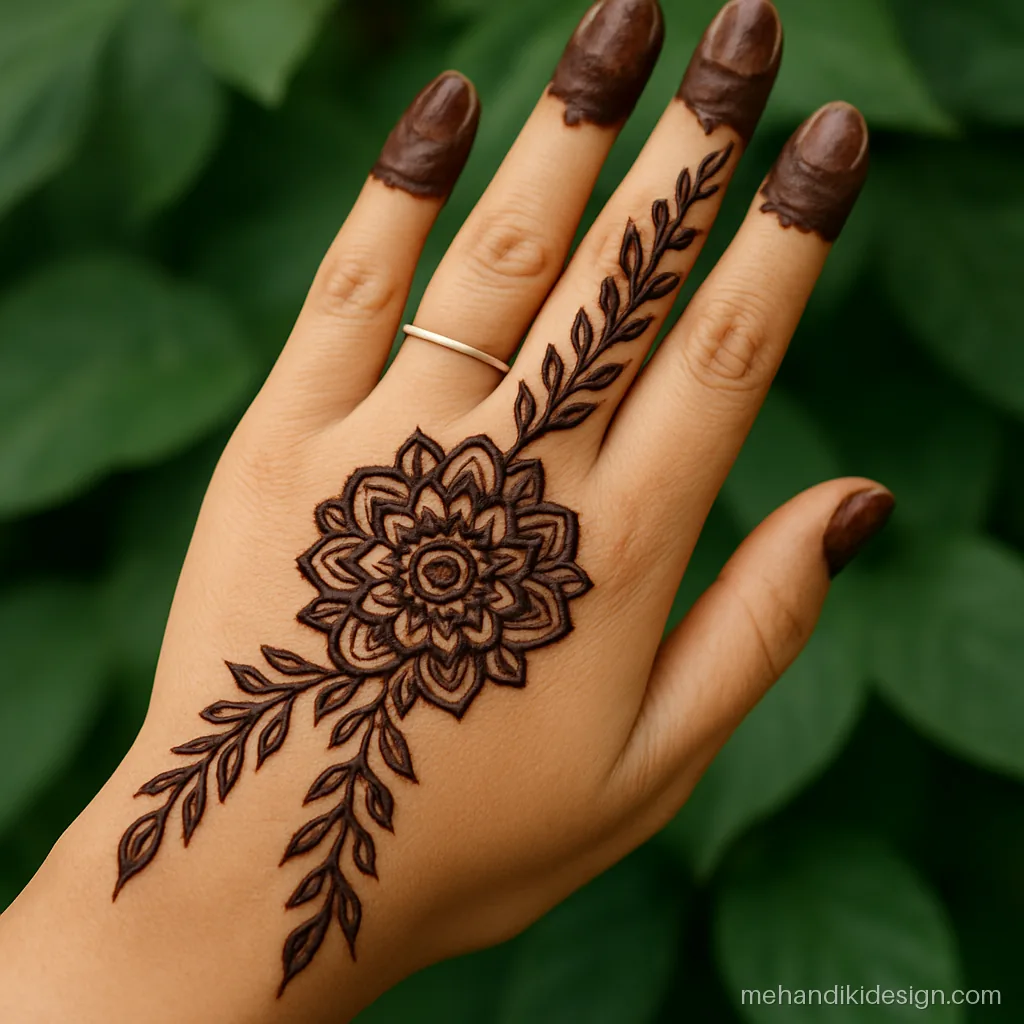
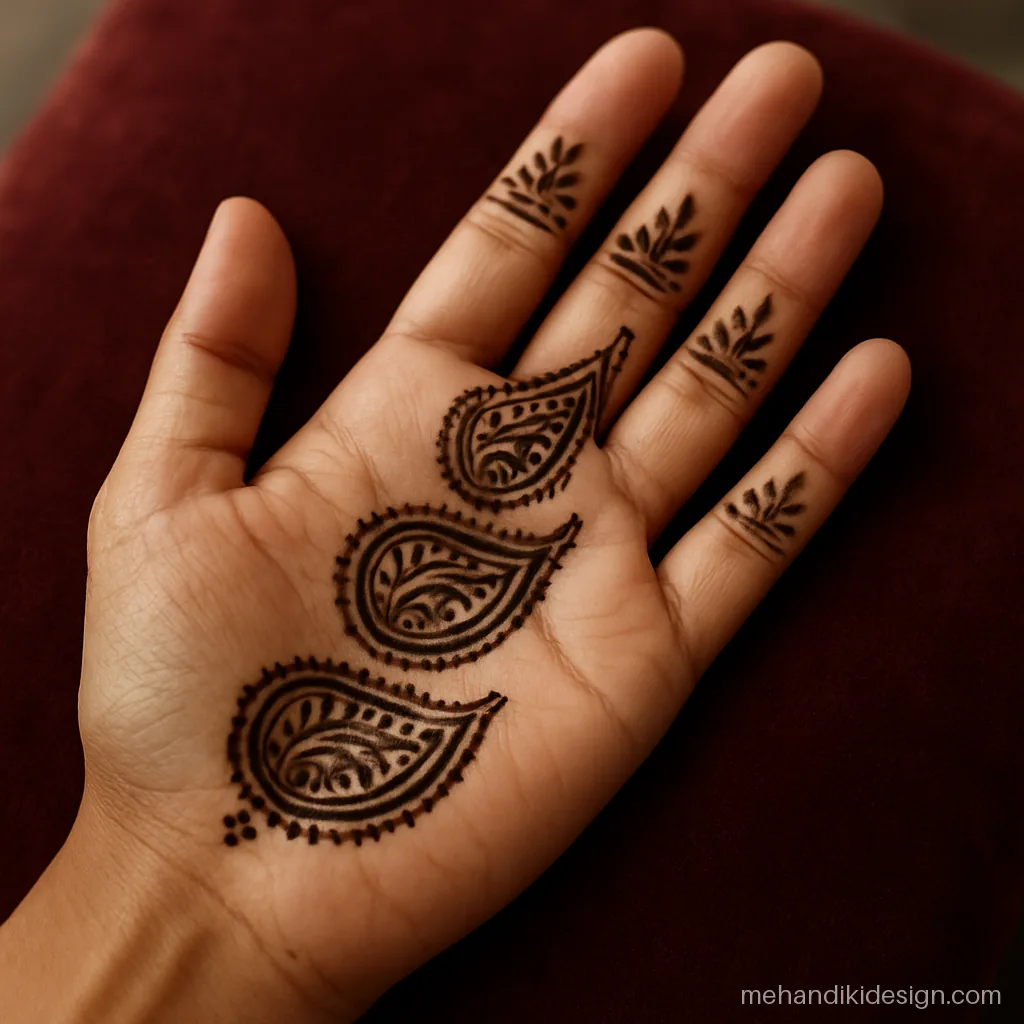
Easy Mehandi Design with Cone Tricks
These designs use a few simple cone tricks: pressing harder for bold lines, dotting for texture and dragging a petal into a tail. They are fun and very quick.
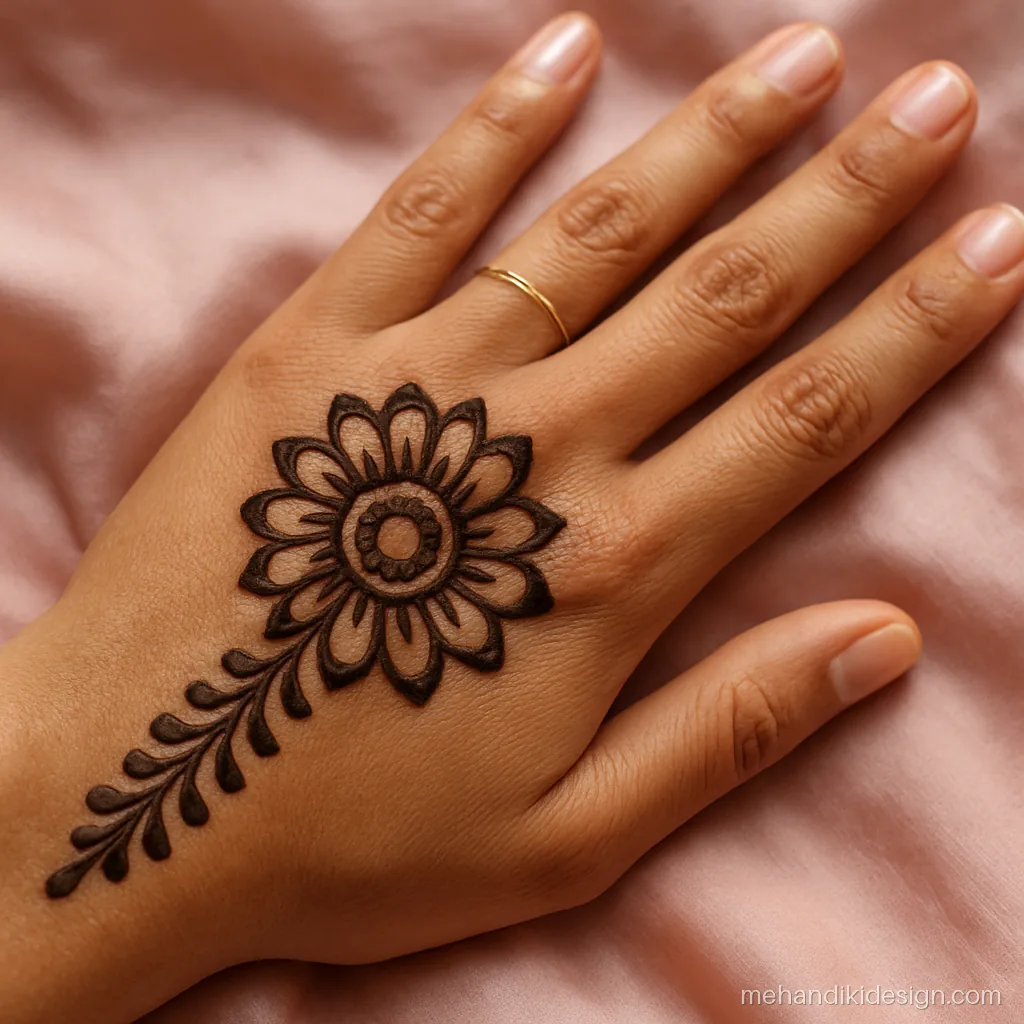
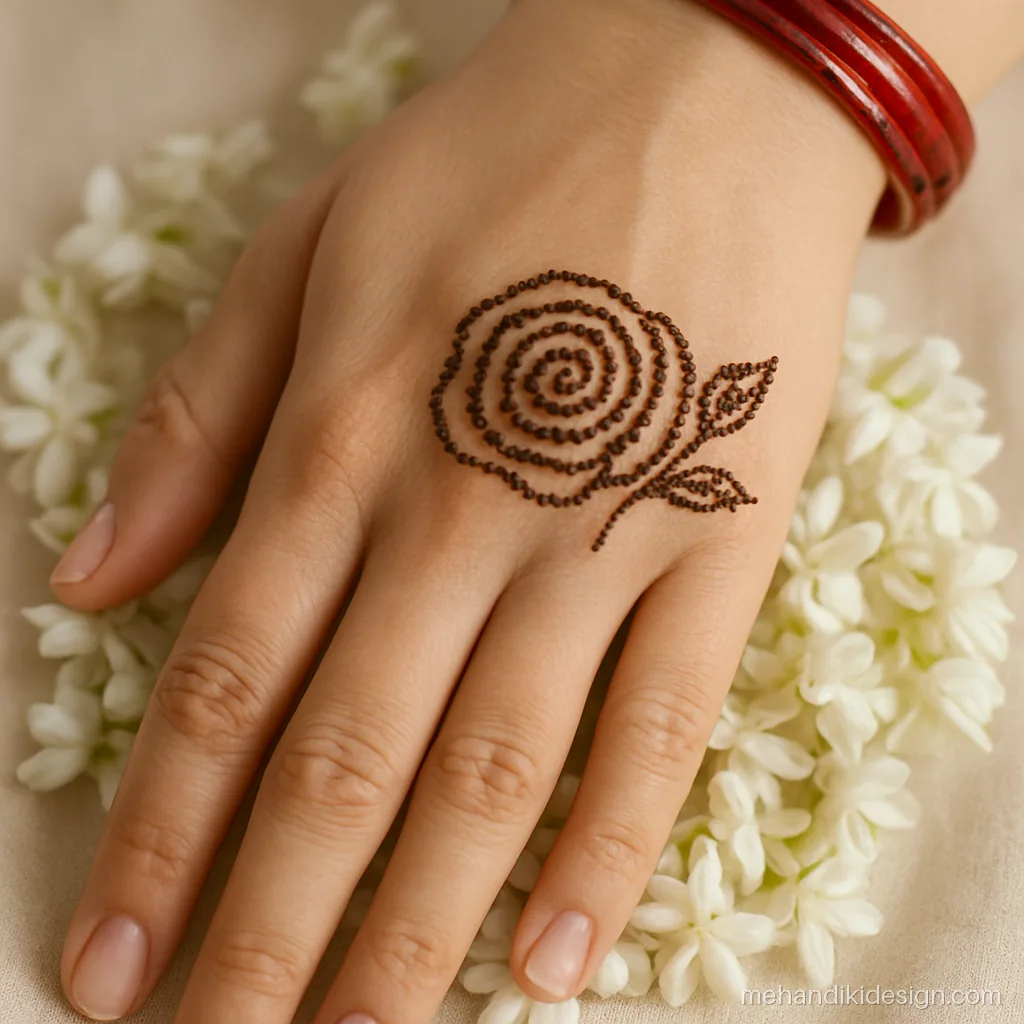
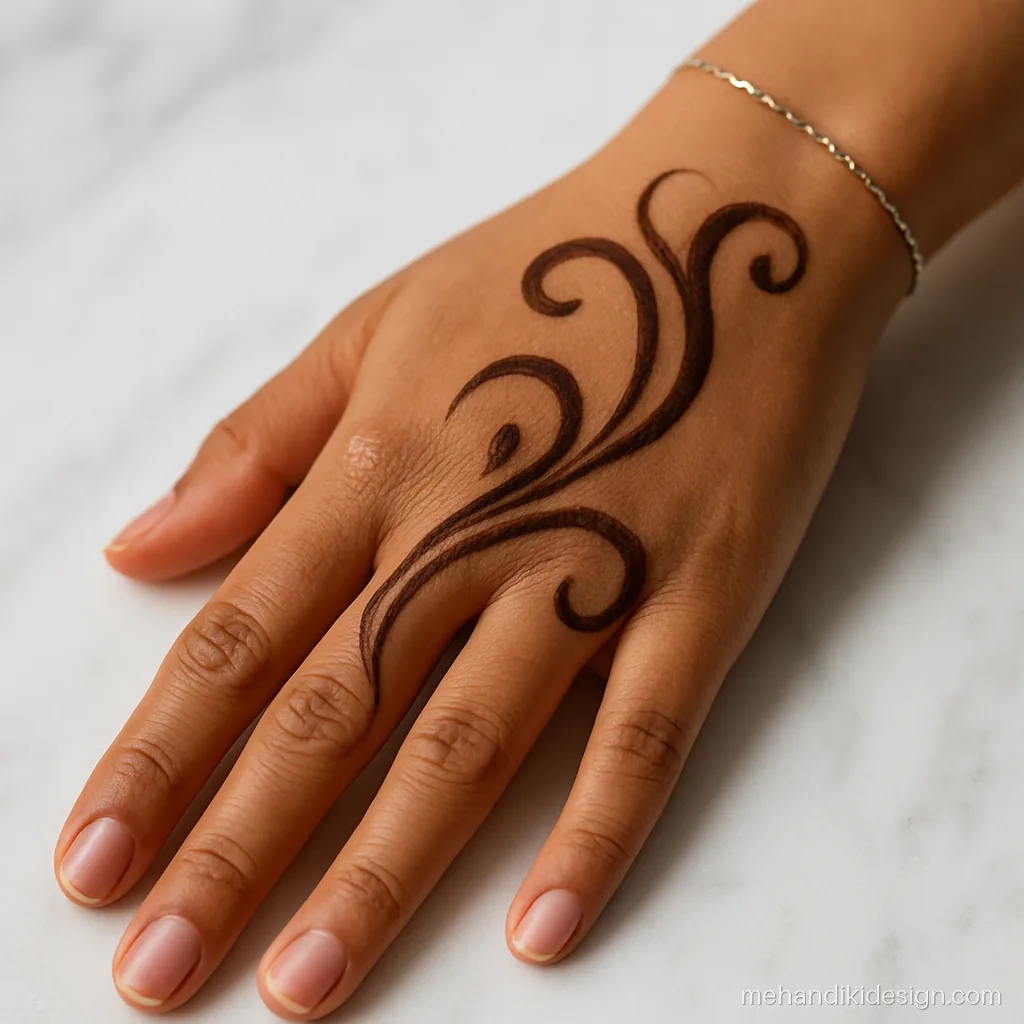
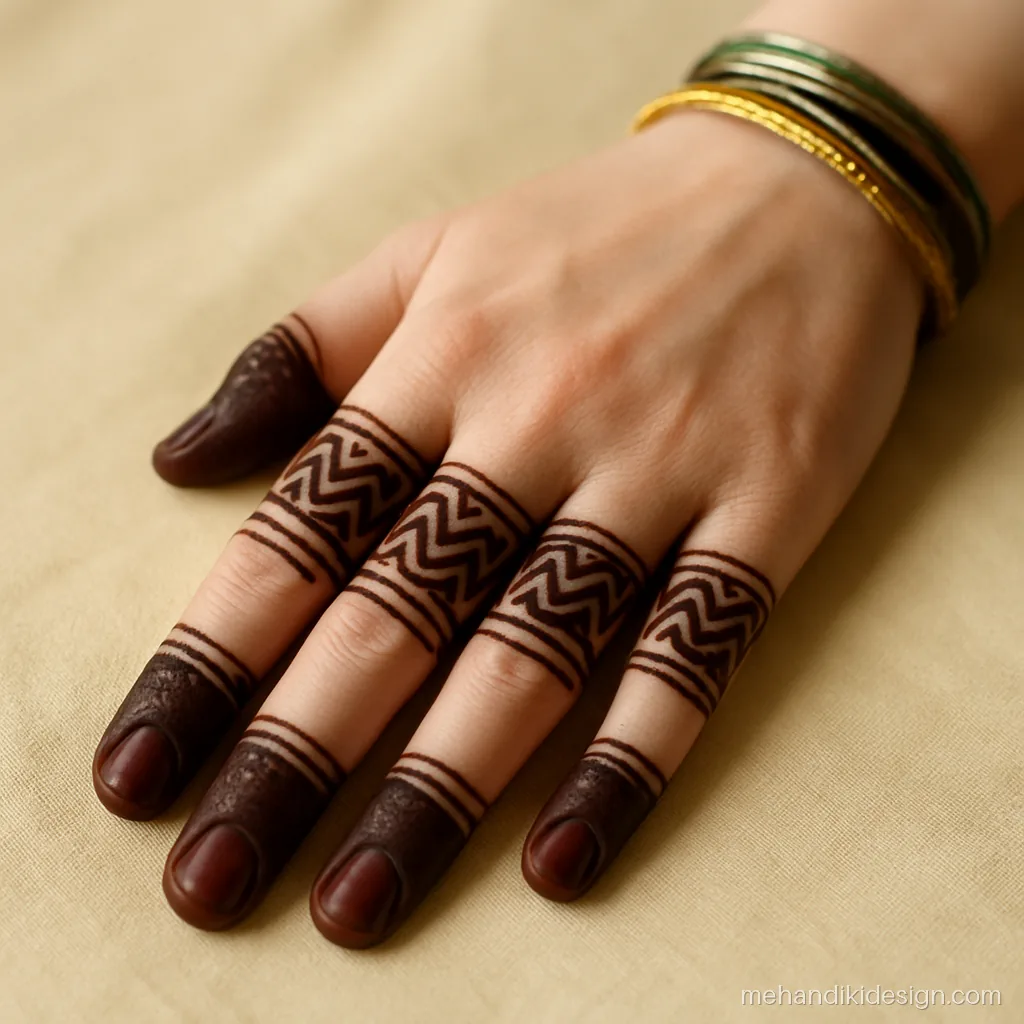
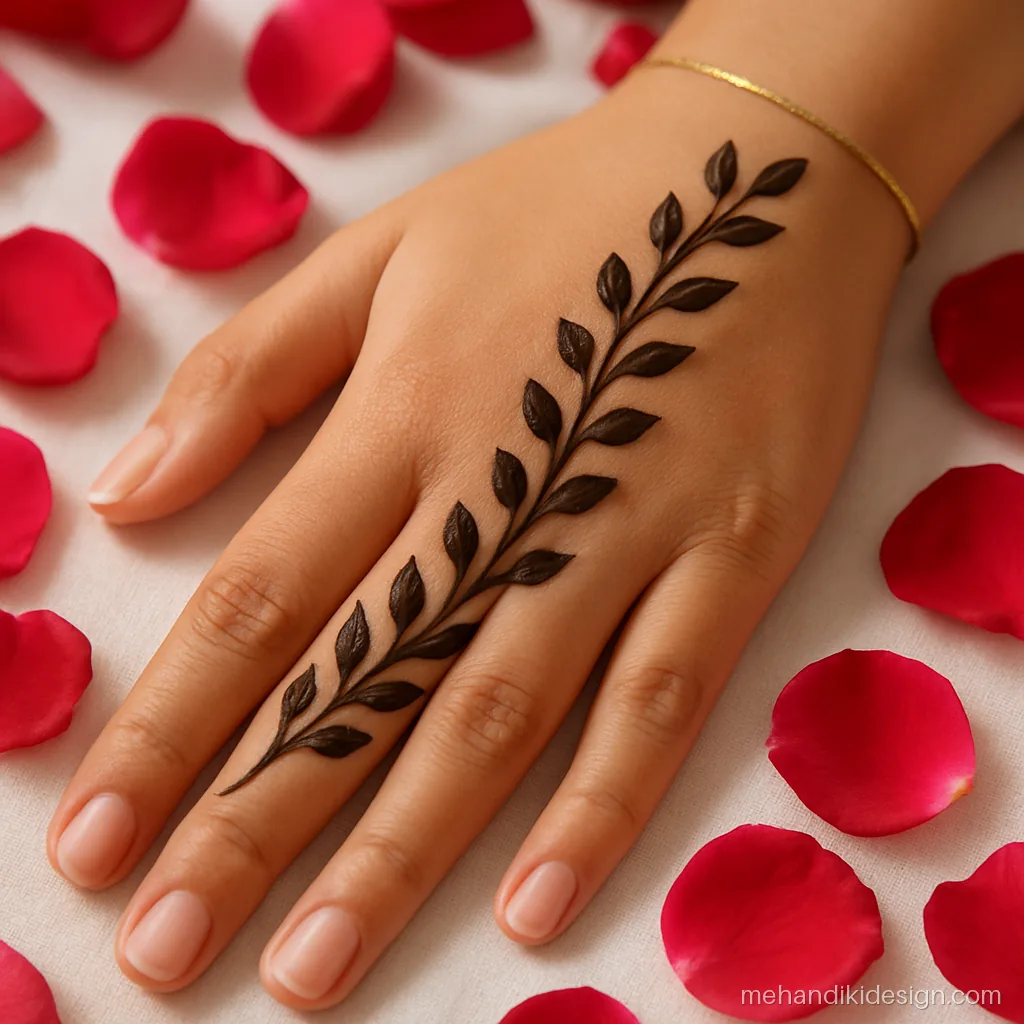
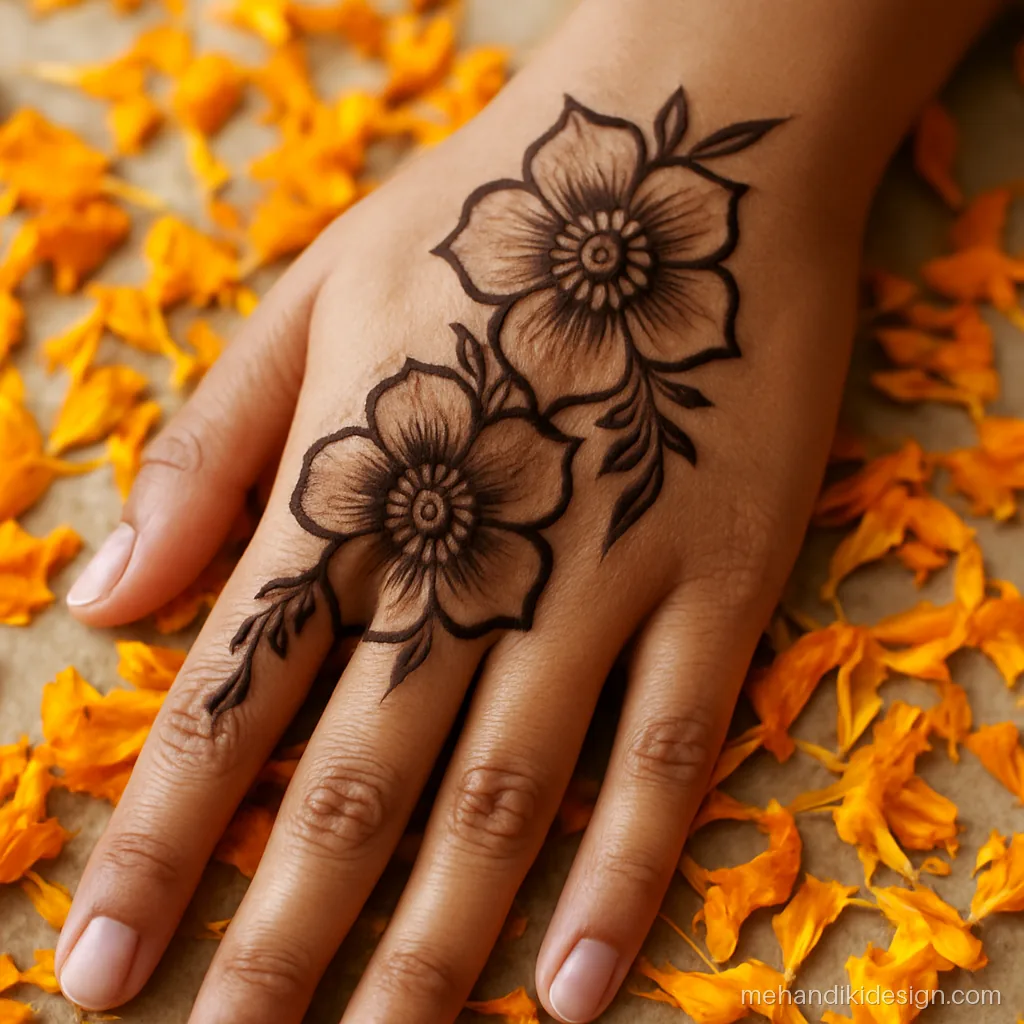
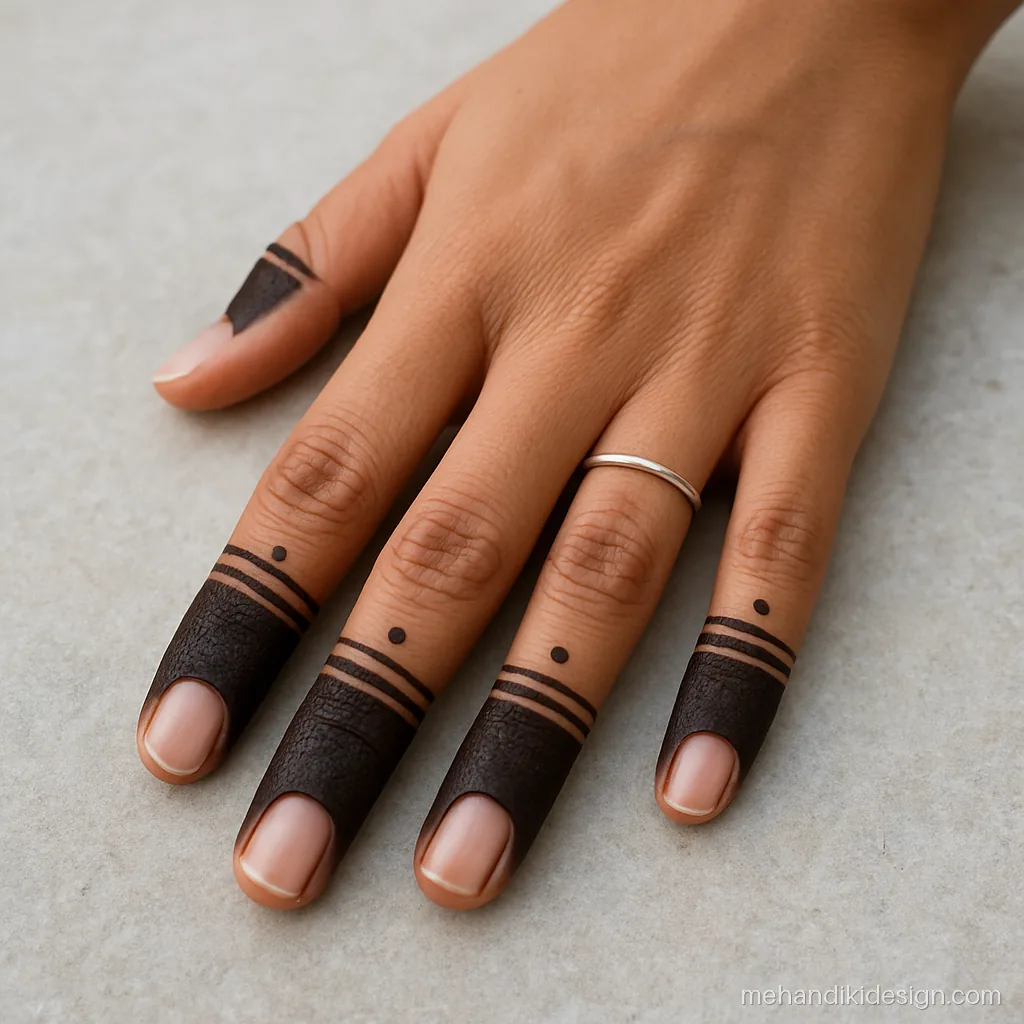
Easy Floral Mehandi Design
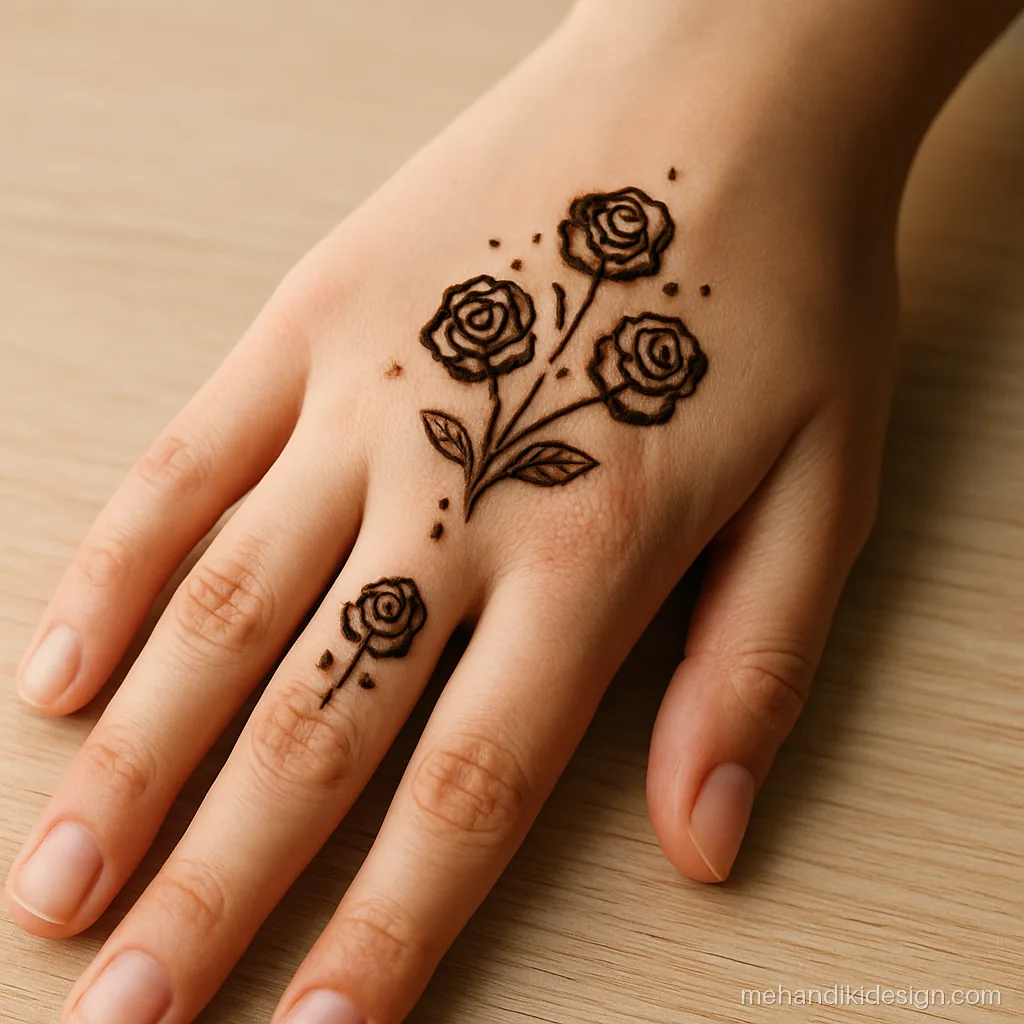
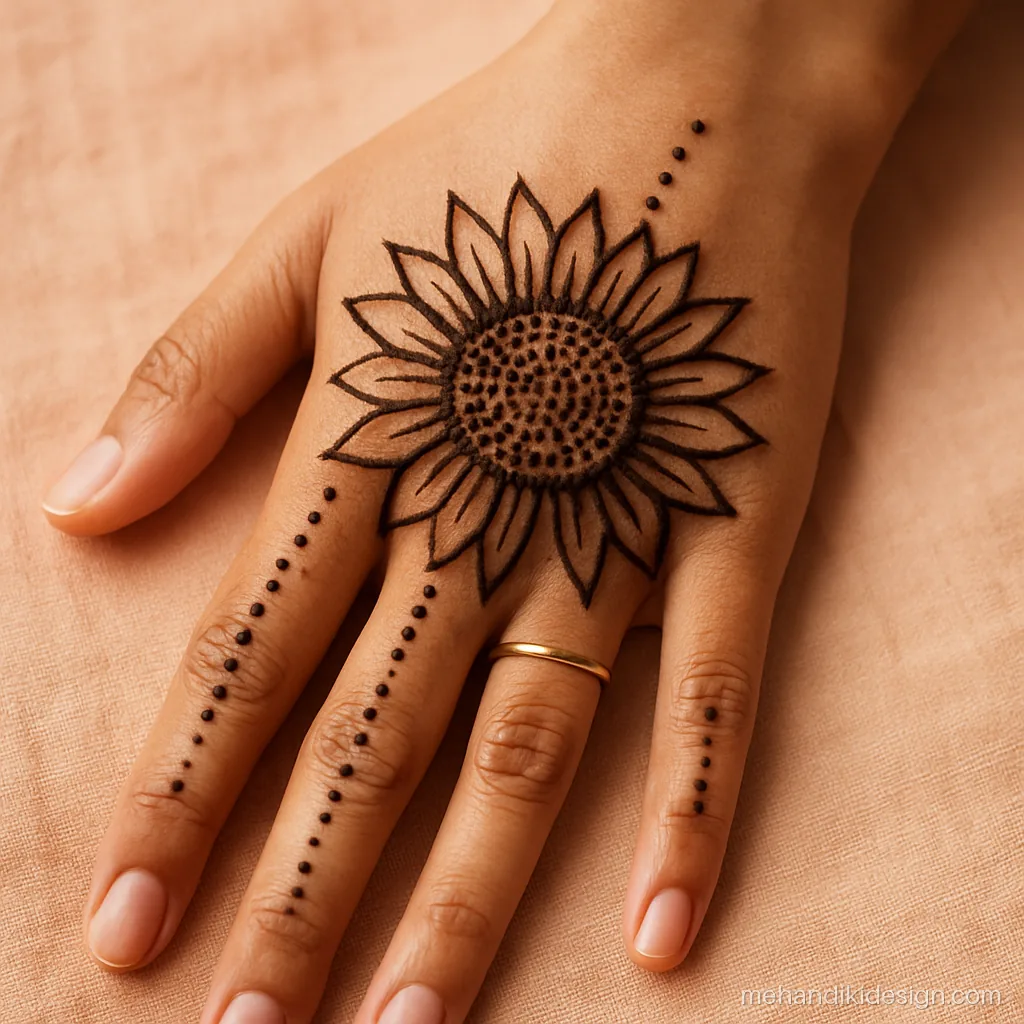
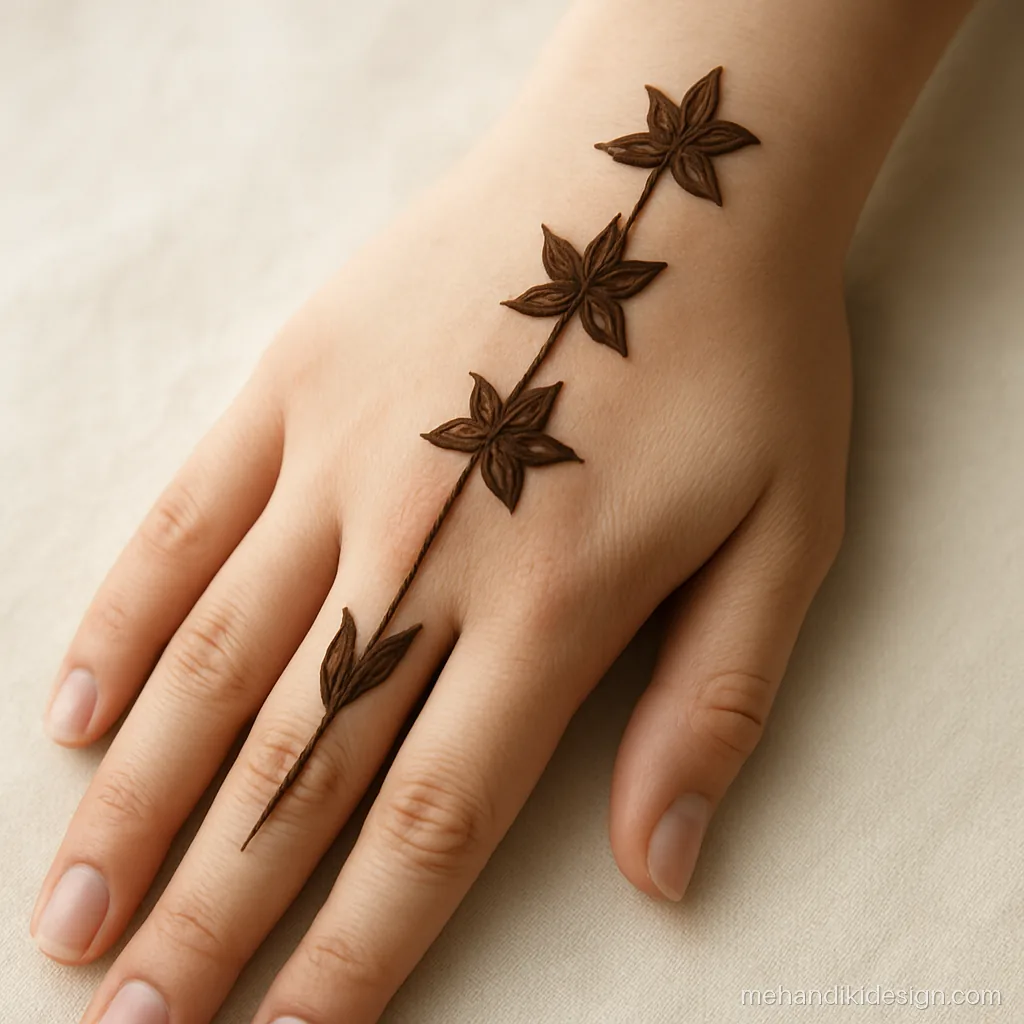
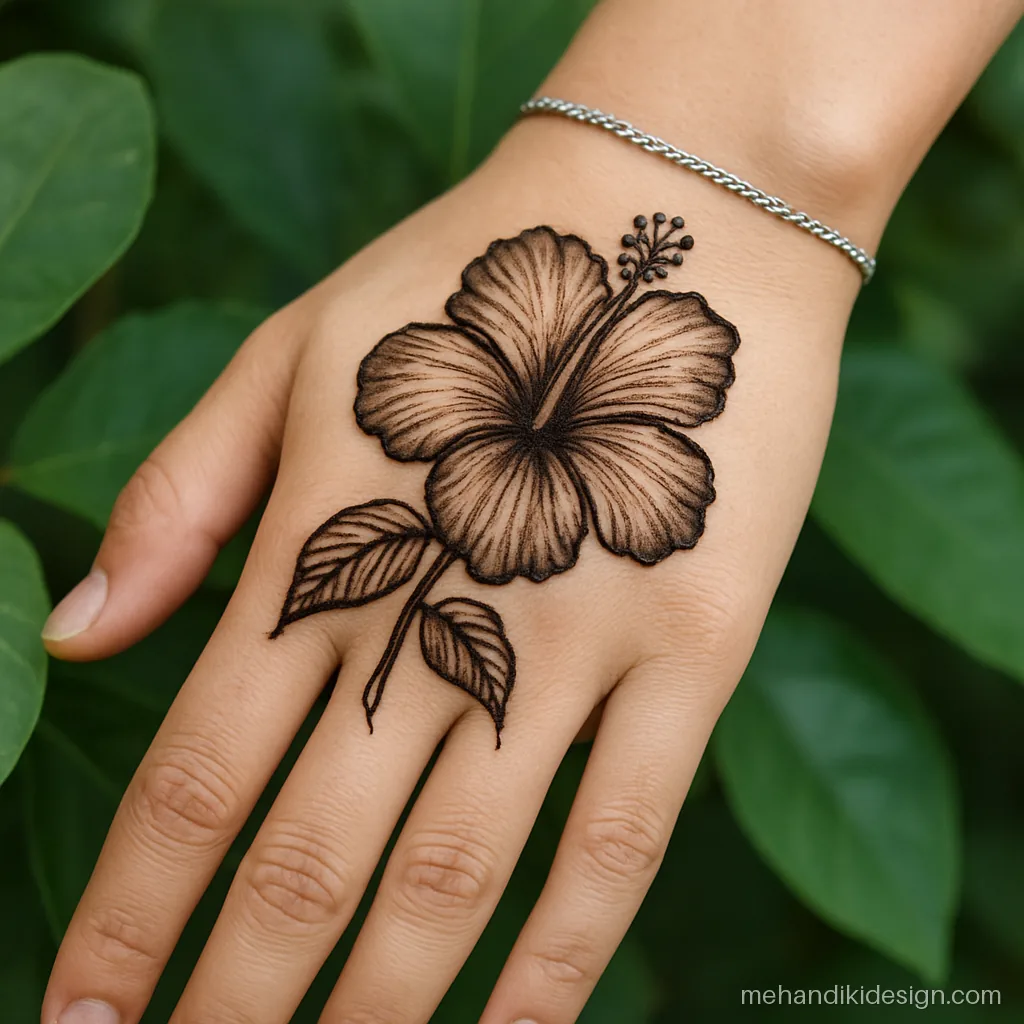
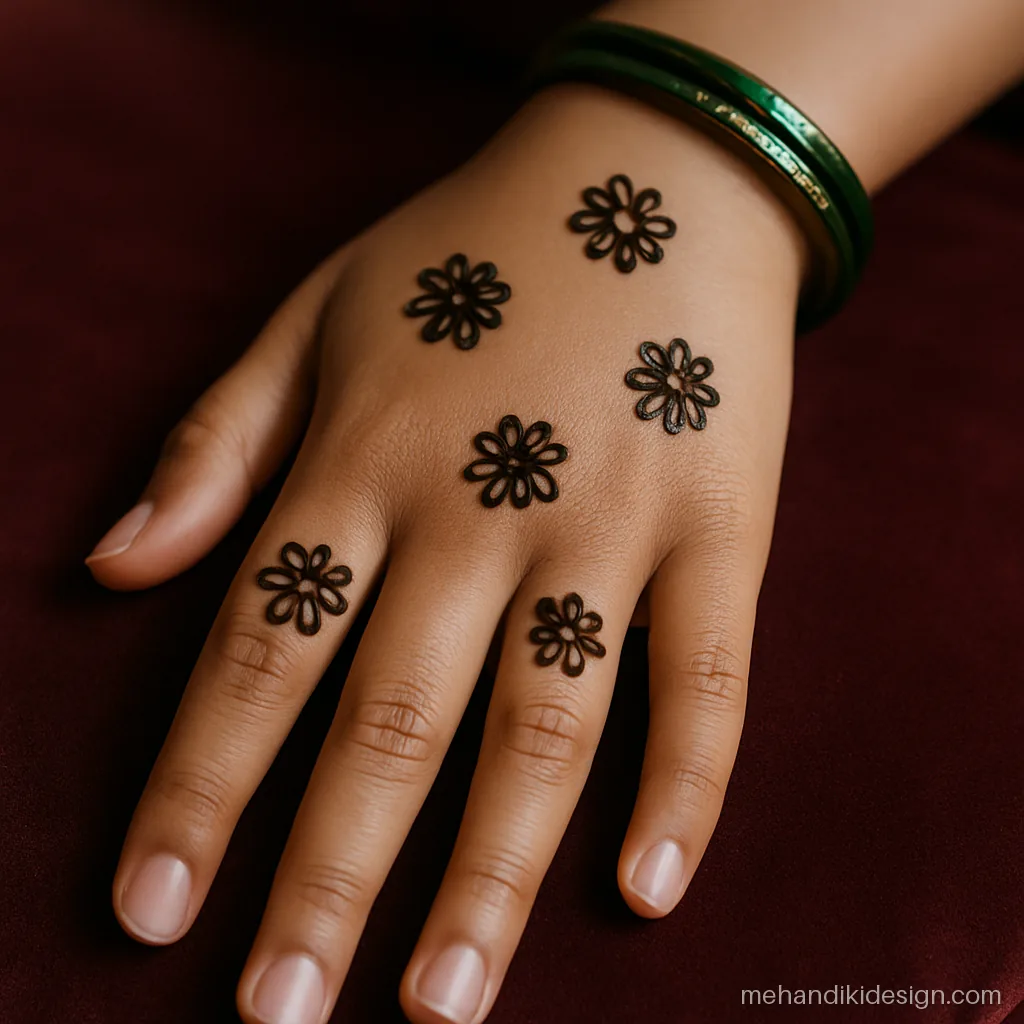
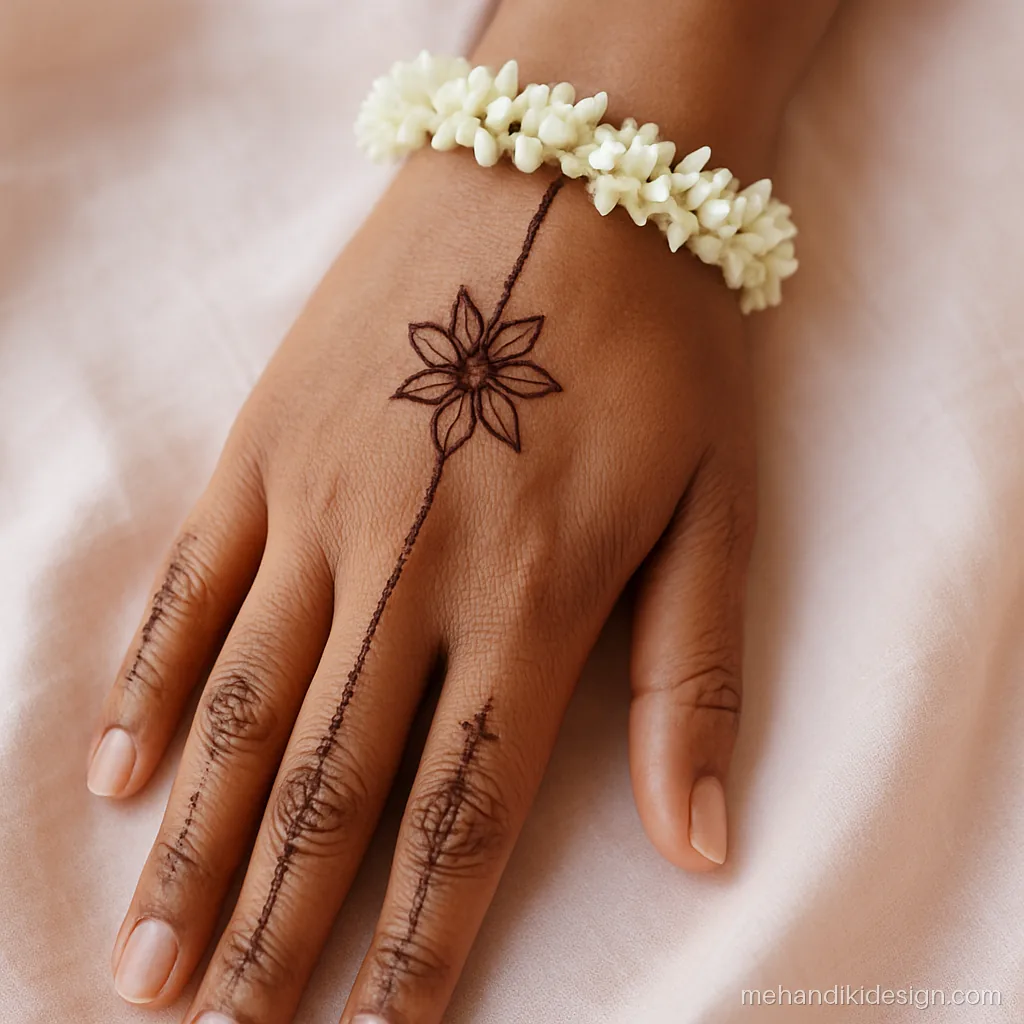
Flowers are the friendliest motif for beginners. Petals can be uneven and still look natural. For many more, browse our flower mehandi design page.
How to Make an Easy Mehandi Design Step by Step
This is the same order most mehndi artists follow for a quick design. It works for almost every pattern on this page.
- Clean the hand. Wash with soap, dry well, and do not apply cream or oil. Oily skin stops the paste from holding.
- Place the main motif first. Draw your biggest shape, like a flower or a round mandala, where you want the eye to go. On the back hand this is usually near the knuckles or the centre.
- Add the connecting line. Draw a bel, a curved line or a chain of leaves that links the main motif to the fingers or the wrist.
- Fill with small details. Add dots, tiny petals and short lines inside and around the main shapes. Keep spaces between lines so the design breathes.
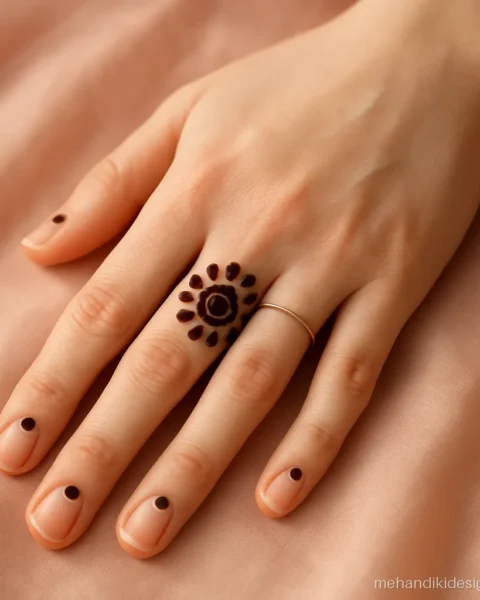
- Finish the fingers. Cap the fingertips fully or add two or three thin bands on each finger. This one step makes any easy design look complete.
- Let it dry, then seal. Leave the paste on for 4 to 6 hours. Dab lemon and sugar mix once it is touch dry so it does not crack and fall off.
Tips to Keep Mehandi Designs Easy and Simple to Draw
- Cut a small tip. A fine cone tip gives thin, clean lines. If the tip is too big, the design looks heavy and smudged.
- Press from the top, not the middle. Roll the cone down as it empties so the pressure stays even.
- Lift the cone above the skin. Let the paste fall on the skin like a thread. Do not drag the tip on the hand.
- Turn the hand, not your wrist. For curves, rotate the hand you are decorating so you always draw in a comfortable direction.
- Keep a tissue nearby. Wipe mistakes at once with a dry earbud. Wet paste comes off cleanly.
- Practise on paper first. Our mehandi kaise lagaye guide has practice sheets for every basic stroke.
How to Get a Dark Colour from a Basic Mehandi Design
Thin, easy designs show colour best when the stain is deep. Use fresh natural henna, keep the paste on for at least 4 hours, and avoid water for the next 12 hours. Warm your hands over clove smoke after scraping and rub on a little mustard oil. Read the full method on our mehandi ka rang page.
Common questions
Which is the most easy mehandi design for a total beginner?
Start with a single round flower on the back of the hand, a few dots around it, and full fingertip caps. It uses only circles, petals and dots, and takes about 10 minutes. Once your lines stay steady, add a leaf bel down one finger.
How long does an easy mehandi design take to apply?
Most designs here take 8 to 25 minutes on one hand. A small motif with finger caps takes about 10 minutes, while an easy full hand pattern with a jaal net can take 30 to 40 minutes. The paste then needs 4 to 6 hours on the skin.
What is the difference between a simple, basic and normal mehandi design?
People use these words almost the same way. A basic mehandi design uses only the starting strokes like dots and petals. A normal mehandi design is the everyday style many women put on for small functions, usually a bel or a flower with finger caps.
Which mehandi ki design easy hai for small children?
Smiley flowers, a butterfly, a star on the palm or one heart with dots are best. Keep the design under 10 minutes so the child sits still. Use only natural henna for kids, never black henna, because it can contain PPD that hurts the skin.
Which easy mehndi mehandi design for girls suits school and college?
Pick a finger-only design, a small wrist cluster or a dot chain on one finger. These take under 10 minutes, look neat with a uniform, and fade evenly. If you use a store-bought cone, check that it lists only henna, water, sugar and essential oil.
How do I make an aasan mehandi design look full and festive?
Fill the fingers well and add a thin wrist band. These two steps make even a small design look rich. Leave some empty skin in between so the pattern stays neat and not crowded.