A great mehandi cone design starts with a great cone. The size of the tip, how firm the paste is and how you hold the mehandi cone decide whether your lines look crisp or shaky.
This page has 16 ideas: simple cone patterns, fine and thick line designs, paper practice sheets, and photos showing how to roll and fill a cone at home. If you are just starting, read our mehandi kaise lagaye guide first.
Once your cone control is good, move on to easy mehandi designs for the full hand.
Simple Mehandi Cone Designs
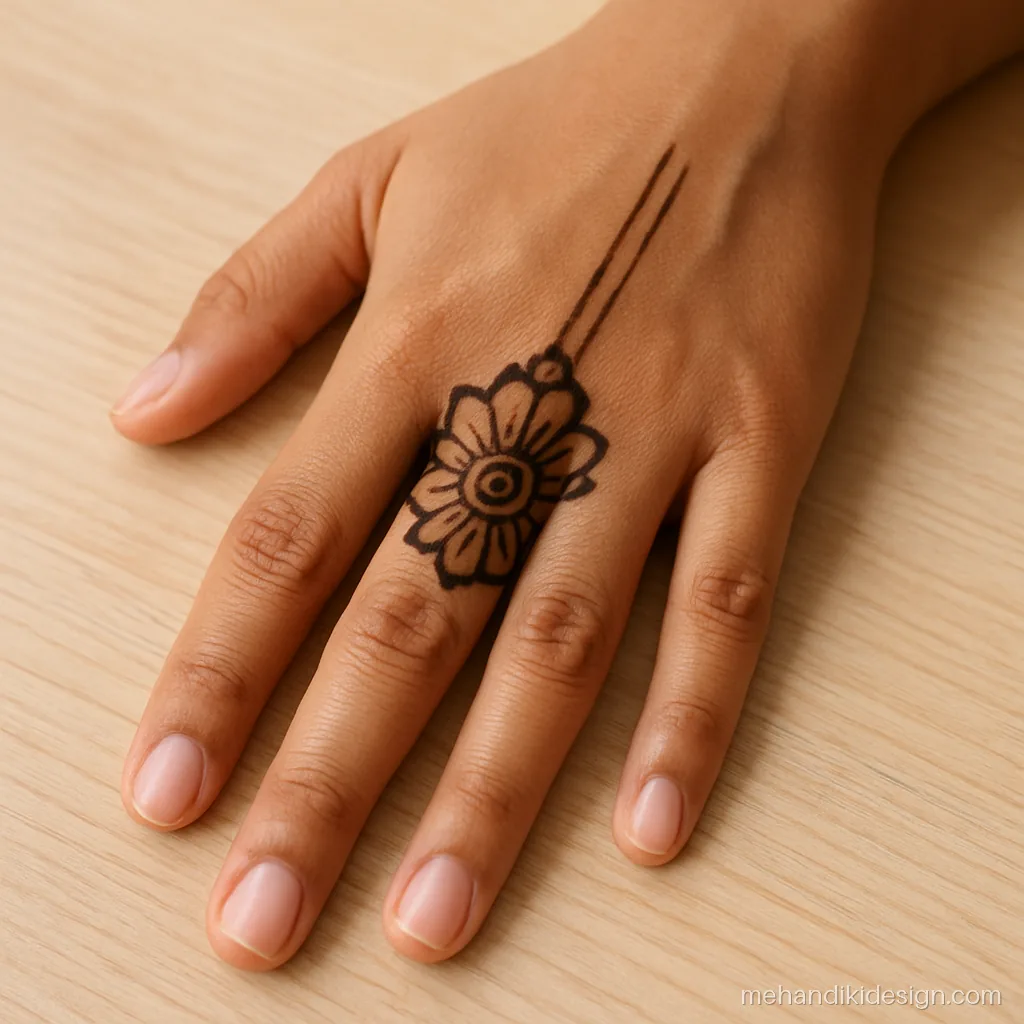
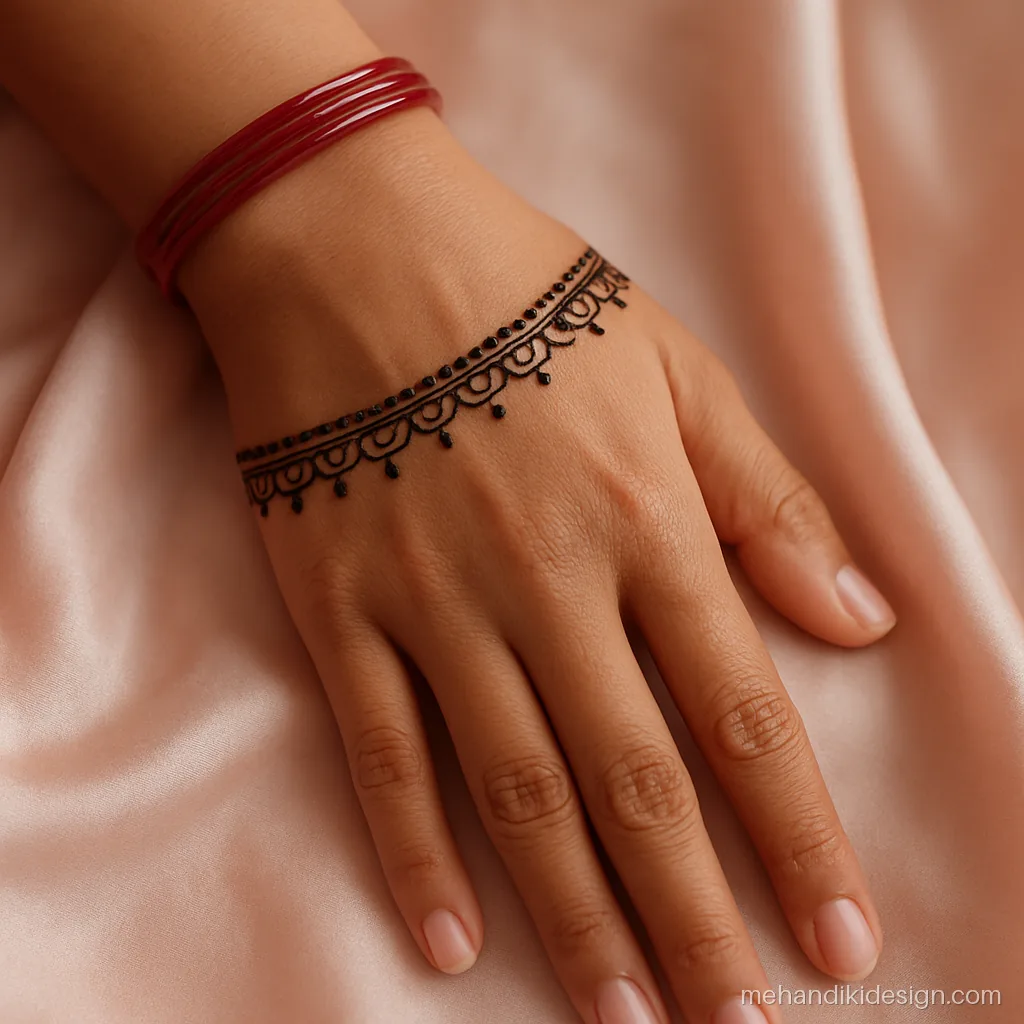
These simple mehandi cone designs need only a steady cone and basic strokes. Each one is quick enough to try right after you fill a fresh cone.
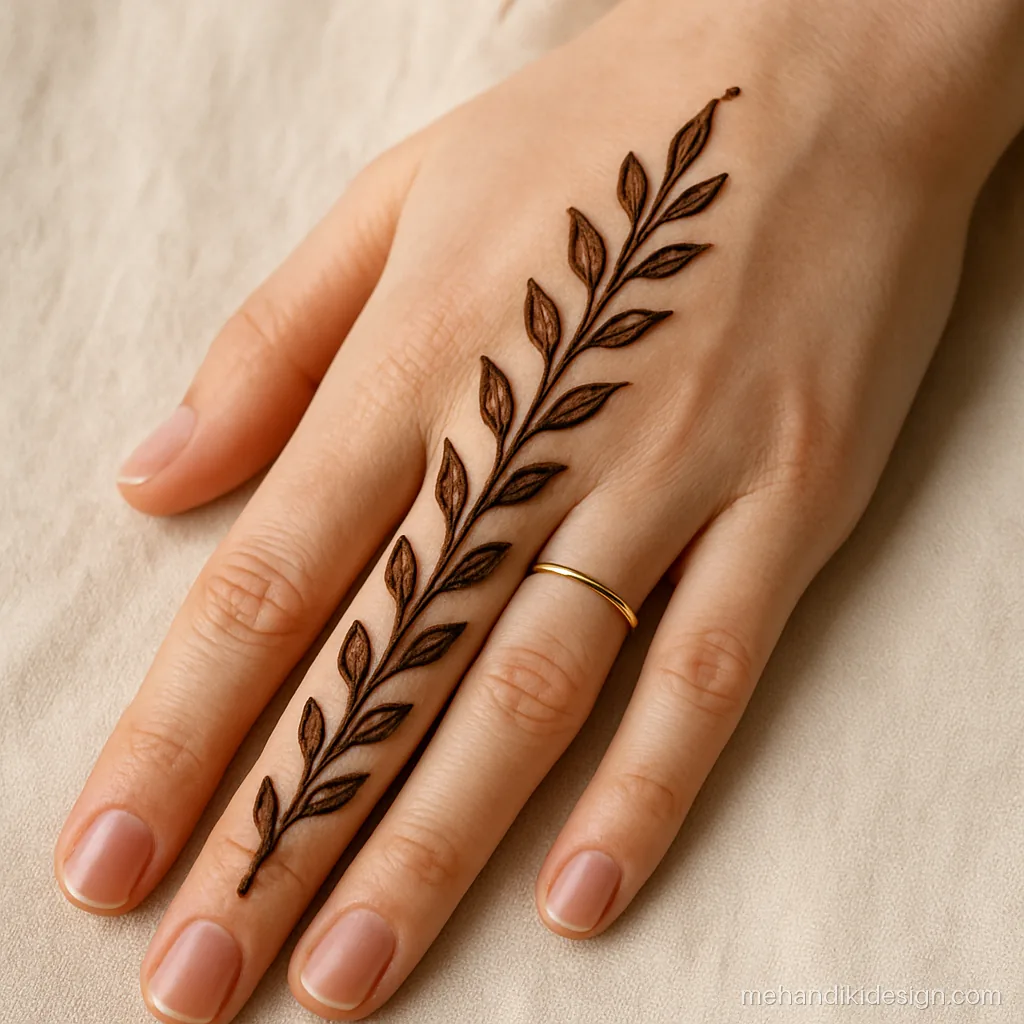
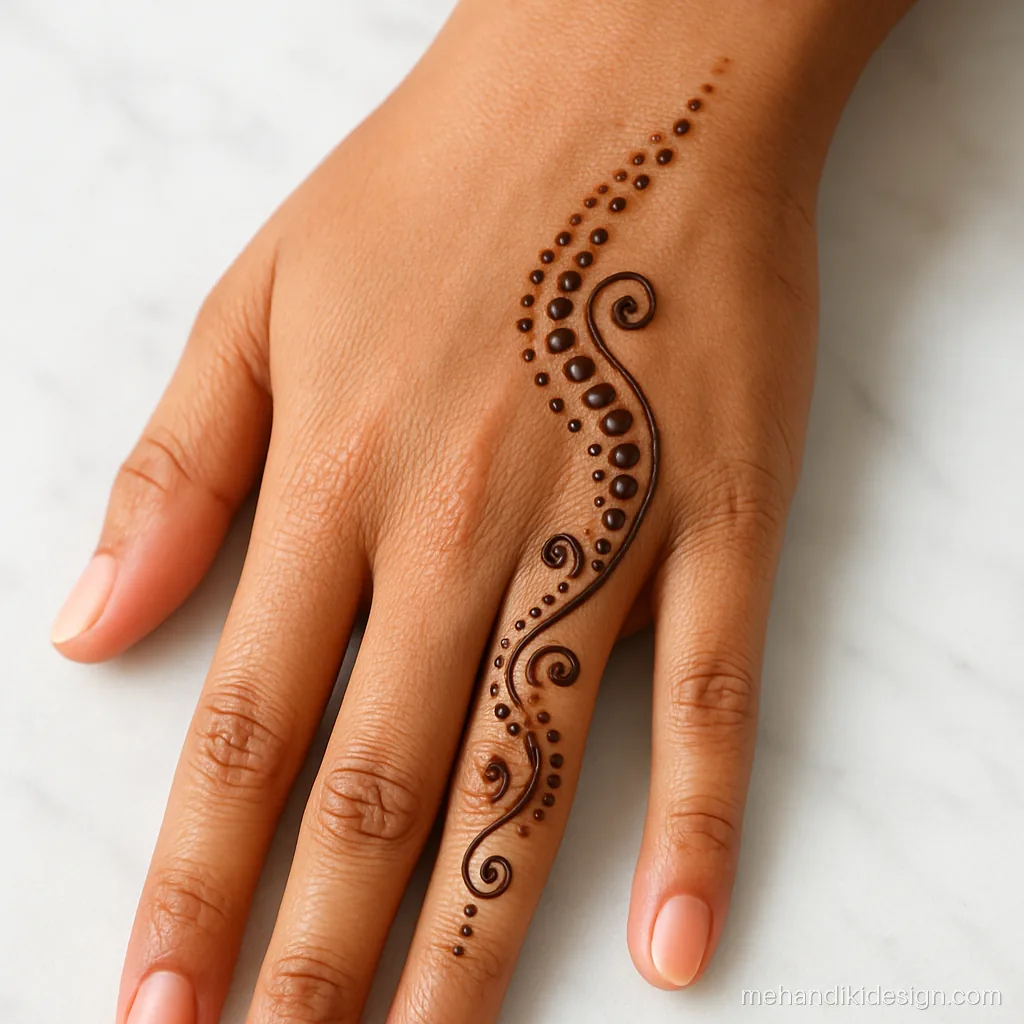
Fine Line and Thick Line Cone Designs
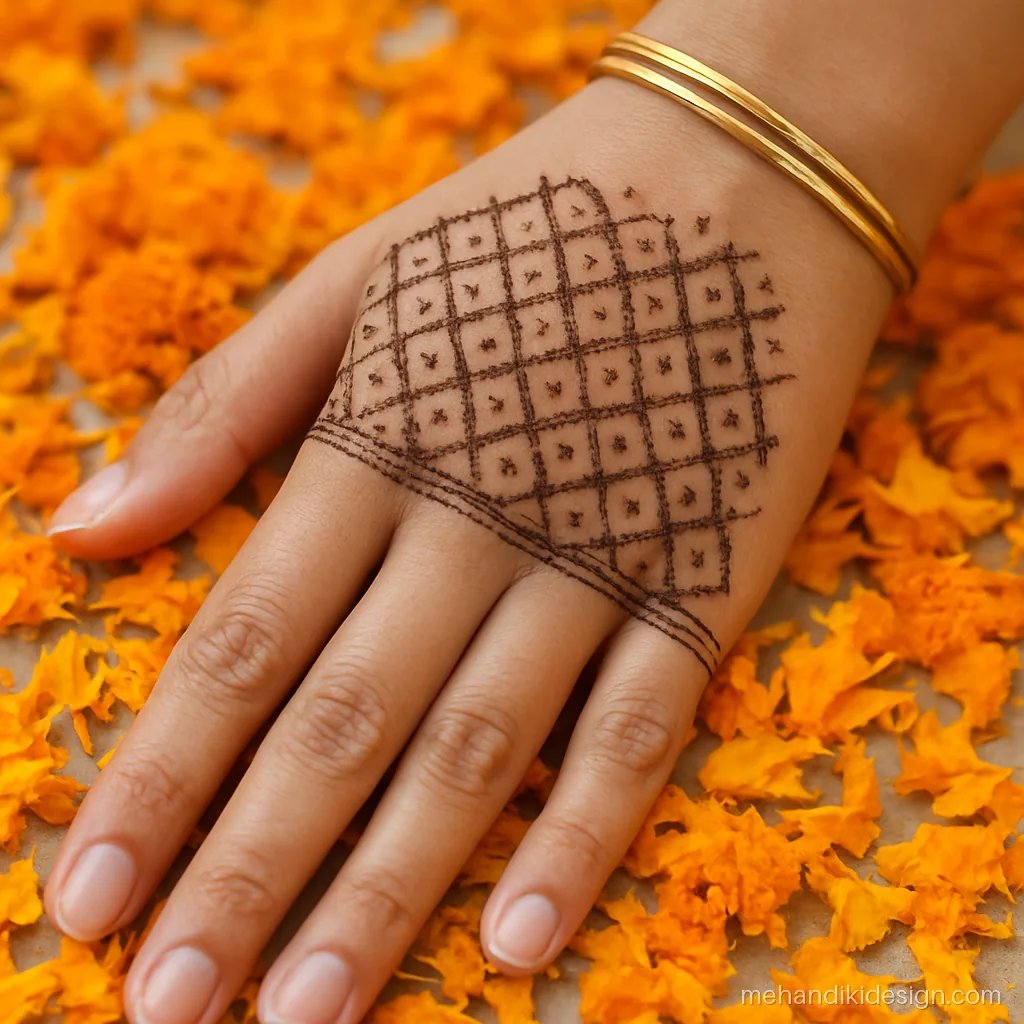
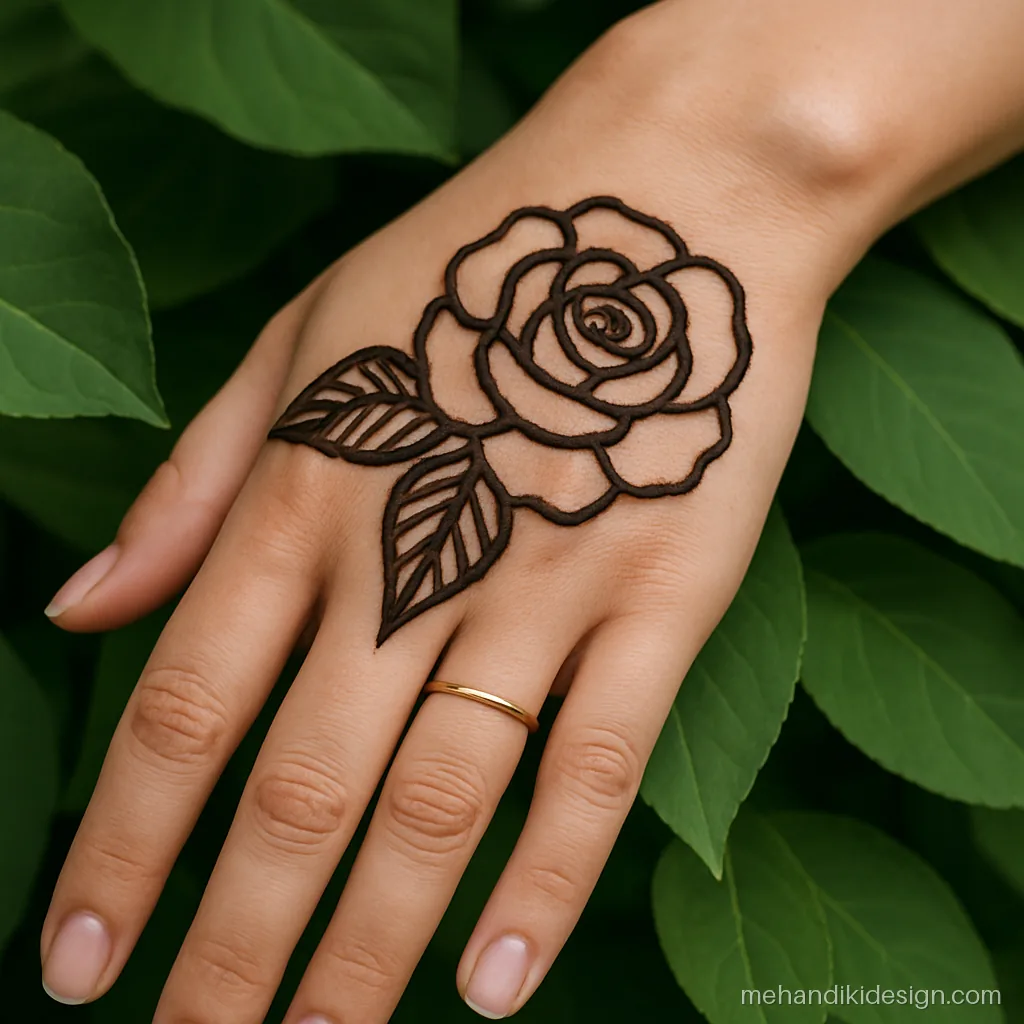
Cutting the cone tip small or large changes the whole look. These mehandi cone designs show what each tip can do.
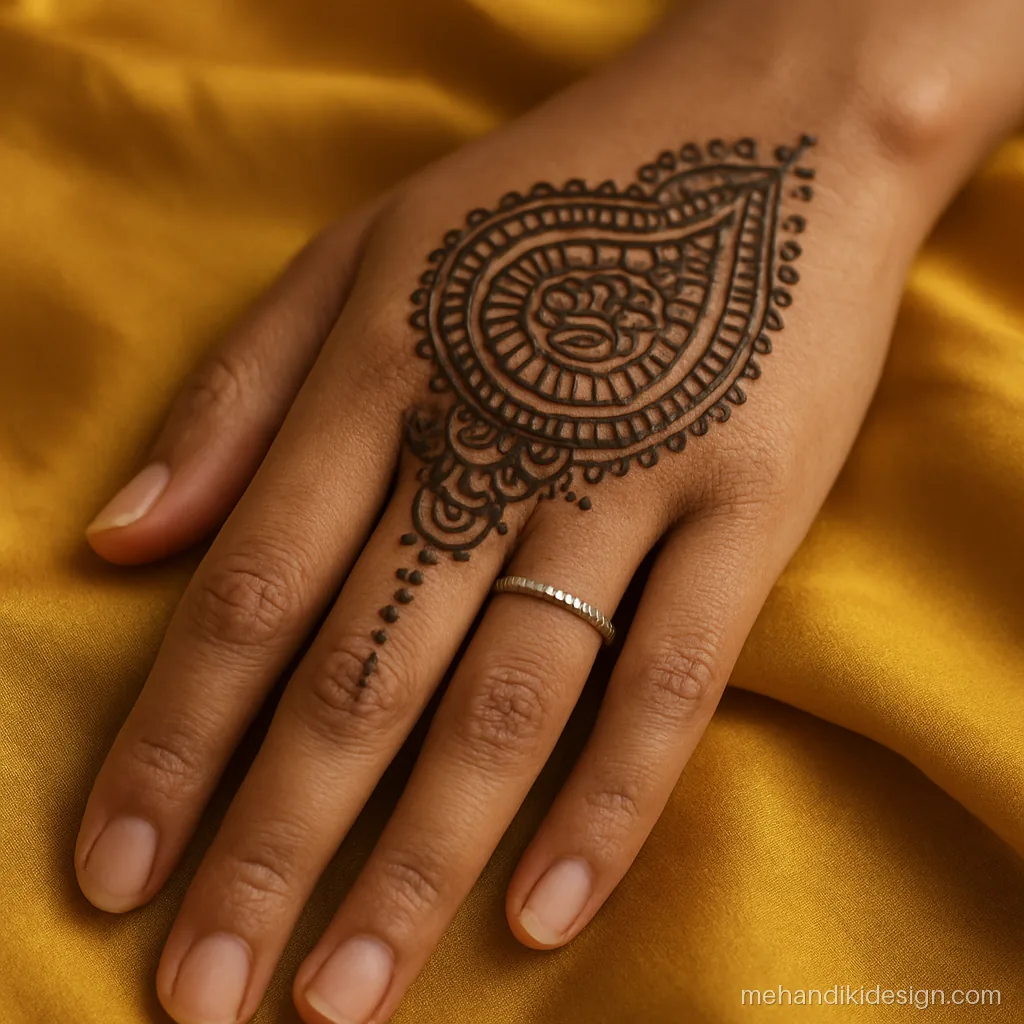
Quick Cone Designs for Fingers and Palm
Short on time? These quick designs use one fresh mehandi cone and finish in about 10 minutes. They are good tests for a new batch of paste before a big function.
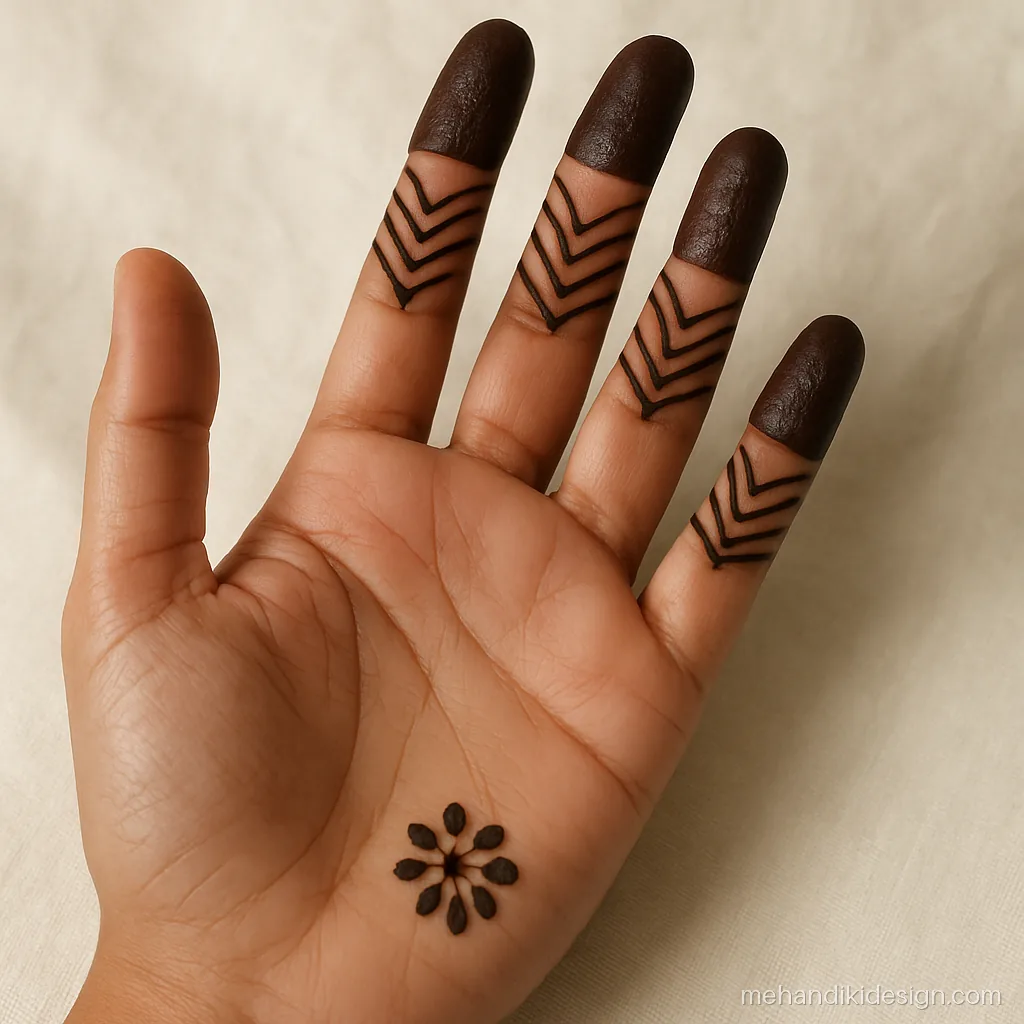
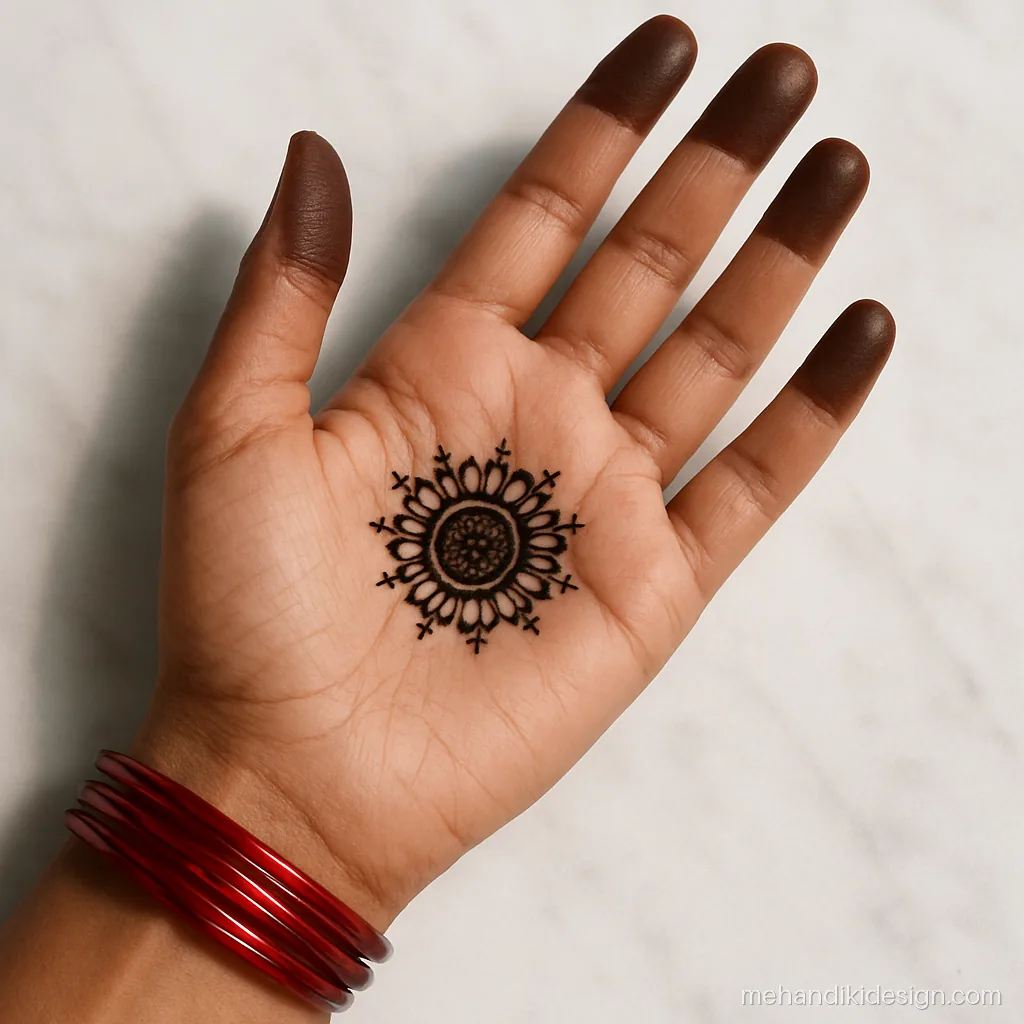
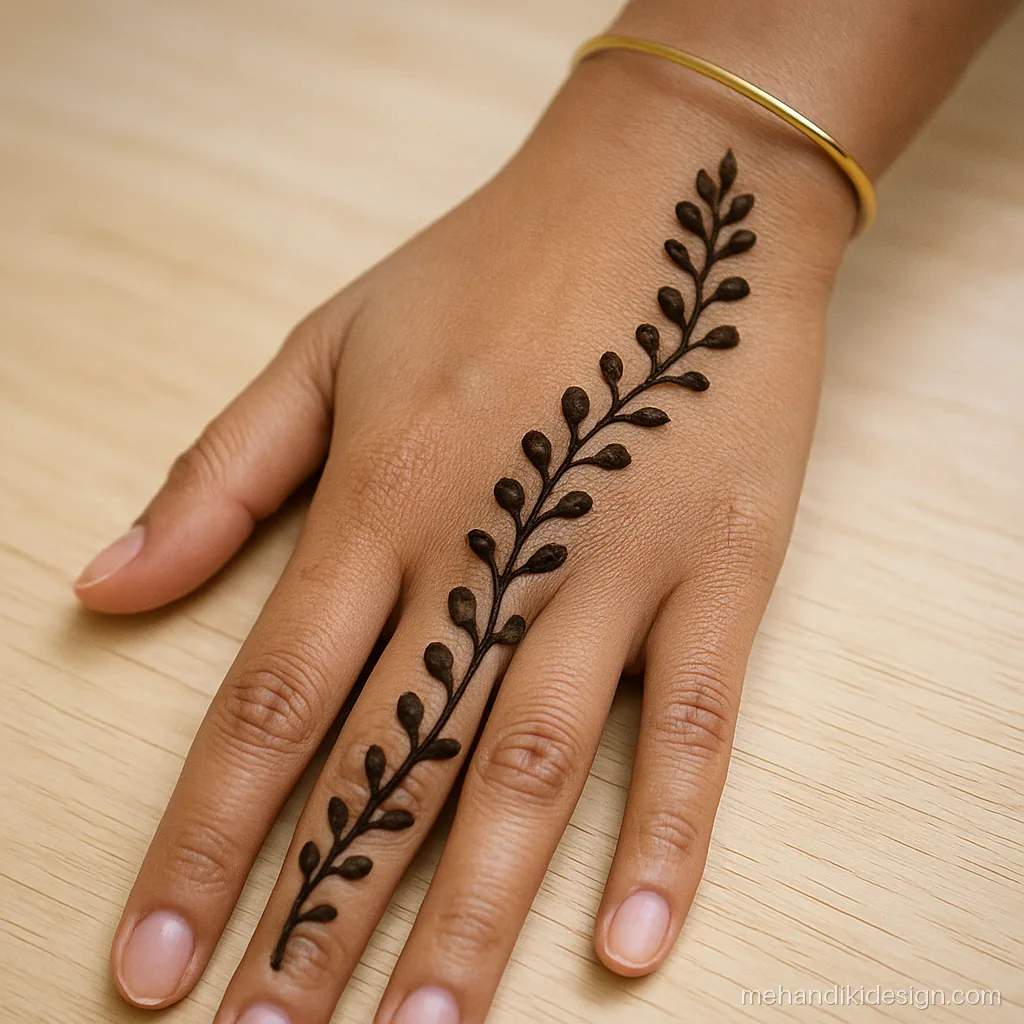
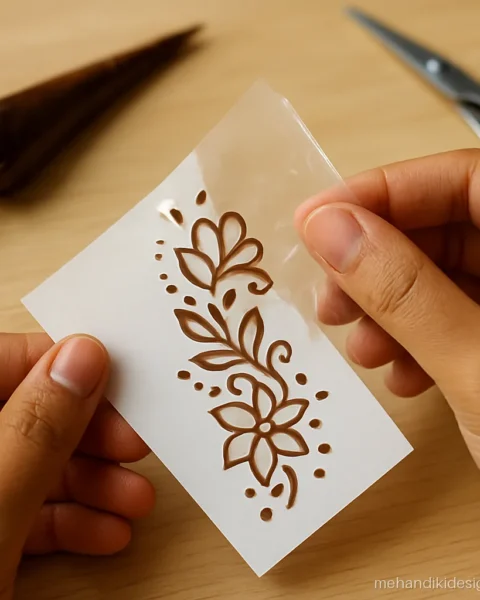
Cone Practice Designs on Paper
Before you put a new mehandi cone on skin, test it on paper. These practice sheets build control in a week.
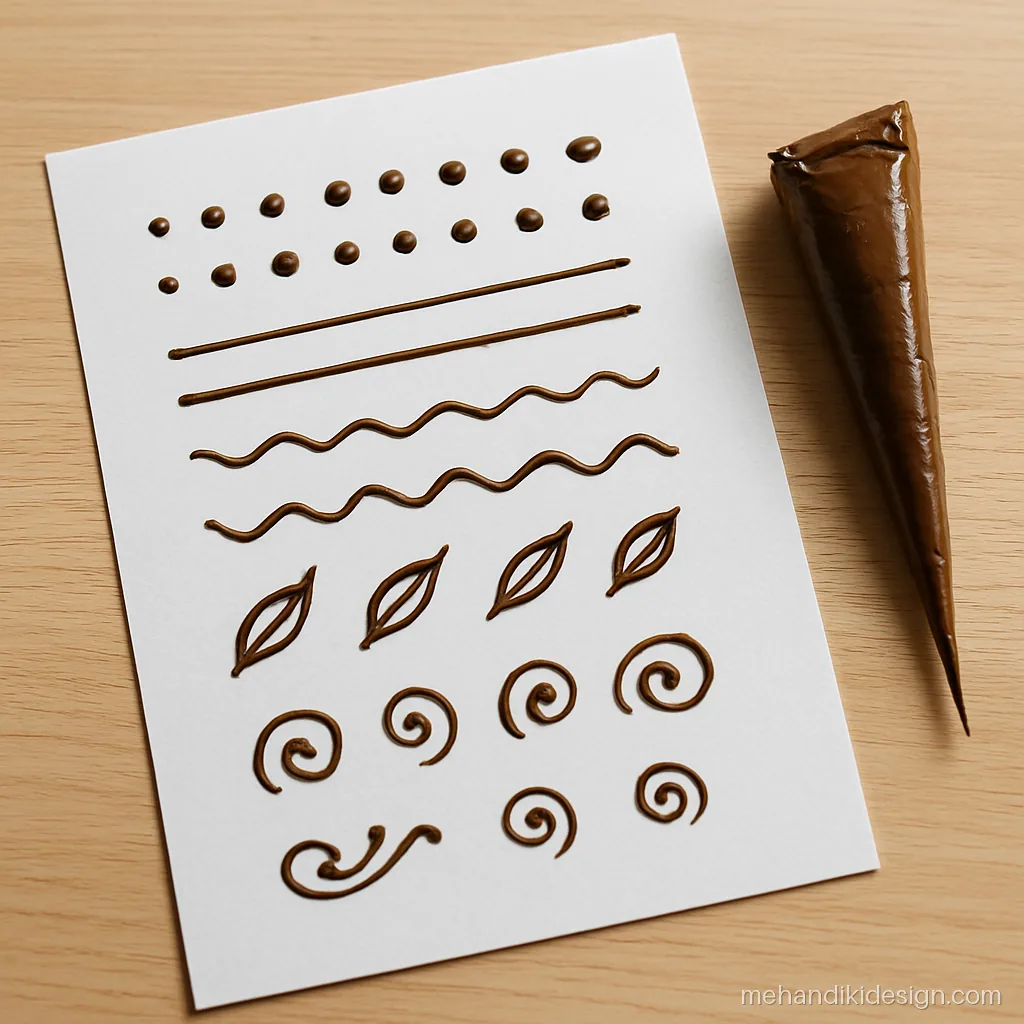
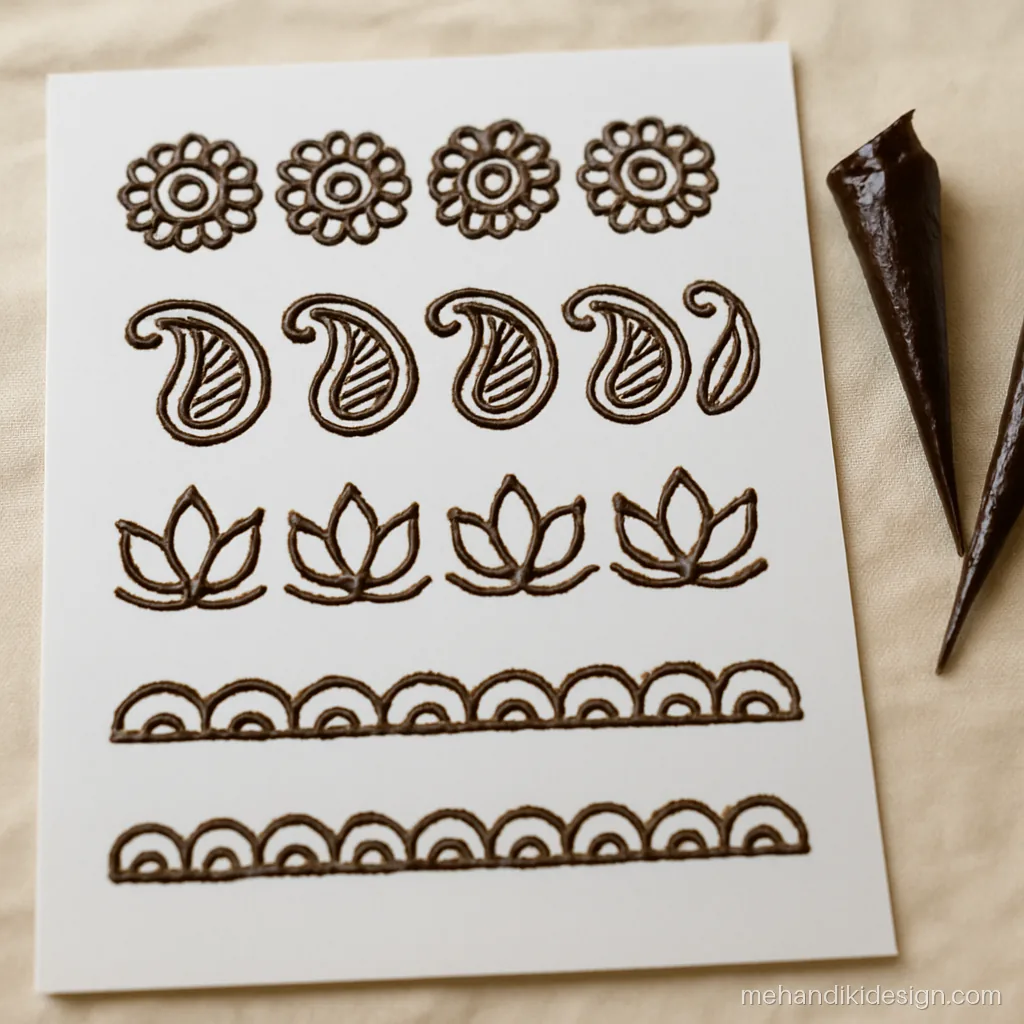
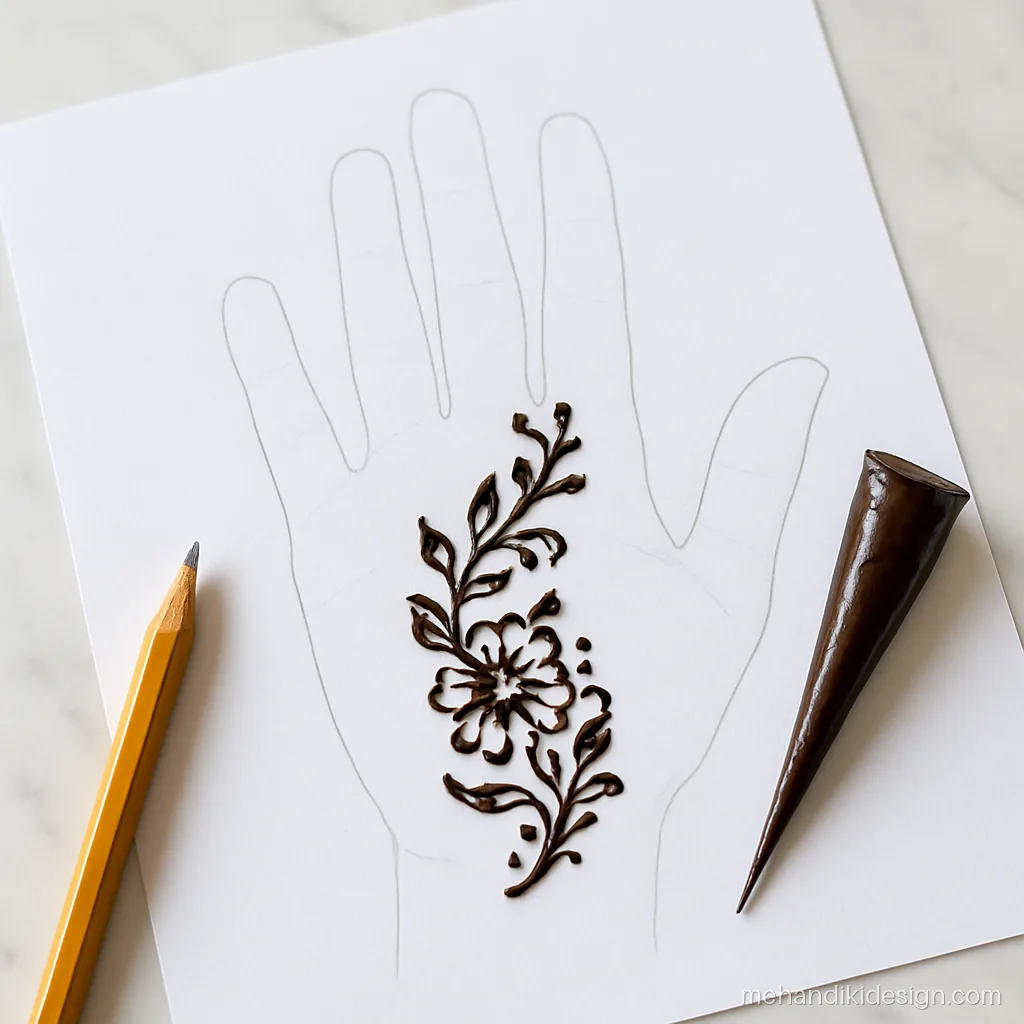
How to Make and Fill a Mehandi Cone
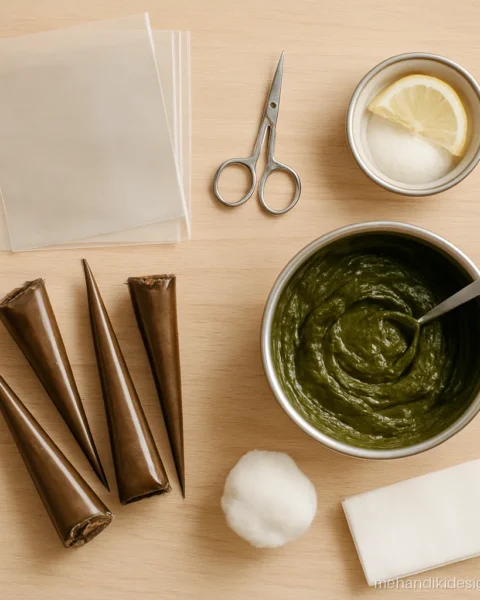
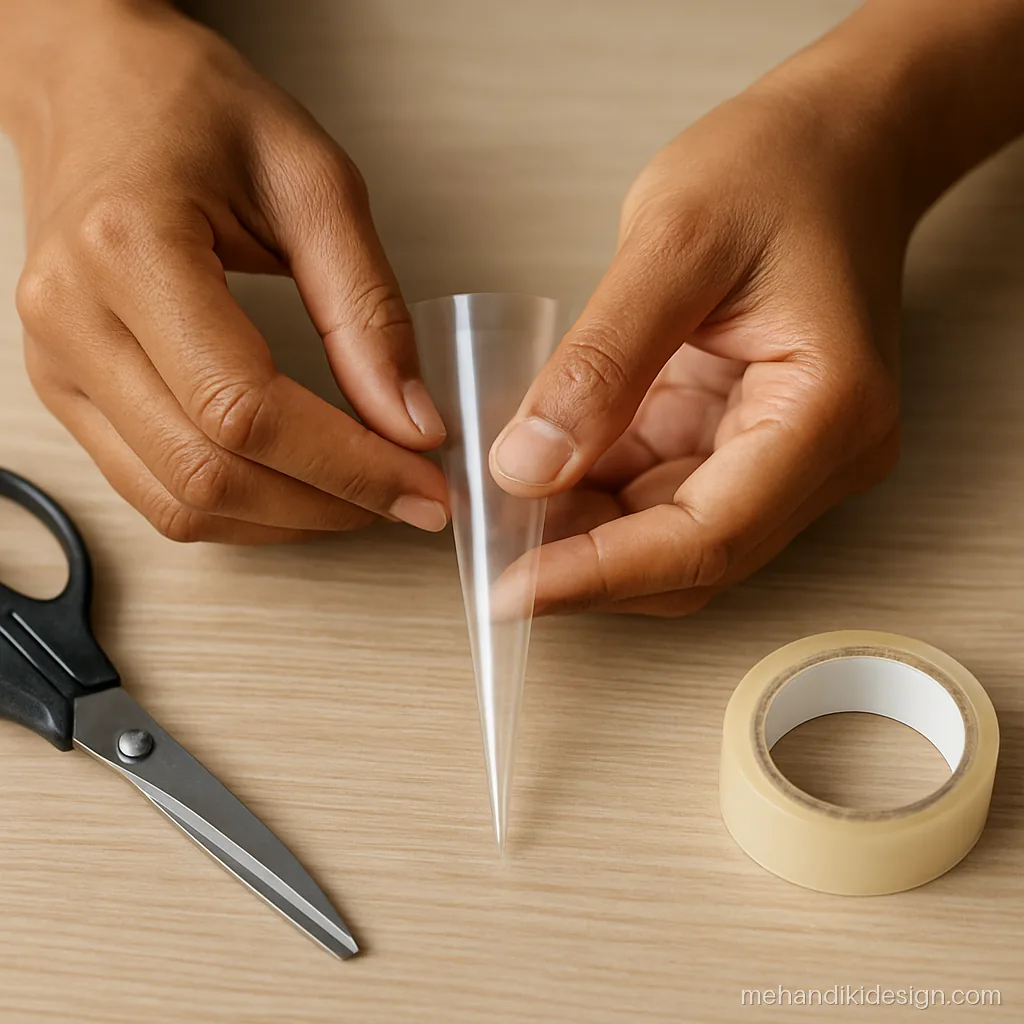
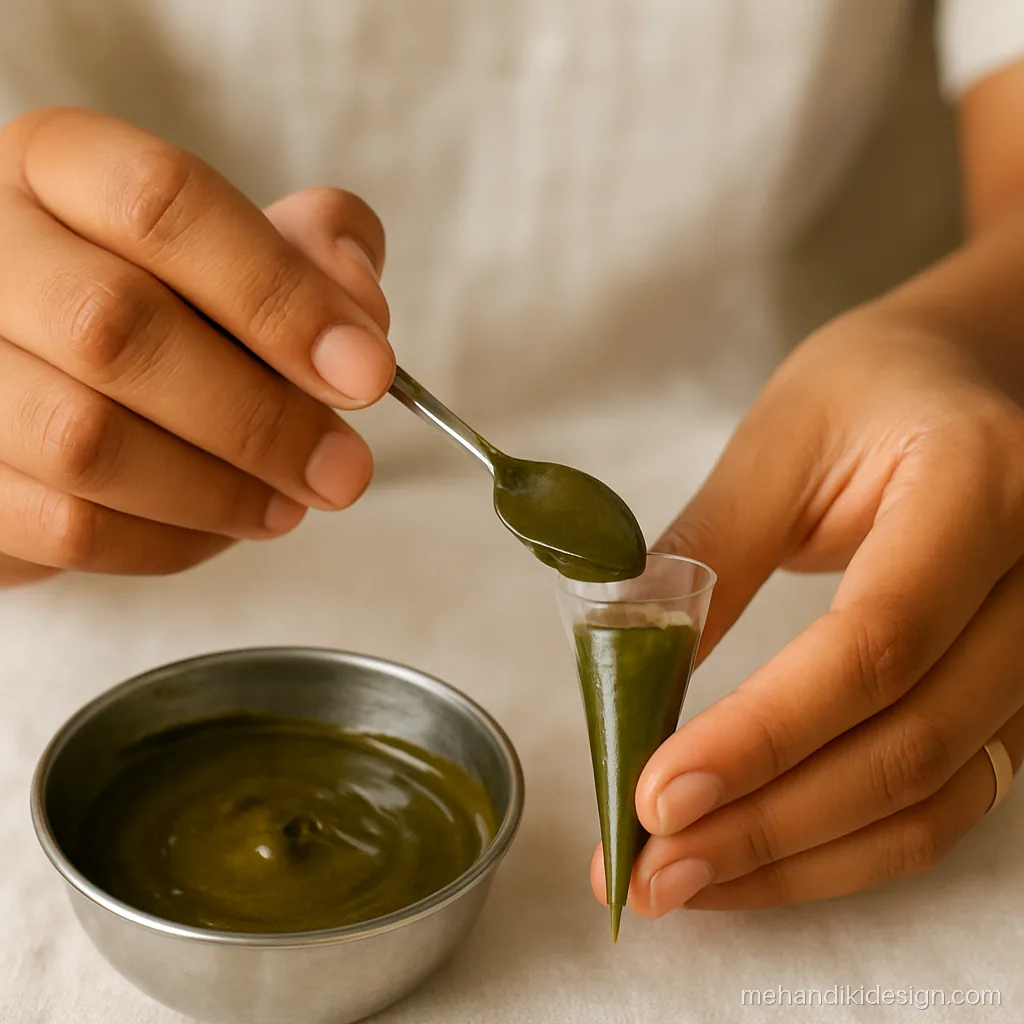
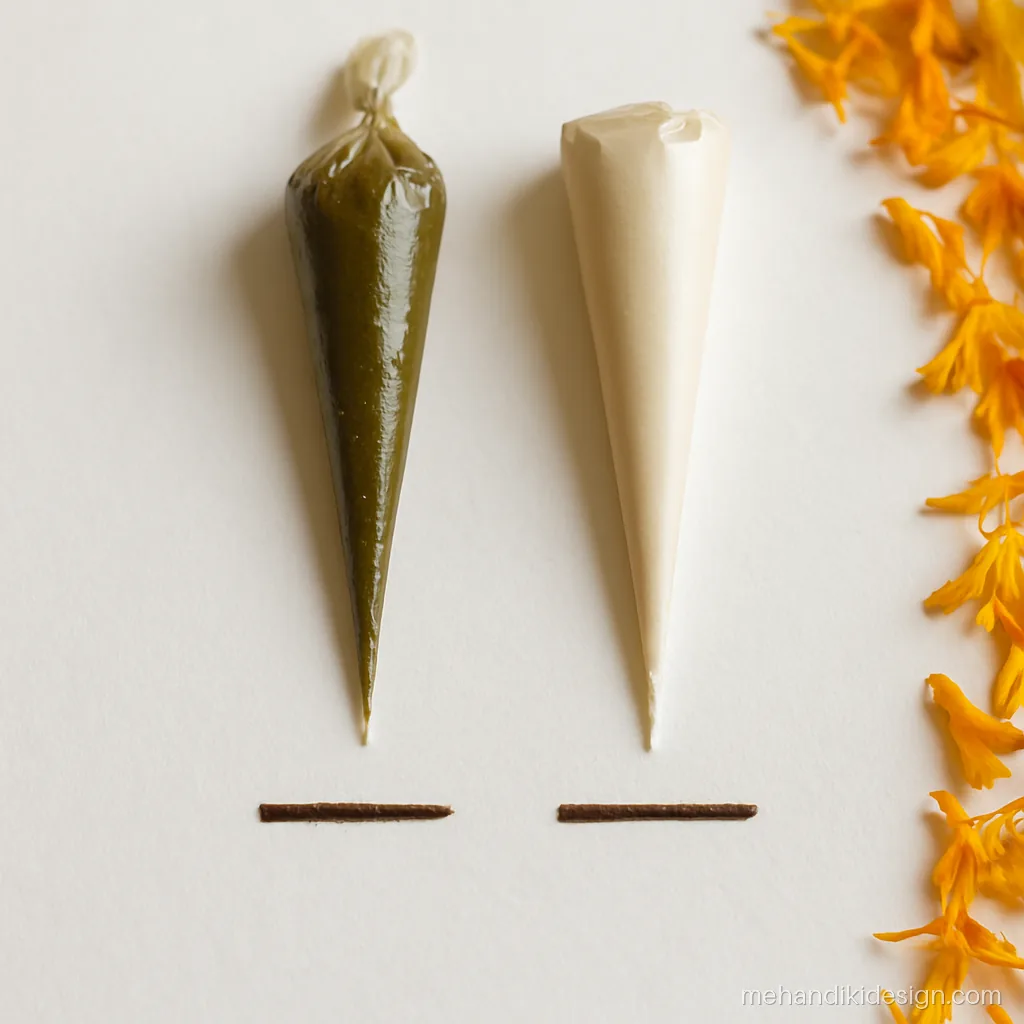
A good cone is half the design. These photos show how to roll and fill a mehandi cone at home.
How to Make Mehandi Paste for Your Cone
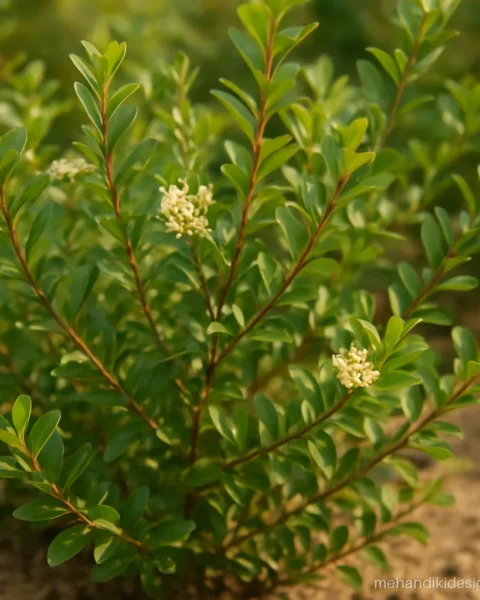
- Sift 2 tablespoons of natural henna powder (from Lawsonia inermis leaves) through a fine cloth.
- Add lemon juice slowly and mix to a thick paste.
- Add half a teaspoon of sugar for smooth flow, and a few drops of eucalyptus oil if you like.
- Cover and rest the paste for 6 to 8 hours so the dye releases.
- Add a little water until it feels like toothpaste, then fill your cone.
Paste too thick breaks lines. Too thin, and it spreads. Test a line on paper first.
How to Roll, Fill and Cut a Mehandi Cone
- Roll: cut a triangle from a plastic sheet or gift wrap. Roll from the middle of the long side into a sharp cone and tape it.
- Fill: spoon in paste up to two thirds. Fold the top down twice and tape.
- Cut: snip the tiniest bit off the tip. You can always cut more. A small tip gives fine Arabic lines, a bigger tip gives bold outlines.
- Hold: grip it like a pen, squeeze from the top with steady pressure.
Ready-Made Cone vs Homemade Cone
| Point | Ready-made | Homemade |
|---|---|---|
| Effort | Open and use | Needs 6 to 8 hours of resting |
| Ingredients | Not always clear | You know exactly what is inside |
| Colour | Good if natural, risky if chemical | Natural orange to reddish brown |
| Safety | Check for PPD and dyes | Safe if pure henna is used |
Avoid any cone that stains black within minutes. That is often black henna with PPD, which can cause serious skin reactions. This matters most for kids mehandi. For a deep natural colour, see our mehandi ka rang tips.
Common questions
How do I make a mehandi cone at home?
Cut a triangle from a plastic sheet, roll it into a tight cone and tape it. Fill it two thirds with rested henna paste, fold the top and tape. Snip a very small tip before you start.
What are some simple mehandi cone designs for beginners?
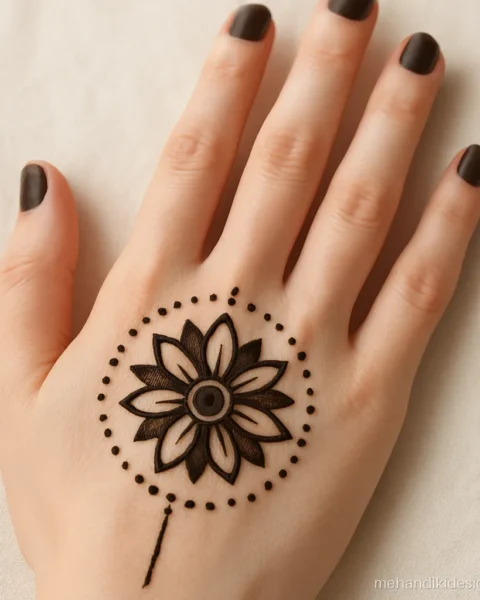
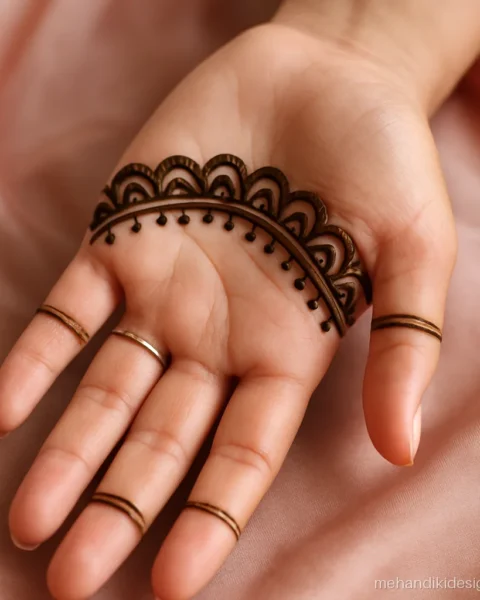
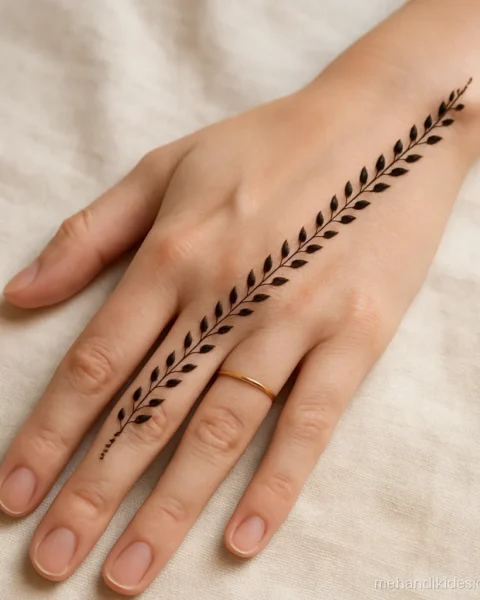
Single stroke leaves, dots and swirls, a half flower and a scalloped wrist band are the best starting points. They teach you pressure and spacing. Each takes under 10 minutes.
Are ready-made mehandi cones safe?
Only if they contain natural henna. If a cone stains black within minutes, it may contain PPD and can cause skin reactions. Check the ingredients or make your own.
How long does a homemade mehandi cone last?
Fresh paste works best within 2 to 3 days at room temperature. You can freeze filled cones for a few weeks. Thaw one at room temperature before use.
Why does my cone keep bursting or blocking?
It bursts when overfilled or squeezed too hard. It blocks when the paste has lumps, so always sift the powder. Keep a pin handy to clear a blocked tip.